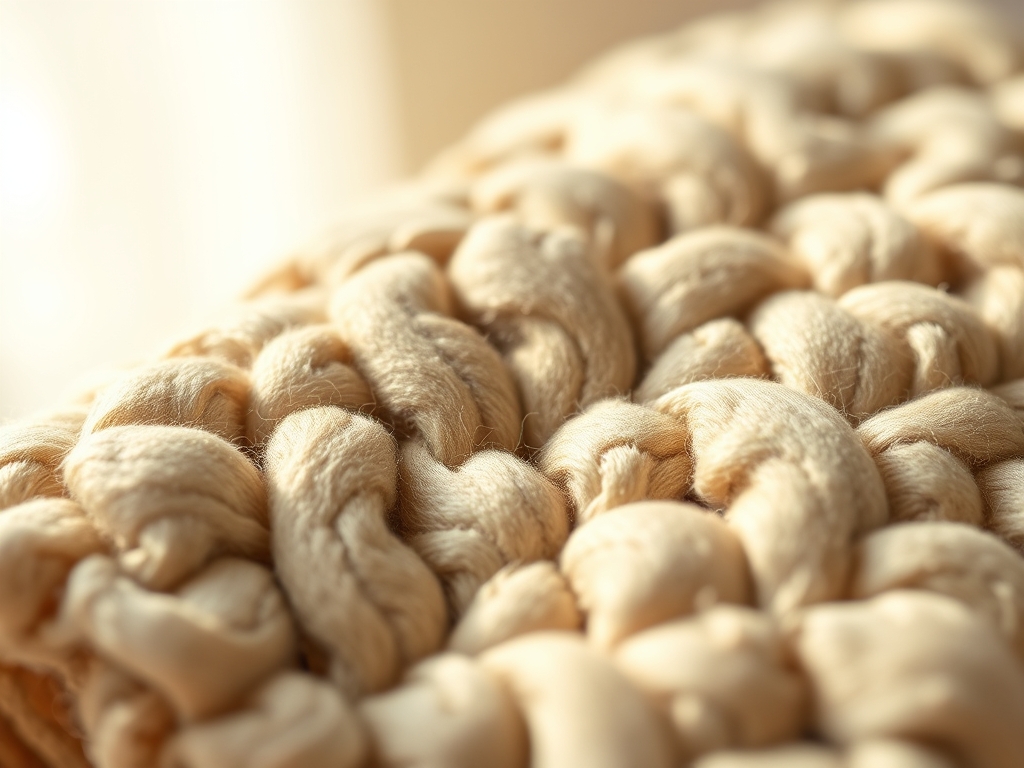
Imagine the smell of crisp, unwashed cotton hitting the air as you unfurl a fresh bolt of fabric. It is a tactile rush of adrenaline; the way the fibers catch the light and the slight resistance of the weave against your fingertips tells you everything you need to know about its structural integrity. You are standing at the threshold of a massive creative shift. This is the moment your First Time Quilting journey moves from a Pinterest board into a physical reality. We are talking about the visceral satisfaction of high density thread counts and the mechanical hum of a motor working in perfect synchronization with your hands. You can feel the potential energy stored in those neatly stacked fat quarters. There is a specific, magnetic pull to the process of slicing through high quality textiles with a razor sharp blade. It is not just about making a blanket; it is about engineering a textile masterpiece that defies the laws of wear and tear. Let us dive into the physics of the stitch.
THE STUDIO KIT
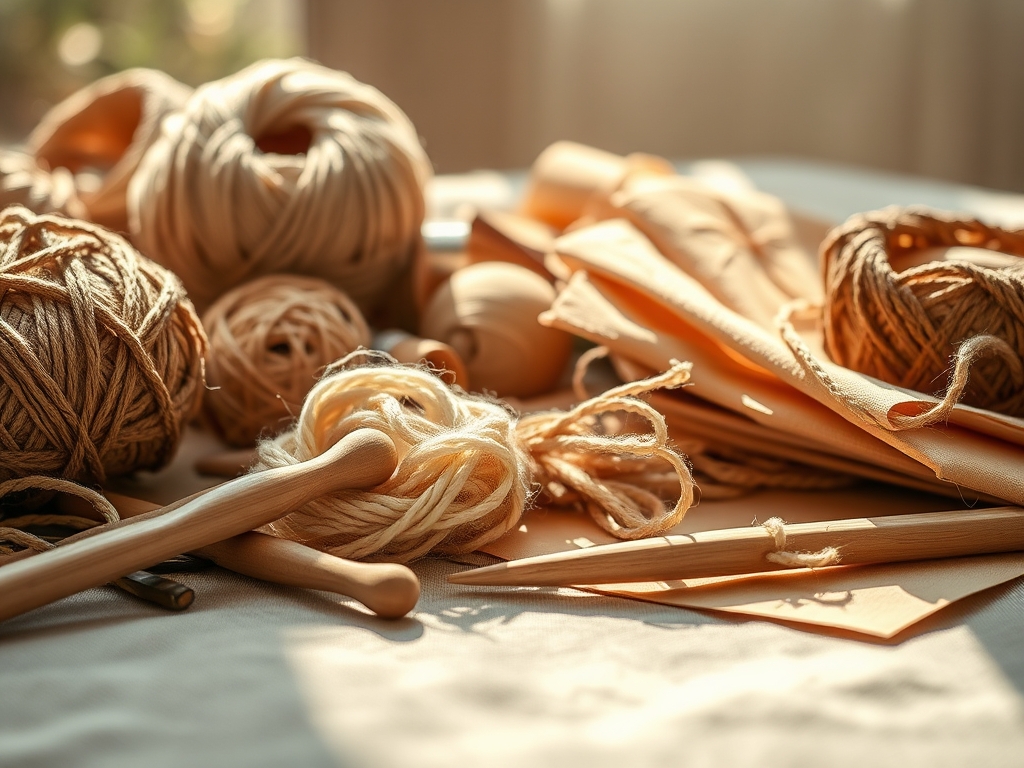
Before you drop that presser foot, we need to talk about your arsenal. Your home machine is a marvel of engineering, but it requires the right companions to perform at peak efficiency. Start with a rotary cutter featuring a fresh 45mm tungsten steel blade. The sharpness is non negotiable; a dull blade will crush the cotton fibers rather than severing them, leading to frayed edges and compromised seam strength. You will also need a self healing cutting mat with a high density polymer surface to preserve your blade's edge.
For your measuring needs, skip the flimsy tapes and go for a heavy duty acrylic ruler. These tools allow for precise caliper level accuracy when squaring up your blocks. Your thread choice is equally vital. Opt for a 50 weight, long staple cotton thread. The long staple refers to the length of the individual fibers spun together; longer fibers mean fewer "fuzz" points and higher tensile strength.
If you cannot find premium quilting cotton, consider "Material Substitutions" like high thread count cotton bedsheets. However, be wary of the pore density in cheaper linens. If the weave is too loose, your batting will migrate through the holes, a phenomenon known as "bearding." Always test the gauge of your needle against your fabric scrap to ensure the puncture hole is not larger than the thread itself.
THE TEMPO
Quilting is a marathon of precision, not a sprint of speed. The "Maker's Rhythm" is a psychological state where your mechanical movements become fluid and automatic. For a standard throw size quilt, expect to spend approximately four hours on the "Cutting Phase." This is where you establish the geometric foundation. The "Piecing Phase" is the heart of the project, taking anywhere from ten to fifteen hours. Here, you are managing the torsion of the fabric as you join sections.
The "Quilting Phase," where you actually stitch the three layers together, requires a steady six to eight hours of focused labor. Finally, the "Binding Phase" is the two hour victory lap where you seal the edges. Respecting this tempo prevents fatigue, which is the primary cause of broken needles and crooked seams.
THE CORE METHOD
1. The Precision Cut
Position your acrylic ruler firmly on the fabric, applying downward pressure to prevent shifting. Use your rotary cutter to slice away from your body in one continuous motion.
Mastery Tip: This is all about friction coefficients. If your ruler slides, your angles will be off by fractions of a millimeter. This error compounds across forty blocks, leading to a quilt that will not lay flat. Use adhesive sandpaper dots on the underside of your ruler to increase grip.
2. The Scant Quarter Inch Seam
Align your fabric edges perfectly and sew using a "scant" quarter inch. This means your seam is one or two thread widths narrower than a true quarter inch.
Mastery Tip: When you fold a seam over, the fabric itself occupies physical space at the fold. This is known as fabric take up. By sewing a scant seam, you account for the thickness of the cotton, ensuring your finished block dimensions remain mathematically perfect.
3. Nesting the Seams
When joining blocks, press your seam allowances in opposite directions. This allows the seams to "lock" together like gears.
Mastery Tip: This technique utilizes mechanical interlocking to reduce bulk at the intersections. If all seams were pressed the same way, your needle would have to punch through six layers of fabric, increasing the risk of a needle deflection or a "skipped stitch" due to the sudden change in density.
4. The Basting Sandwich
Layer your quilt top, batting, and backing. Use curved safety pins or a temporary spray adhesive to fuse the layers.
Mastery Tip: You are managing interfacial tension. If the layers are not secured, the feed dogs on your machine will pull the bottom layer faster than the top layer. This results in "puckering," where the fabric bunches because the layers are moving at different velocities.
5. Walking Foot Integration
Swap your standard presser foot for a walking foot. This tool has its own set of feed dogs on top.
Mastery Tip: This creates synchronized displacement. By gripping both the top and bottom of the quilt sandwich simultaneously, the walking foot ensures that all three layers move through the machine at the exact same rate, maintaining the structural alignment of your design.
6. Burying the Threads
When you finish a line of quilting, pull the bobbin thread to the top and tie a knot, then use a hand needle to hide the tails inside the batting layer.
Mastery Tip: This prevents unraveling via capillary action. If you simply backstitch, the bulk can create a hard knot that eventually wears through the fabric. Burying the thread distributes the tension over a longer area within the porous batting.
7. Squaring the Finished Piece
After quilting, use your large acrylic ruler to trim the uneven edges into perfect ninety degree angles.
Mastery Tip: Quilting causes dimensional shrinkage. The act of stitching pulls the fabric inward. If you do not square the quilt after the stitching is complete, your binding will be wavy because it is trying to follow a non linear path.
8. The Double Fold Binding
Fold your binding strip in half lengthwise and sew it to the front of the quilt, then wrap it to the back and hand stitch or machine stitch it down.
Mastery Tip: This creates a reinforced edge. The double layer of fabric provides a sacrificial barrier against abrasion. Since the edges of a quilt receive the most physical handling, this extra ply of fabric ensures the longevity of the entire piece.
THE TECHNICAL LEDGER
Maintenance & Longevity: Your home machine will accumulate lint at an alarming rate during this process. Use a small awl or a specialized brush to clear the bobbin case every two bobbins. Avoid canned air, which pushes debris deeper into the mechanical housing.
Material Variations: If you are using sustainable bamboo batting, be aware that it has a higher drape coefficient than polyester. It will feel softer but may stretch during the quilting process. Premium silk batting offers incredible thermal regulation but requires a finer needle gauge to prevent snagging.
The Correction:
- The Tension Loop: If you see loops on the bottom of your fabric, your top tension is too loose. Re thread the machine with the presser foot up to ensure the thread seats in the tension discs.
- The Bird's Nest: A massive tangle of thread usually means the bobbin is inserted backward. Check the rotational direction of your bobbin; it should usually form a "P" shape.
- The Fabric Bleed: If using high pigment reds or blues, the dye may migrate. Use a "color catcher" sheet in the first wash to neutralize loose ions.
Studio Organization: Store your ongoing project flat. Folding a basted quilt for long periods can cause permanent crease set in the batting fibers, which ruins the loft and creates weak points in the structure.
THE FINAL REVEAL
There is nothing quite like the moment you pull your finished quilt out of the dryer for the first time. The heat causes the cotton to shrink slightly around the stitching, creating that iconic, crinkly texture that defines a handmade heirloom. You have successfully navigated the physics of First Time Quilting. Your seams are locked, your tension is balanced, and you have transformed raw materials into a structured work of art. It is heavy, it is warm, and it is technically perfect. You are no longer just a hobbyist; you are a maker who understands the soul of the machine.
STUDIO QUESTIONS
How do I choose the right needle for quilting?
Match the needle size to your thread weight. For standard 50wt cotton thread, a 80/12 universal or sharp needle provides the ideal puncture force without damaging the fabric weave or causing excessive friction during high speed stitching.
Can I quilt a large blanket on a small machine?
Yes, use the "scrunch and roll" method. Roll the excess fabric tightly to fit through the throat space of your machine. This manages the bulk and reduces the weight drag, which can otherwise cause uneven stitch lengths.
Why is my thread constantly breaking?
This usually stems from a burr on the needle or a tension mismatch. Change your needle first. If the problem persists, check for snags on the spool cap or bobbin case that might be catching the thread.
Do I really need to wash my fabric first?
Pre washing removes "sizing" chemicals and accounts for initial shrinkage. If you skip this, your fabric and thread may shrink at different rates during the first laundering, potentially causing the seams to pop under the sudden stress.
What is the best way to mark quilting lines?
Use a ceramic chalk pencil or a heat erasable pen. These tools allow for high visibility during the "Stitching Phase" but can be removed without leaving a chemical residue that could degrade the cellulose fibers over time.