Imagine the cool, damp weight of a fresh block of clay resting in your palms. It is heavy, dense, and full of potential energy. As you press your thumb into the surface, you feel the resistance of the fine mineral particles sliding against each other. This is the moment where your creative vision meets physical reality. Mastering beginner pottery techniques is not just about making a bowl; it is about understanding the molecular bond between water and earth. You are essentially a geologist with a deadline. The clay feels tactile and responsive, yet it possesses a stubborn memory that will record every stray fingerprint or uneven pressure. To succeed, you must learn to speak its language. We are going to dive deep into the physics of plastic deformation and the sheer joy of getting your hands dirty. By the time we are finished, you will understand how to manipulate tensile strength and moisture levels to create pieces that survive the intense heat of the kiln. Grab your apron and let us get started.
THE STUDIO KIT
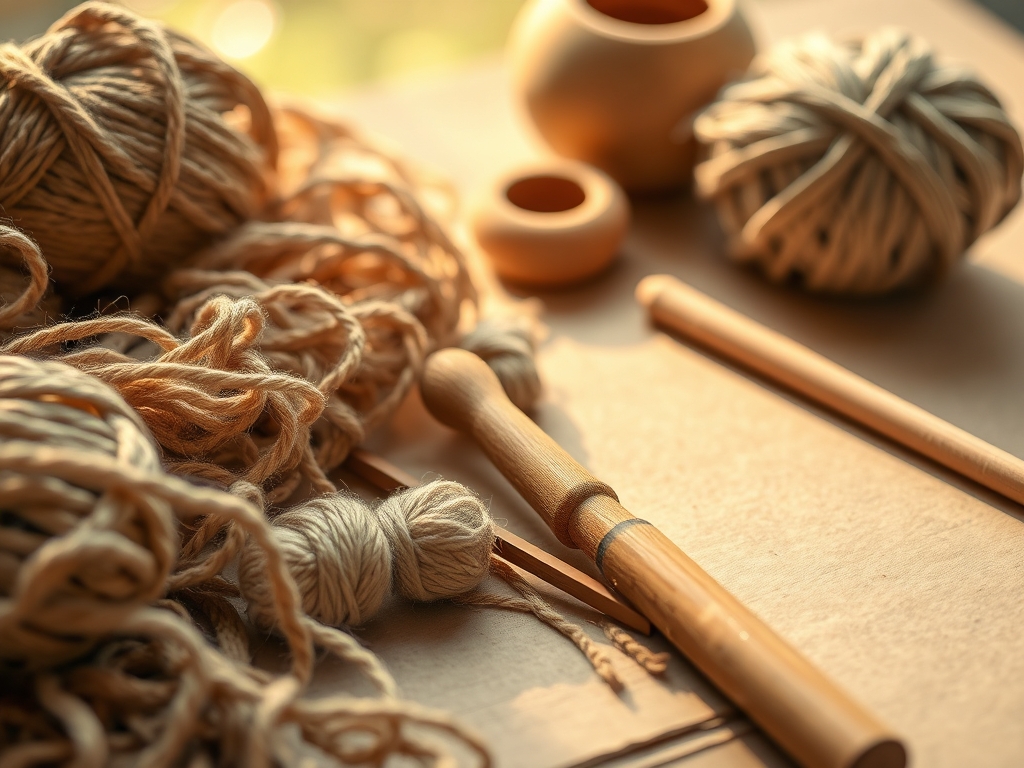
THE STUDIO KIT
To start, you need a curated selection of tools that extend your reach and precision. Your primary material is stoneware clay, chosen for its high plastic limit and forgiving nature. You will need a wire clay cutter to slice through the dense block without compressing the internal structure. For shaping, a metal rib and a wooden modeling tool are essential for refining the silhouette and smoothing the porous surface. Precision work requires a needle tool for trimming rims and checking the depth of your base.
Do not forget the sponge, which acts as your primary moisture regulator. For more advanced detailing, professional potters often use calipers to ensure symmetry and loop tools for carving away excess mass during the trimming phase. If you are working in a home environment, you can utilize Material Substitutions: a rolling pin serves as a slab roller, and a credit card can replace a professional rib. Always keep a bucket of water nearby to maintain the ergonomic flow of your movements, but avoid over-saturating the clay, which can compromise its structural integrity.
THE TEMPO
The "Maker's Rhythm" is governed by the evaporation rate of water. Pottery is a slow-motion dance with physics. The initial shaping phase usually takes thirty to sixty minutes, depending on the complexity of the form. However, the real work happens during the drying cycles. You must allow the piece to reach the leather-hard stage, which can take anywhere from six to twenty-four hours depending on your studio's humidity. This is the sweet spot where the clay is firm enough to be carved but still contains enough moisture to be joined.
Once the piece is bone-dry, it undergoes a bisque fire, lasting about twelve hours, followed by a cooling period of another twenty-four hours. Glazing and the final high-temperature firing add several more days to the timeline. Patience is your most important tool. Rushing the drying process creates uneven tensile stress, leading to cracks or explosions in the kiln. Respect the tempo, and the clay will reward you with longevity.
THE CORE METHOD
1. Wedging for Homogeneity
Before the clay touches the wheel or the table, you must wedge it. This process involves a rhythmic folding and pressing motion, similar to kneading dough. The goal is to remove air bubbles and align the clay particles into a consistent density.
Mastery Tip: This technique utilizes mechanical homogenization. By breaking down the internal lumps, you ensure that the clay shrinks at a uniform rate, preventing structural failure during the drying phase.
2. The Centering Force
On the wheel, centering is the most critical of all beginner pottery techniques. You must use your body weight to push the clay into the exact dead center of the spinning head.
Mastery Tip: This relies on centripetal force. By keeping your elbows locked against your hips, you provide a stationary anchor that forces the chaotic mass of clay into a perfect, balanced cylinder.
3. Opening the Well
Once centered, you press your thumbs into the middle to create a hole. You must leave about half an inch of clay at the bottom to serve as the floor.
Mastery Tip: Use your calipers or a needle tool to check the floor thickness. Maintaining a consistent base prevents "S-cracks," which occur when the center dries slower than the walls.
4. The Pinch Pot Method
For hand-building, the pinch pot is the foundational skill. You rotate a ball of clay in your hand, gently squeezing the walls between your thumb and fingers to create an even thickness.
Mastery Tip: Focus on compression. Even pressure prevents the rim from thinning out too quickly, which would cause the walls to collapse under their own weight.
5. Coil Construction
Coiling involves rolling out long, snake-like ropes of clay and stacking them to build height. This allows for organic, asymmetrical shapes that are difficult to achieve on a wheel.
Mastery Tip: Use the "score and slip" method to join coils. This creates a capillary bridge where the liquid clay (slip) seeps into the scratched surface (scoring), fusing the two pieces into a single unit.
6. Slab Building
Slabs are flat sheets of clay rolled to a specific gauge. These are used to create geometric forms like boxes or angular vases.
Mastery Tip: To prevent warping, flip your slabs frequently while rolling. This manages the grain direction of the clay particles, ensuring they do not all lean in one direction, which causes curling.
7. Pulling the Walls
When throwing on the wheel, you "pull" the clay upward by squeezing it between your inside and outside hands and lifting.
Mastery Tip: This is a lesson in fluid dynamics. Moving your hands at a steady, synchronized speed ensures the wall thickness remains uniform from the base to the rim.
8. Trimming the Foot
After the piece reaches the leather-hard stage, you return it to the wheel to carve away the excess clay at the bottom, creating a "foot ring."
Mastery Tip: Trimming reduces the overall mass, which aids in even heat distribution during firing. It also creates a professional, burnished finish that lifts the piece off the kiln shelf.
9. Surface Burnishing
Using a smooth stone or a metal rib, you can rub the surface of the leather-hard clay until it shines.
Mastery Tip: Burnishing aligns the finest surface particles, reducing the porosity of the clay. This creates a natural sheen and a denser outer skin that is highly resistant to moisture.
THE TECHNICAL LEDGER
Maintenance & Longevity: Keep your tools clean and dry. Steel ribs will rust if left in water, and wooden tools can warp. Rinse your sponges thoroughly to prevent mold growth.
Material Variations:
- Sustainable: Use "reclaim" clay by re-hydrating scraps and re-wedging them.
- Premium: Porcelain offers a translucent finish but has a very low tensile strength when wet, making it a challenge for beginners.
The Correction:
- The Slump: If your walls collapse, the clay is too wet. Use a heat gun or a blow dryer to stabilize the base before continuing.
- The Crack: If a crack appears in leather-hard clay, do not just add water. Fill it with "paper clay" (slip mixed with toilet paper fibers) to provide internal reinforcement.
- The Wobble: If your piece goes off-center, stop the wheel. Re-center the top section specifically before attempting another pull.
Studio Organization: To prevent degradation, store your unfinished projects in "damp boxes" (plastic containers with a layer of wet plaster at the bottom). This maintains a 100 percent humidity environment, allowing you to work on a piece for weeks without it drying out.
THE FINAL REVEAL
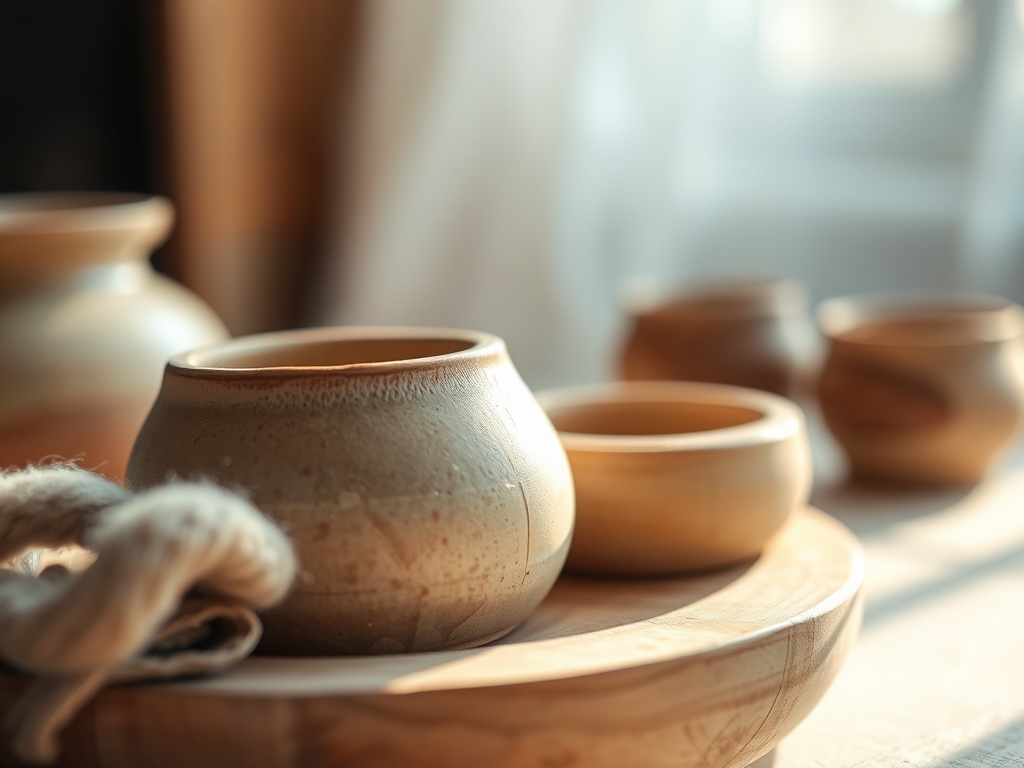
There is nothing quite like the feeling of pulling a finished piece out of the kiln. The once-grey, muddy lump has transformed into a vitrified, stone-like object with a glass-smooth finish. You can feel the weight, the balance, and the intention you poured into every curve. It is a physical manifestation of your focus and skill. Whether it is a simple mug or a complex sculptural form, you have successfully navigated the laws of physics to create something permanent. Now, go fill that mug with coffee and start planning your next masterpiece!
STUDIO QUESTIONS
What is the best clay for beginners?
Stoneware is the ideal choice because it has high plasticity and a wide firing range. It is durable, easy to wedge, and holds its shape well during the throwing process, making it very forgiving for those just starting.
How do I prevent my pottery from cracking?
Ensure even wall thickness and dry your pieces slowly away from drafts. Use a plastic cover to control evaporation. Slow drying minimizes internal stress caused by the clay shrinking as water leaves the porous structure.
Can I bake pottery in a kitchen oven?
No, a kitchen oven cannot reach the temperatures required for vitrification. You need a specialized kiln that reaches at least 1,800 degrees Fahrenheit to chemically transform the clay into ceramic and melt the glaze into glass.
What is "scoring and slipping"?
It is the process of scratching two clay surfaces and applying a liquid clay glue (slip) before joining them. This creates a strong mechanical bond by allowing the clay particles to interlock and fuse during the drying and firing stages.