
Imagine the sound of a dry sponge hitting a chalkboard. That is the thirsty, rasping song of bone dry bisque. You are standing in the studio with a piece of fired clay that feels like a pumice stone; it is porous, fragile, and desperate for a glass coating. This is the moment where your Intro to Pottery Glazing journey truly begins. You are not just painting a pot; you are managing a high stakes chemical reaction involving suspended minerals and thermal expansion. Your hands are dusty, the air smells like damp earth, and the potential for a masterpiece is literally at your fingertips. We are going to dive deep into the physics of surface tension and the molecular dance of silica. Forget those streaky brush marks from your elementary school days. We are going into the dip. It is messy, it is fast, and it is the only way to get that professional, buttery smooth finish that makes people ask where you bought it. Grab your apron and let us get technical.
THE STUDIO KIT
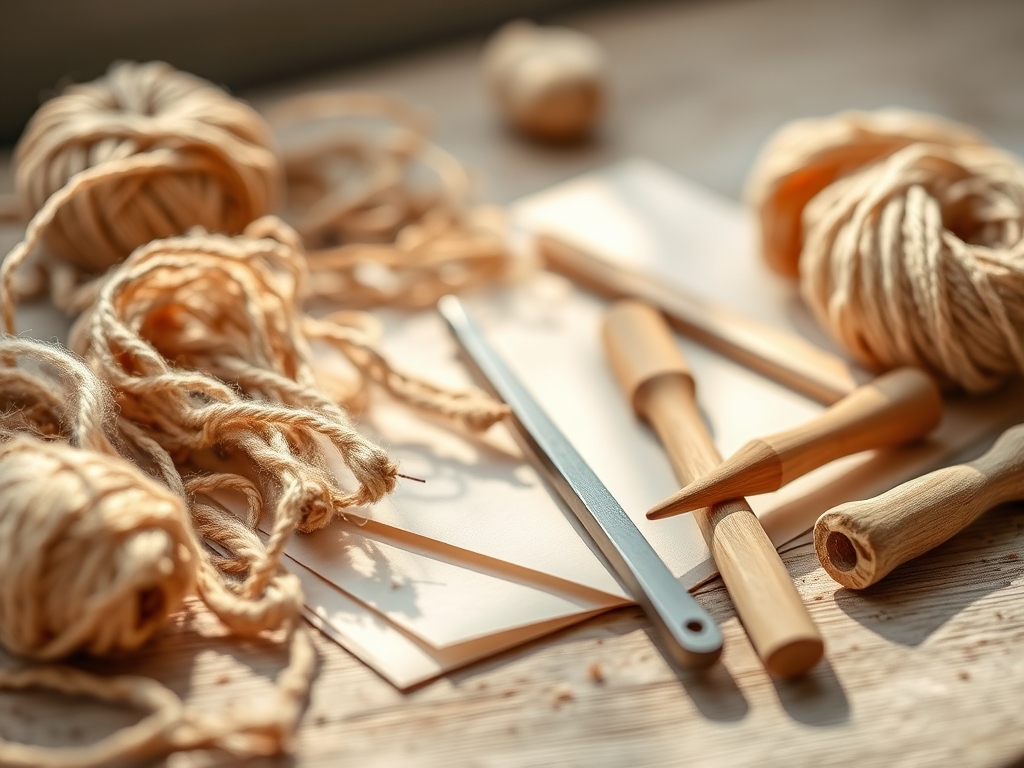
Before you even touch a bucket, you need your arsenal. The most critical tool is the dipping tongs. These are ergonomic steel pincers with needle-sharp points designed to minimize the surface area contact with your piece. If you do not have professional tongs, a pair of stainless steel kitchen tongs can be a Material Substitution, though you will need to grind the tips to a point to avoid leaving massive "beauty marks" on your clay. You will also need a viscometer or a simple "dip stick" to measure the thickness of your liquid glass.
Your glaze itself is a suspension of silica, alumina, and flux. Because these particles are heavy, they settle at the bottom of the bucket in a hard mass. You need a high speed drill mixer with a stainless steel paddle to achieve a homogenous state. For fine tuning, keep a hydrometer nearby. This tool measures the specific gravity of your liquid; it tells you exactly how much water is in your mix versus solid material. If the gravity is too high, your glaze will be a thick, cracking mess. If it is too low, your pot will look like it was washed in weak tea. Finally, grab a wax resist brush and a small sponge for cleaning the foot of your pot.
THE TEMPO
The "Maker's Rhythm" is all about timing and fluid dynamics. Glazing is not a slow, meditative process like throwing on the wheel; it is a series of calculated, high speed sprints. You have a window of exactly three to five seconds for a standard dip. Any longer and the capillary action of the porous bisque will pull in too much water, causing the glaze layer to become too thick and eventually crawl or peel off during the fire.
The rhythm follows a specific beat: Mix, Dip, Hold, Shake. You spend 90 percent of your time preparing the surface and the glaze, and only 10 percent actually applying it. Once the piece is dipped, you must allow for a "set time" of about twenty minutes before you can even think about touching it with your bare hands. If you rush the tempo, you risk smudging the delicate powder layer, ruining the structural integrity of the finish before it even hits the kiln.
THE CORE METHOD
1. The Surface De-Dusting
Before the glaze can bond, the surface must be pristine. Use a damp sponge to wipe away any "bisque dust." If dust remains, the glaze will sit on top of the particles rather than adhering to the clay body. This creates a barrier that leads to shivering.
Mastery Tip: This process also slightly hydrates the pores, which slows down the absorption rate just enough to give you a more even coating.
2. The Wax Barrier Application
Apply wax resist to the bottom of your pot. This is a hydrophobic coating that prevents glaze from sticking to the "foot." If glaze stays on the bottom, it will melt and fuse your pot to the kiln shelf, effectively destroying both.
Mastery Tip: Use a precision applicator for a crisp line. The wax works via surface tension; it literally pushes the water based glaze away from the treated area.
3. Achieving Homogeneity
Use your drill mixer to create a vortex in the glaze bucket. You are looking for the consistency of heavy cream. If the glaze has "hard panned" at the bottom, you may need to use a sturdy wooden dowel to break up the mass before using the power tool.
Mastery Tip: The physics of thixotropy is at play here. Some glazes look thick until you stir them, at which point they become fluid. Always stir immediately before dipping.
4. The Precision Grip
Claw your dipping tongs onto the piece. You want the points to hit the interior and exterior in spots that are easily patched later. Ensure your grip is firm; dropping a piece into five gallons of liquid glass is a heartbreak you do not want to experience.
Mastery Tip: Use the lever principle. Position the tongs so the weight of the pot helps keep the pincers closed during the motion.
5. The Submersion Stroke
In one fluid motion, plunge the pot into the glaze. Do not hesitate. Count to three. As you pull it out, give it a sharp, vertical shake to shed excess liquid. This prevents "runs" and "drips" that look messy.
Mastery Tip: The viscosity of the glaze determines how much "clings" to the wall. A faster exit usually results in a thinner, more even coat.
6. The Air Pocket Escape
When dipping bowls or mugs, you must tilt the piece as it enters the liquid. If you dip it flat, you will trap an air pocket inside, and the interior will remain unglazed.
Mastery Tip: This is basic fluid displacement. By entering at a 45 degree angle, you allow the air to escape and the glaze to coat the entire internal surface area.
7. The Finger Touch-Up
Once the glaze is dry to the touch, use your finger or a small brush to dab a tiny bit of glaze into the pinholes left by the tongs.
Mastery Tip: Use a burnishing motion to smooth the patch. The goal is to match the density of the surrounding glaze so the patch disappears during the melt.
8. The Foot Wipe
Even with wax, some glaze beads might cling to the bottom. Use a damp sponge to wipe the foot perfectly clean. There should be a 2mm "safety gap" of bare clay above the foot to allow for glaze "run" during the heat of the kiln.
Mastery Tip: This prevents kiln shelf contamination. A clean foot ensures the piece can expand and contract freely during the firing cycle.
9. The Density Check
Scrape a tiny bit of glaze off a test piece to check the thickness. It should be roughly the thickness of a thumbnail or a sturdy piece of cardstock.
Mastery Tip: This is the dry film thickness test. If it is too thin, the color will be washed out; if it is too thick, it will "run" and pool at the bottom.
THE TECHNICAL LEDGER
Maintenance & Longevity:
Keep your glaze buckets sealed with airtight lids. If the water evaporates, the chemical balance shifts. Every six months, pass your glaze through a 80-mesh sieve to remove any bisque chunks or dried glaze flakes that have fallen in.
Material Variations:
- Sustainable: Use "reclaim" glaze by mixing all your drips and spills into a "mystery bucket" for a unique, eco friendly base coat.
- Premium: Add cobalt carbonate or encapsulated stains for vibrant, high end color saturation.
The Correction:
- Crawling: If the glaze pulls away in spots, the bisque was oily. Fix by washing the pot in hot water and re firing to "burn off" oils before re glazing.
- Pinholing: Tiny bubbles in the finish. This is caused by "outgassing." Slow down your kiln's cooling cycle to let the glaze heal over.
- Crazing: A spiderweb of cracks. This is a fit issue where the glaze shrinks more than the clay. Add a tiny bit of silica to the mix to adjust the thermal expansion.
Studio Organization:
Store glazed pieces on a dedicated "drying rack" away from the pottery wheel. Wet clay splatter is the enemy of a perfect glaze job. Use a labeling system to track which bucket was used for which piece.
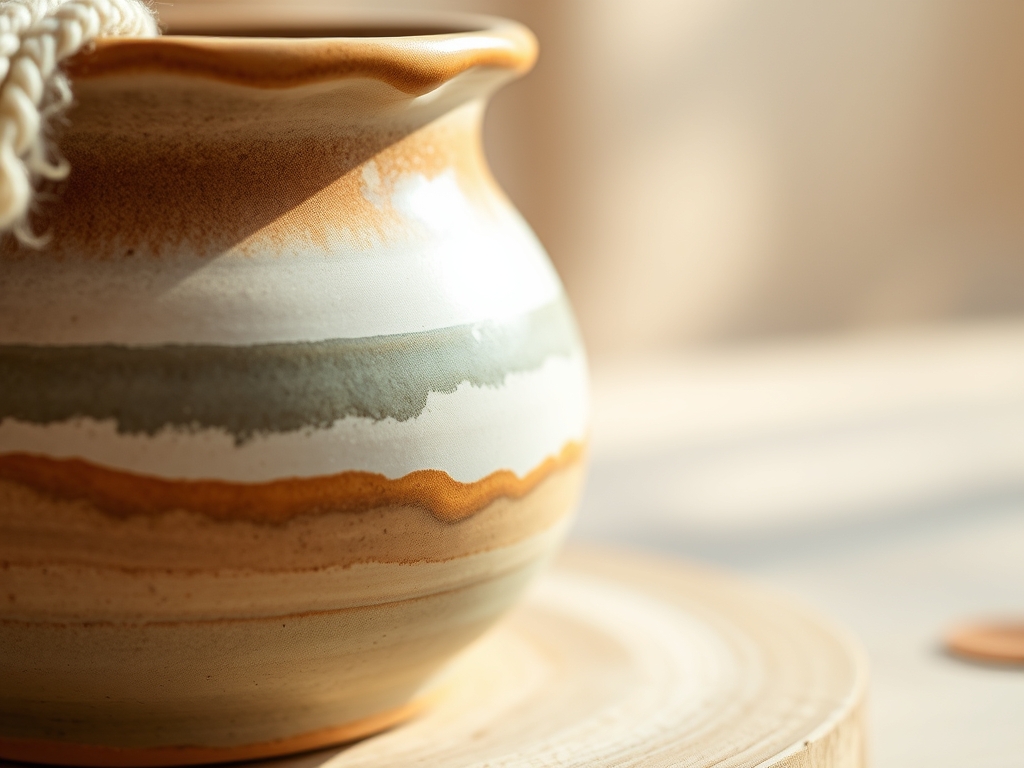
THE FINAL REVEAL
There is nothing quite like the moment you open the kiln door. That dull, chalky pot you dipped has transformed into a vitrified, glass-coated treasure. The colors are deep, the surface is smooth, and the tactile satisfaction is off the charts. You have successfully navigated the transition from raw earth to finished art. Your Intro to Pottery Glazing journey has officially leveled up from "guessing" to "mastering." Now, go pour yourself a coffee in a mug you actually made. You earned it.
STUDIO QUESTIONS
What is the best glaze thickness for beginners?
Aim for the consistency of heavy cream or a specific gravity of 1.40 to 1.50. This ensures a stable coat that is thick enough for color but thin enough to avoid running during the firing process.
Can I mix two different glazes together?
Yes, but it is a chemical gamble. Always do a small "test tile" first. Mixing can create new colors, but it can also change the melting point, potentially causing a mess on your kiln shelves.
How long does it take for glaze to dry?
Glaze "sets" in seconds but needs about 24 hours to fully air dry before firing. Firing "wet" glaze can cause the steam to blow the glaze off the pot, a phenomenon known as shivering.
Why is my glaze peeling off before firing?
This is usually caused by applying the glaze too thick or dipping a pot that still has dust or oil on it. The bond between the glaze and the bisque is purely mechanical and very fragile until fired.

