
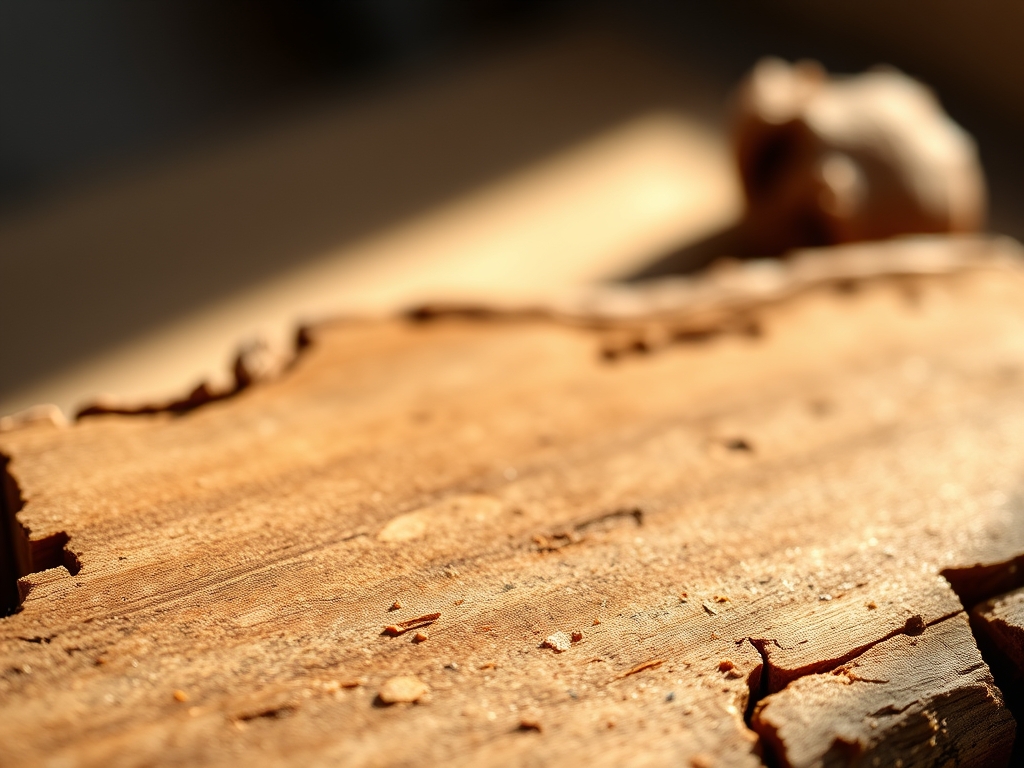
Imagine the scent of toasted marshmallow mixed with a crisp, autumn campfire. That is the intoxicating aroma of pyrography. When you press a heated metal nib into a piece of raw beechwood, you are not just drawing; you are performing a controlled thermal degradation of cellulose. Simple wood burning turns a mundane kitchen utensil into a tactile piece of art. The friction between the metal tip and the organic fibers creates a permanent chemical change, locking your design into the grain forever. You can feel the resistance of the wood as the heat severs the lignin bonds. It is addictive, rhythmic, and incredibly satisfying. We are going to take seven basic geometric patterns and elevate them into professional-grade kitchenware. Grab your safety glasses and let us get into the studio. We are about to transform high-density hardwood into a gallery-worthy collection using nothing but heat and a little bit of creative soul.
THE STUDIO KIT
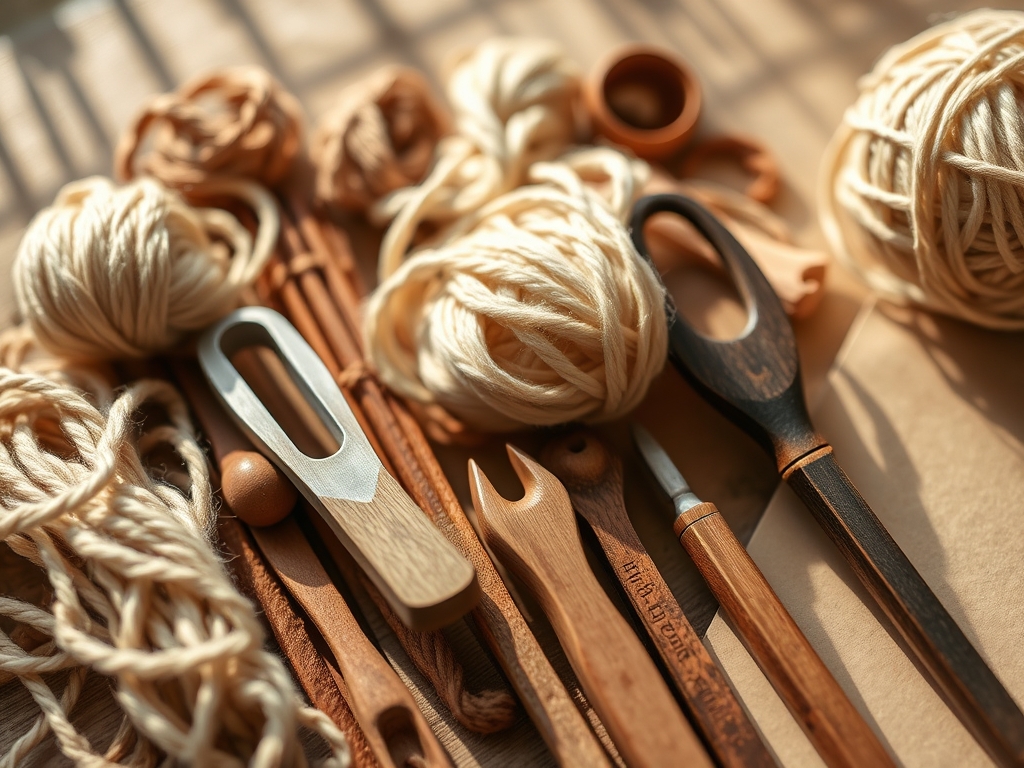
THE STUDIO KIT
To master simple wood burning, you need more than just a hot stick. You need a precision-controlled pyrography station with variable temperature settings. Unlike a basic craft iron, a professional station allows you to adjust the voltage to match the density of different wood species. You will also need a set of solid brass tips, including a universal point, a flow point for calligraphy, and a shader for gradient work.
The canvas matters just as much as the tool. For kitchen spoons, seek out closed-grain hardwoods like maple, beech, or cherry. These woods have a high specific gravity, meaning they are dense and less likely to splinter under thermal stress. Avoid softwoods like pine or cedar; their high resin content causes excessive smoke and uneven "bleeding" of the charred lines.
Material Substitutions: If you cannot find maple, bamboo is a sustainable alternative, though its high silica content will dull your nibs faster. You will also need 220-grit and 400-grit sandpaper for surface preparation, a tack cloth to remove microscopic debris, and a brass brush to clean carbon buildup off your tips during the session.
THE TEMPO
Success in the studio is all about the Maker's Rhythm. This is the psychological state where your breathing synchronizes with the stroke of the tool.
- The Preparation Phase (15 minutes): Sanding the wood to a glass-like finish is non-negotiable. If the surface is porous, the nib will jump and stutter.
- The Transfer Phase (10 minutes): Mapping your patterns with a graphite pencil ensures structural symmetry before the heat touches the wood.
- The Execution Phase (20-40 minutes per spoon): This is where the simple wood burning happens. The duration depends on the complexity of the pattern and the thermal recovery time of your tool.
- The Curing Phase (24 hours): After burning, the wood needs to "rest" before you apply a food-safe finish like butcher block oil or beeswax.
THE CORE METHOD
1. The Geometric Chevron
Begin by marking equidistant points along the handle using a digital caliper. Connect these points to create a series of "V" shapes. Use a skew tip to slice into the grain, creating deep, dark valleys of carbon.
Mastery Tip: This pattern relies on tensile strength. By burning across the grain at an angle, you are reinforcing the handle's surface tension, making it less likely to warp when exposed to boiling liquids.
2. The Micro-Dot Mandala
Using a ball-point nib, apply consistent pressure to create perfectly circular indentations. Start from a central axis and radiate outward.
Mastery Tip: This technique utilizes capillary action. If you hold the tip in one spot for too long, the heat will travel through the wood fibers like ink on a paper towel, creating a blurred "halo" effect. Keep your "dwell time" consistent.
3. The Linear Hatch
Draw fine, parallel lines along the length of the spoon bowl. This requires a steady hand and a ruling edge to ensure the lines do not converge.
Mastery Tip: Always burn with the grain direction. Burning against the grain increases friction, which can cause the tool to snag on the wood's vascular bundles, leading to uneven line weights.
4. The Botanical Vine
Use a flow tip to create organic, curving lines that mimic the growth of ivy. Add small teardrop shapes for leaves using the flat side of a universal nib.
Mastery Tip: Wood is a poor thermal conductor, which is why the area immediately surrounding your burn stays cool. Use this to your advantage by layering strokes closely together without worrying about the entire spoon overheating.
5. The Honeycomb Hexagon
This pattern requires a template or stencil. Trace small hexagons in a repeating grid. Use a sharp chisel nib to define the straight edges.
Mastery Tip: This pattern tests the structural integrity of the spoon. By leaving unburnt "walls" between the hexagons, you maintain the wood's natural flexibility while adding a high-friction grip.
6. The Stippled Gradient
Create a transition from solid charred black to the natural wood color by varying the density of small dots.
Mastery Tip: This is an exercise in thermal mass. As your tool loses heat to the wood, the dots will become lighter. You must wait for the heating element to recover its "set point" to maintain color consistency.
7. The Nordic Cross
A series of bold, intersecting lines that wrap around the circumference of the handle. Use a heavy-duty shader for thick, dark lines.
Mastery Tip: When wrapping a design around a curved surface, the ergonomic grip of your tool is vital. Rotate the spoon, not your wrist, to maintain a constant angle of attack.
THE TECHNICAL LEDGER
Maintenance & Longevity: Carbonized wood is naturally resistant to bacteria, but it is not invincible. Never put your burnt spoons in the dishwasher. The high-pressure steam will cause the wood fibers to expand and "fuzz," ruining the crispness of your simple wood burning. Hand wash with mild soap and re-apply oil every three months.
Material Variations: For a premium feel, use Black Walnut. It is harder to see the burn, but the subtle textural difference creates a sophisticated, "ghosted" look. For a recycled option, sand down old thrift store spoons, but ensure they are not treated with toxic varnishes before you apply heat.
The Correction:
- The Blot: If you stay too long in one spot, use a scalpel or X-Acto blade to gently scrape away the charred surface.
- The Slip: If your hand slips, integrate the stray mark into a new leaf or geometric detail.
- The Fade: If the burn is too light, do not increase pressure. Instead, slow down your stroke speed to allow the heat to penetrate deeper into the lignin.
Studio Organization: Store your finished spoons in a dry, temperature-controlled environment. Wood is hygroscopic, meaning it absorbs moisture from the air. Rapid changes in humidity can cause the burnt designs to "bloom" or the wood to check (crack).
THE FINAL REVEAL
Look at that transformation! You have taken a five-dollar piece of timber and turned it into a bespoke culinary tool. The dark, caramelized patterns pop against the pale wood, creating a visual and tactile feast. When you run your thumb over the handle, you can feel the slight indentations where the heat has carved its path. These spoons are more than just kitchen gear; they are a testament to your precision and patience. Your simple wood burning project is officially complete, and the results are nothing short of professional.
STUDIO QUESTIONS
What is the best wood for simple wood burning?
Maple and beech are superior choices due to their tight grain and high density. These hardwoods provide a smooth surface that prevents the burning nib from snagging, resulting in crisp, professional lines without the excessive smoke found in resinous softwoods.
How do I fix a mistake in wood burning?
Minor errors can be corrected using high-grit sandpaper (320 or 400) to gently sand away the charred layer. For deeper mistakes, use a sharp craft blade to scrape the area before re-sanding and re-burning the design to match the surrounding texture.
Is wood burnt cutlery safe to use with food?
Yes, provided you use untreated, natural hardwoods. The burning process itself is food-safe as it only involves heat. However, you must finish the piece with a food-grade oil, like mineral oil or beeswax, to seal the pores against bacteria.
Why is my wood burning tool losing heat?
This is usually due to "thermal recovery time." When the nib touches the cold wood, it transfers its heat. Cheaper tools struggle to maintain temperature. Work slower, or invest in a station with a higher wattage to ensure consistent heat delivery.

