
Imagine the scent of iron salts meeting the organic, earthy musk of raw cotton. You are standing in a pool of golden hour light, holding a piece of fabric that feels like a blank slate of infinite possibility. This is your Intro to Cyanotype Printing, where we transform sunlight and chemistry into permanent, Prussian blue dreams. We are not just making art; we are engineering a photochemical reaction on a cellular level within the textile fibers. It is tactile, it is messy, and it is pure magic.
THE STUDIO KIT
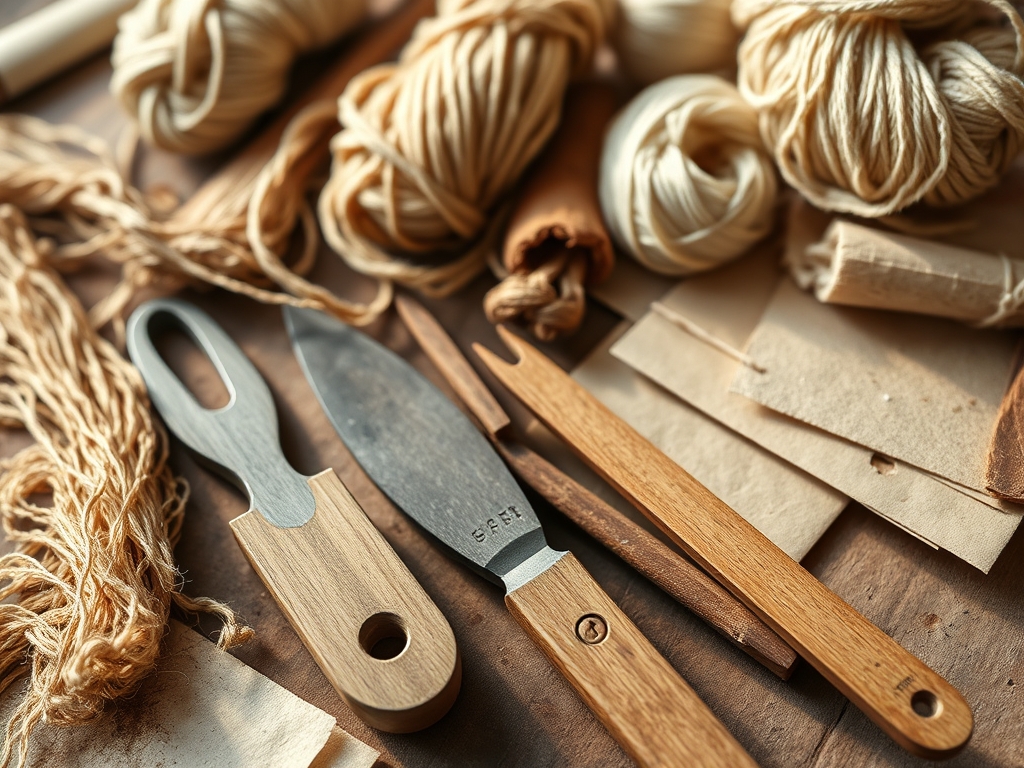
To master this process, you need a kit that respects the tensile strength and porosity of your substrate. Your primary reagents are Potassium Ferricyanide and Ferric Ammonium Citrate. When combined, these create a light-sensitive solution that penetrates the interstitial spaces of the fabric.
You will need a rotary cutter and a self-healing mat to ensure your fabric edges are crisp, preventing unravelling during the wash phase. Use a hake brush with soft natural bristles to apply the emulsion; this ensures an even coat without damaging the delicate ply of the textile. For your "negatives," gather high-contrast items like pressed ferns or intricate lace.
Material Substitutions: If you lack a professional glass contact frame, a heavy sheet of tempered glass and a rigid backing board will suffice. Use high-tension bulldog clips to ensure the contact pressure is uniform across the entire surface. If you do not have a darkroom, a dim bathroom with a yellow "bug light" works perfectly because the emulsion is primarily sensitive to the UV spectrum.
THE TEMPO
The "Maker's Rhythm" is a dance between patience and precision. The sensitization phase takes about ten minutes of active coating, followed by a mandatory drying period of two to four hours in total darkness. You cannot rush the drying; if the fibers are even slightly damp, the chemical bond will be unstable.
The exposure phase is the variable heartbeat of the project. Depending on the UV index and the time of day, your print might take anywhere from five to twenty minutes. Finally, the development and archival wash require a solid twenty minutes of rhythmic agitation in water. Total studio time? Plan for a full afternoon, but the active "hands-on" work is a high-energy sprint.
THE CORE METHOD
1. Prepare the Substrate
Start by scouring your fabric. Use a mild detergent to remove any "sizing" or factory starches that might block the capillary action of the chemicals. If the fabric is wrinkled, use a hot iron to flatten the fibers; an uneven surface creates "ghosting" where the light leaks under your objects.
Mastery Tip: Understanding surface tension is key here. If your fabric is too tightly woven, the emulsion will sit on top rather than soaking in. Choose a natural fiber like cotton or silk with a lower thread count to allow the solution to saturate the core of every thread.
2. Mix the Sensitizer
In a dim environment, mix equal parts of Solution A and Solution B. Use a graduated cylinder for volumetric accuracy. The resulting liquid should be a pale neon green. Only mix what you need for the current session, as the combined solution has a short shelf life before it begins to degrade.
Mastery Tip: This is a redox reaction in waiting. Ensure your mixing vessels are non-metallic (glass or plastic) to prevent premature oxidation which can dull the final blue.
3. Coating the Fabric
Lay your fabric flat and apply the emulsion in long, overlapping strokes. You want to achieve a uniform saturation without pooling. Use a bone folder to gently press the edges of the fabric flat if they begin to curl from the moisture.
Mastery Tip: Pay attention to the grain direction of the cloth. Brushing with the grain helps the liquid travel down the fibers via wicking, ensuring the chemistry reaches the center of the weave for a deeper, more durable color.
4. The Dark Dry
Place your coated fabric in a light-tight drawer or box. It must be completely dry to the touch before exposure. Any moisture left in the fibers will react with the glass during exposure, causing a blurred "bleeding" effect known as a blur.
Mastery Tip: Use a small fan to circulate air, but avoid high heat. Excessive heat can cause a thermal breakdown of the ferric ammonium citrate, leading to "fogging" where the highlights of your print turn grey instead of staying white.
5. Composition and Contact
Arrange your objects on the dry, sensitized fabric. This is where your inner stylist shines. Layer items to create different opacities. Once satisfied, place the glass over the top and clamp it down tightly.
Mastery Tip: The goal here is structural integrity of the shadow. Any gap between the object and the fabric allows light to diffract, softening your edges. High contact pressure is the secret to those razor-sharp, professional lines.
6. UV Exposure
Take your frame out into the direct sun. Watch as the fabric changes from green to bronze to a dull, metallic grey. This is the photochemical conversion of ferric iron to ferrous iron.
Mastery Tip: The angle of incidence matters. Position your frame perpendicular to the sun's rays to minimize shadows cast by the thickness of your objects. On cloudy days, increase exposure time by 300 percent to account for the filtered UV light.
7. The Initial Rinse
Bring the fabric back inside and plunge it into a tray of cool, running water. The unexposed chemicals will wash away in a yellow cloud, revealing the blue image underneath.
Mastery Tip: This is a lesson in solubility. You must rinse until the water runs absolutely clear. If any yellow tint remains, it will eventually turn blue over time, ruining your white highlights through a process called "bleeding."
8. The Oxidation Bath
To instantly deepen the blue to its final Prussian hue, add a splash of hydrogen peroxide to a fresh tray of water and submerge the fabric. The change is instantaneous and incredibly satisfying.
Mastery Tip: This is accelerated oxidation. While the blue would naturally darken over 24 hours as it absorbs oxygen from the air, the peroxide forces the reaction, allowing you to check your tonal range immediately.
9. Final Wash and Dry
Rinse the fabric one last time to remove the peroxide. Hang it to dry in a shaded area. Once dry, you can burnish the fabric with a cool iron to reset the fibers and enhance the luster of the print.
Mastery Tip: Avoid alkaline detergents when washing your finished piece in the future. A high pH will cause the blue to shift toward a yellow-brown, effectively bleaching the image. Use a pH-neutral soap to ensure archival longevity.
THE TECHNICAL LEDGER
Maintenance & Longevity: Cyanotypes are remarkably hardy but hate phosphates. Store your finished textiles away from direct sunlight when not in use. If a print fades due to light exposure, simply place it in a dark drawer for a few days; the image will often "regenerate" as it re-oxidizes.
Material Variations:
- Sustainable: Use upcycled linen bedsheets; the high fiber density yields incredible detail.
- Premium: Raw silk habotai provides a shimmering, ethereal quality and takes the dye with intense vibrancy.
The Correction:
- The Fade: If the blue washes away entirely, you under-exposed. Double your time in the sun.
- The Blur: If the image is fuzzy, your contact pressure was too low. Use heavier glass or stronger clips.
- The Speckle: If there are blue dots in your white areas, your work surface was contaminated with chemical dust. Clean your "dark zone" thoroughly.
Studio Organization: Store sensitized (but unexposed) fabric in black archival bags. Keep your dry chemicals in a cool, dark cabinet. Label everything with the date of mixing, as "fresh" chemistry always yields the most tactile and vivid results.
THE FINAL REVEAL
Look at that! You have successfully navigated the intersection of chemistry and craft. Your fabric now holds a permanent record of a specific moment of sunlight. The depth of that Prussian blue is unmatched; it has a visceral quality that feels both ancient and modern. Whether you turn this into a wall hanging, a pillow, or a patch for a denim jacket, you have mastered the foundational physics of the Intro to Cyanotype Printing. Go ahead, run your fingers over the weave; that color is now a part of the fiber itself.
STUDIO QUESTIONS
What fabric works best for cyanotypes?
Natural fibers like cotton, linen, and silk are ideal. They possess the necessary porosity to absorb the sensitizer. Synthetic fibers like polyester lack the "hooks" in their molecular structure to hold the pigment, resulting in a faint, washed-out image.
Can I do this on a cloudy day?
Yes, but you must adjust for the lower UV intensity. Clouds act as a giant diffuser. Your exposure time will likely triple. Use a UV light meter app on your phone to gauge the difference in light energy.
How do I get the deepest blue?
Ensure your fabric is fully saturated and your exposure is long enough to turn the fabric a "bronze" color. A quick dip in a hydrogen peroxide bath after the initial water rinse will instantly lock in that deep, midnight hue.
Is the chemistry safe for home use?
Cyanotype chemicals are relatively low-toxicity compared to other darkroom processes. However, you should always wear gloves to prevent skin irritation and work in a well-ventilated space. Never use food-preparation containers for your chemical mixing to maintain studio safety.
Why did my print turn yellow?
Yellowing usually indicates contact with an alkaline substance like bleach or high-pH tap water. It can also happen if the unexposed chemicals weren't rinsed thoroughly. A quick soak in a mild acidic solution like lemon juice can sometimes restore the blue.

