

Close your eyes and imagine the friction of raw wool against your palm or the cool, viscous slide of cornstarch slurry between your fingers. Teaching Crafts to Toddlers is not about the finished product; it is about the sensory data being uploaded to their developing brains. When a child presses a heavy stamp into soft clay, they are learning about displacement and force distribution. We are building neural pathways through tactile resistance and the satisfying snap of a dry pasta noodle. Every pinch, pour, and pull is a lesson in material physics that bypasses the verbal center and goes straight to the motor cortex. We are going to transform your kitchen table into a high performance laboratory where "mess" is just another word for kinetic energy. Grab your apron because we are about to dive into the molecular magic of making.
THE STUDIO KIT
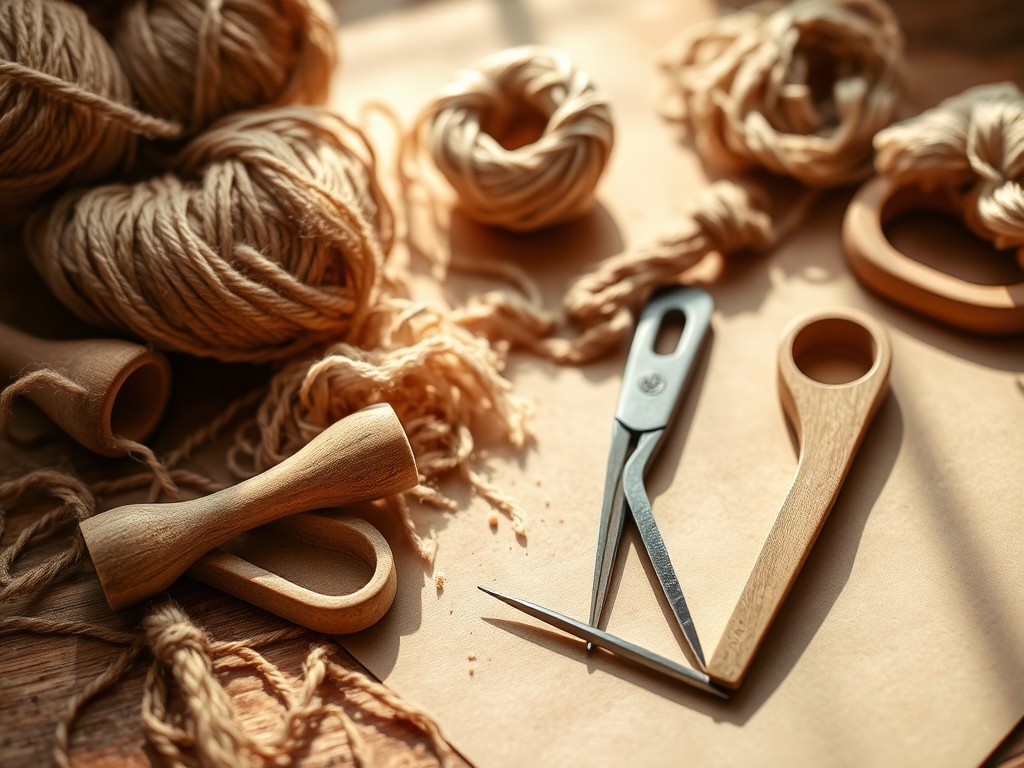
To master these sensory stations, you need tools that respect the laws of physics. Forget flimsy plastic; we want materials with specific gravity and varied textures. You will need a weighted bone folder for creating crisp creases in heavy cardstock, which utilizes mechanical leverage to break down cellulose fibers without tearing the surface. Keep a high-gauge stainless steel whisk on hand for aerating liquid mixtures, as the wire tension is perfect for introducing oxygen and creating stable foam structures. For precise measurements, use industrial calipers to show your toddler the difference between a millimeter and a centimeter.
Material Substitutions:
If you lack professional grade modeling clay, a high-salt dough provides excellent tensile strength and natural antimicrobial properties. Instead of synthetic dyes, use beet juice or turmeric; these organic pigments offer a lesson in capillary action as they travel through porous substrates. If a rotary cutter is too advanced for the space, a pair of ergonomic spring-loaded shears allows for controlled shearing forces with minimal hand fatigue.
THE TEMPO
The "Maker's Rhythm" is divided into three distinct phases: The Calibration, The Flow, and The Curing. During the Calibration (10 minutes), you introduce the material's viscosity or density. Let the toddler feel the weight of the tool before it touches the medium. The Flow (20 to 30 minutes) is the period of peak engagement where the child experiments with structural integrity. This is when the "mess" reaches its maximum entropy. Finally, The Curing (variable time) allows the project to reach stasis. Understanding this tempo prevents frustration; toddlers operate on a high-frequency, low-duration cycle, so we must match our technical instructions to their biological clock.
THE CORE METHOD
1. The Kinetic Sand Architecture
Start by mixing fine-grain silica with a polymer bonding agent like cornstarch and oil. This creates a non-Newtonian fluid behavior where the sand flows like a liquid under low stress but acts as a solid when compressed. Mastery Tip: The science here is interstitial pressure. When the toddler packs the sand into a mold, they are removing air pockets, increasing the friction between grains to create a self-supporting structure.
2. Hydrophobic Watercolor Resist
Apply heavy wax or oil pastels to a high-gsm (grams per square meter) watercolor paper. Have the toddler wash diluted pigment over the top. Mastery Tip: This demonstrates surface tension and molecular polarity. The wax is non-polar and repels the water-based paint, forcing the pigment to settle only in the untreated, porous areas of the paper fibers.
3. The Gelatin Excavation Lab
Set small plastic artifacts inside a high-bloom strength gelatin mold. Provide the child with a blunt stylus or a small awl to "mine" the objects. Mastery Tip: This teaches elasticity and shear stress. The toddler must learn how much force is required to breach the polymer chains of the gelatin without damaging the "fossils" hidden inside.
4. Texture Rubbing and Relief
Place textured items like leaves or mesh screens under a thin sheet of vellum. Use a broad-spectrum graphite stick to rub the surface. Mastery Tip: This is a lesson in topography. The graphite only adheres to the "peaks" of the material, creating a visual map of the physical elevations through simple mechanical transfer.
5. The Oobleck Viscosity Test
Mix water and cornstarch in a 1:2 ratio. This creates a classic dilatant material. Mastery Tip: This is the ultimate lesson in fluid dynamics. When the toddler hits the surface quickly, the starch granules lock together to provide resistance; when they move slowly, the granules have time to slide past each other, allowing the hand to sink.
6. Fiber Tension Weaving
Use a heavy cardboard loom with notches cut at equal intervals. Have the toddler thread thick wool roving through the warp threads. Mastery Tip: This introduces tensile load. By pulling the weft thread, the child sees how individual strands contribute to a collective structural strength, a fundamental principle of textile engineering.
THE TECHNICAL LEDGER
Maintenance & Longevity:
To preserve sensory bins, ensure all organic materials are dehydrated. Moisture is the enemy of structural stability and encourages microbial growth. Store clay in airtight silicone containers to prevent the evaporation of plasticizers.
Material Variations:
- Sustainable: Use crushed eggshells (calcium carbonate) for grit and texture.
- Recycled: Shredded corrugated cardboard provides excellent ply thickness for 3D modeling.
- Premium: Use heavy-weight cold-press paper to prevent "buckling" when moisture is introduced.
The Correction:
- The Slump: If a clay tower collapses, the moisture-to-mass ratio is too high. Add dry binder immediately.
- The Bleed: If watercolors blur excessively, the paper's absorbency is too high. Use a bone folder to burnish the surface and flatten the fibers before painting.
- The Snap: If weaving threads break, the gauge is too thin for the applied force. Double the strands to increase the total cross-sectional area.
Studio Organization:
Store your "Teaching Crafts to Toddlers" kit in a vertical shelving unit using clear, labeled bins. This allows for immediate visual inventory of your substrates and adhesives. Keep tools like the bone folder and calipers in a padded roll to protect their edges from nicks, which can cause unwanted friction during use.
THE FINAL REVEAL
Look at that! You have successfully navigated the complex physics of the playroom. Your toddler isn't just "playing" with glitter and glue; they are performing advanced experiments in adhesion, torque, and material science. The finished pieces—whether they are textured rubbings or gelatin-carved artifacts—are artifacts of a deep, tactile conversation between a human and the physical world. Your studio is now a hub of high-energy discovery where every spill is a data point and every creation is a triumph of engineering.
STUDIO QUESTIONS
How do I prevent paper from curling during wet crafts?
Use a higher gsm paper and tape the edges to a flat surface. This creates a mechanical hold that resists the internal stresses caused by fiber expansion as the water saturates the cellulose matrix.
What is the best way to clean up polymer-based messes?
Wait for the material to reach its glass transition temperature or simply dry out. Many craft polymers become brittle when dehydrated, allowing you to use a scraper to snap the bond between the mess and the table surface.
Why does my toddler lose interest in "perfect" crafts?
Toddlers are biologically programmed for process-oriented exploration. They value the kinetic feedback of the material over the aesthetic outcome. Focus on the resistance and texture of the tools rather than the visual symmetry of the final piece.
Is there a way to make DIY glue stronger?
Increase the protein or starch density in your mixture. By simmering the solution longer, you evaporate excess water, which concentrates the bonding agents and results in a higher shear strength once the adhesive fully cures.
What tool helps most with toddler fine motor skills?
A pair of reverse-action tweezers or a small palette knife. These tools require specific grip tension and wrist stabilization, which helps the child master the fine motor control needed for complex mechanical tasks later in life.

