
Imagine the scent of linseed oil and the cool, rubbery resistance of a fresh grey block beneath your fingertips. We are diving into an intro to lino printing, and honestly, it is the most satisfying sensory experience you will ever have in a studio. There is a specific physics to it; you are not just drawing, you are physically displacing matter to create a relief surface. When the steel blade meets the surface, you feel that momentary tension before the lino yields, curling away in a perfect, waxy ribbon. It is a dance between the tensile strength of the material and the sharpness of your edge. We are going to transform a flat, silent slab into a rhythmic engine for reproduction. Grab your apron and your favorite playlist, because we are about to turn high-pressure friction into high-brow art. This process requires a blend of brute force and surgical precision, and I am going to make sure you master the mechanical soul of every single stroke.
THE STUDIO KIT
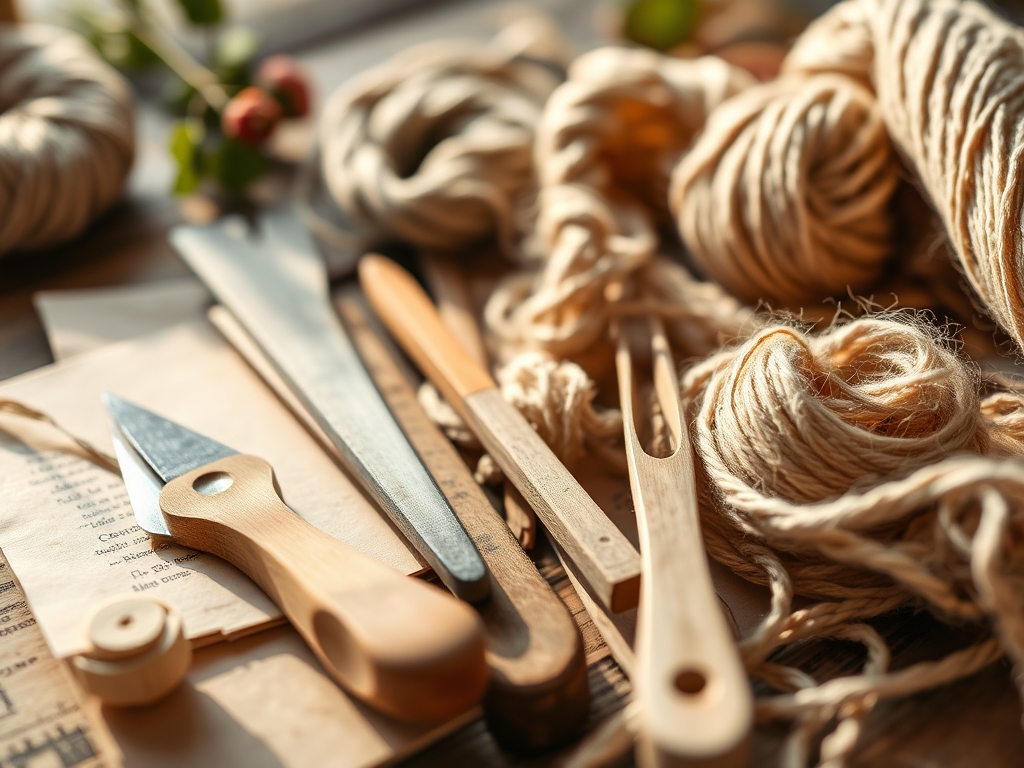
To master this craft, you need a kit that respects the laws of friction. Your primary weapon is the linoleum cutter, typically a handle with interchangeable steel nibs. These nibs are categorized by their profile: the V-tool is for fine, structural lines while the U-gouge clears larger areas of negative space. You will also need a brayer, which is a high-density rubber roller designed to distribute ink with mathematical evenness. For the substrate, we use traditional "battleship" lino made of solidified linseed oil and cork dust on a jute burlap backing. This material has a specific shore hardness that resists crumbling under the pressure of a printing press.
If you are looking for Material Substitutions, you can swap traditional lino for soft-cut synthetic blocks. These are made of PVC or rubber polymers; they lack the grain resistance of real lino, making them easier on your wrists but less capable of holding micro-fine details. For the ink, professional oil-based relief ink provides the best "tack" and pigment density, but water-miscible oils are a fantastic sustainable alternative that cleans up with simple soap and water. You might even find yourself reaching for a bone folder to burnish the paper or a rotary cutter to trim your blocks to a specific gauge before you begin.
THE TEMPO
The "Maker's Rhythm" is all about managing your chemical and physical windows. The Prep Phase takes about 30 minutes; this involves sanding the factory sheen off your lino to increase its porosity. The Carving Phase is the heart of the project and can span anywhere from two to ten hours depending on the complexity of your design. This is where you find your flow, moving with the grain of the material. Finally, the Inking and Pulling Phase requires about 45 minutes of intense focus. You have to work within the "open time" of your ink before it begins to tack up too much, which can cause the paper to tear due to excessive surface tension.
THE CORE METHOD
1. Surface Preparation and Transfer
Before you carve, you must degrease the block. Use a fine-grit sandpaper to scuff the surface, which creates "tooth" for the ink to grab onto later. Transfer your design using graphite paper or by drawing directly with a permanent marker. Mastery Tip: The science of the "reverse image" is crucial here. Since printing is a mirror-process, any text must be transferred backward. Use a calipers to ensure your margins are equidistant from the edge of the block to maintain structural integrity during the high-pressure printing phase.
2. The Outline and First Cut
Start with your smallest V-gouge. Hold the tool at a 30-degree angle to the surface. If you go too steep, you will dig into the jute backing; too shallow, and you will just skid across the top. Mastery Tip: This is about shear strength. By cutting a "V" shape, you are creating a wall that supports the remaining surface area. A vertical cut would collapse under the weight of the roller, but a sloped wall distributes the downward force of the press evenly.
3. Clearing the Negative Space
Switch to a wide U-gouge to remove the areas you want to remain white. This is where you define the "relief." Move the tool in consistent, rhythmic strokes. Mastery Tip: Pay attention to the chip load. If the lino is resisting or "chattering," warm it up slightly with a hairdryer. Increasing the temperature of the linseed oil binder makes the material more ductile, allowing the blade to glide through with significantly less physical exertion.
4. Charging the Brayer
Squeeze a small amount of ink onto a glass slab. Use your brayer to roll it out until you hear a distinct "hissing" sound. This sound indicates that the ink has reached the optimal thickness, usually measured in microns. Mastery Tip: This is a lesson in viscosity and tack. You want the ink to be thick enough to cover the surface but thin enough that it does not fill in your fine carved lines through capillary action. If the ink looks like orange peel texture, it is too thick.
5. The Final Pull
Lay your paper carefully over the inked block. Use a barren or a heavy metal spoon to burnish the back of the paper in circular motions. Mastery Tip: This step relies on atmospheric pressure and adhesion. By applying localized pressure, you are forcing the fibers of the paper into the ink film. Peel the paper back slowly to avoid "picking," which happens when the ink's internal cohesion is stronger than the paper's surface strength.
THE TECHNICAL LEDGER
Maintenance & Longevity: Steel nibs lose their edge quickly against the abrasive cork in lino. Use a leather strop with polishing compound every 20 minutes to maintain a razor-sharp bevel. This reduces the force required to cut and prevents accidental slips.
Material Variations: For a premium experience, use washi paper made from mulberry fibers. These fibers are incredibly long and provide high tensile strength, meaning the paper can be very thin yet resist tearing when pulled away from tacky ink. For a sustainable route, use recycled linoleum or even carved wood blocks (woodcut), though wood requires a jeweler's saw for certain internal cutouts.
The Correction:
- The Slip: If your tool gouges an area meant to be solid, fill the hole with "liquid wood" or wood filler. Sand it flush once dry.
- The Blur: If your print looks fuzzy, you have used too much ink. Use a clean roller to "lift" excess ink off the block before printing again.
- The Saltiness: If the print looks speckled, you have not applied enough pressure. Increase your burnishing time or dampen your paper slightly to increase its malleability.
Studio Organization: Store your carved blocks flat in a cool, dry place. Excessive heat can cause the linseed oil to further oxidize, making the block brittle and prone to cracking. Wrap them in acid-free tissue paper to prevent "ghosting" where the ink residue transfers to other surfaces.
THE FINAL REVEAL
There is nothing quite like that moment you peel back the paper to reveal your first crisp, high-contrast image. The transition from a dull grey slab to a vibrant, textured piece of art is pure magic. You can see the physical evidence of your labor in every carved groove and every ink-saturated fiber. It is bold; it is graphic; and it is uniquely yours. You have successfully navigated the physics of relief printing, and honestly, you killed it.
STUDIO QUESTIONS
What is the best lino for beginners?
Traditional grey "battleship" linoleum is best because it provides the most consistent resistance. This allows beginners to develop muscle memory and control over their cutting force without the tool slipping through overly soft, synthetic materials.
How do I sharpen my carving tools?
Use a leather strop coated with a fine abrasive paste. Drag the blade backward along the leather at the same angle as the bevel. This removes the "burr" and maintains the structural integrity of the steel edge for cleaner cuts.
Why is my ink not sticking to the lino?
This is usually due to factory wax or oils on the surface. Lightly sanding the block increases the surface area and porosity, allowing the ink to form a mechanical bond with the linoleum rather than just sitting on top.
Can I use regular paper for lino printing?
You can, but high-absorbency papers work best. Look for paper with a low "sizing" content; this allows the ink to penetrate the fibers more easily through capillary action, resulting in a much deeper and more consistent color saturation.

