
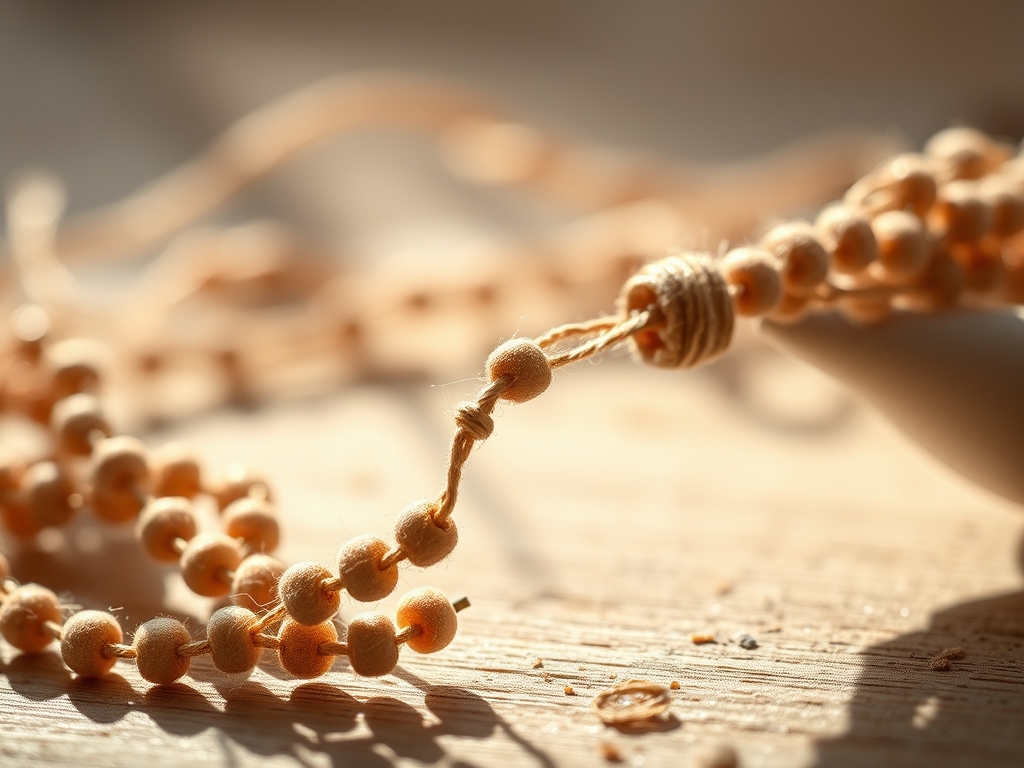
Imagine the weight of a handful of semi-precious stones resting in your palm. There is a specific, cool temperature to natural stone that plastic can never replicate. When you dive into Simple Bead Stringing, you are not just making jewelry; you are managing the structural physics of tension and friction. You can feel the micro-texture of the thread as it passes through your fingers, sensing the slight resistance of the bead's drill hole. We are looking for that perfect drape, where the necklace flows like a liquid rather than kinking like a stiff wire. To achieve this, we must respect the tensile strength of our fibers. If the thread is too thin, the sharp edges of a crystal bead will act like a saw. If it is too thick, the beads will bunch and refuse to sit flush against the collarbone. It is a delicate dance between the density of the material and the diameter of the orifice. We are building a wearable bridge, and every knot is a structural anchor point.
THE STUDIO KIT
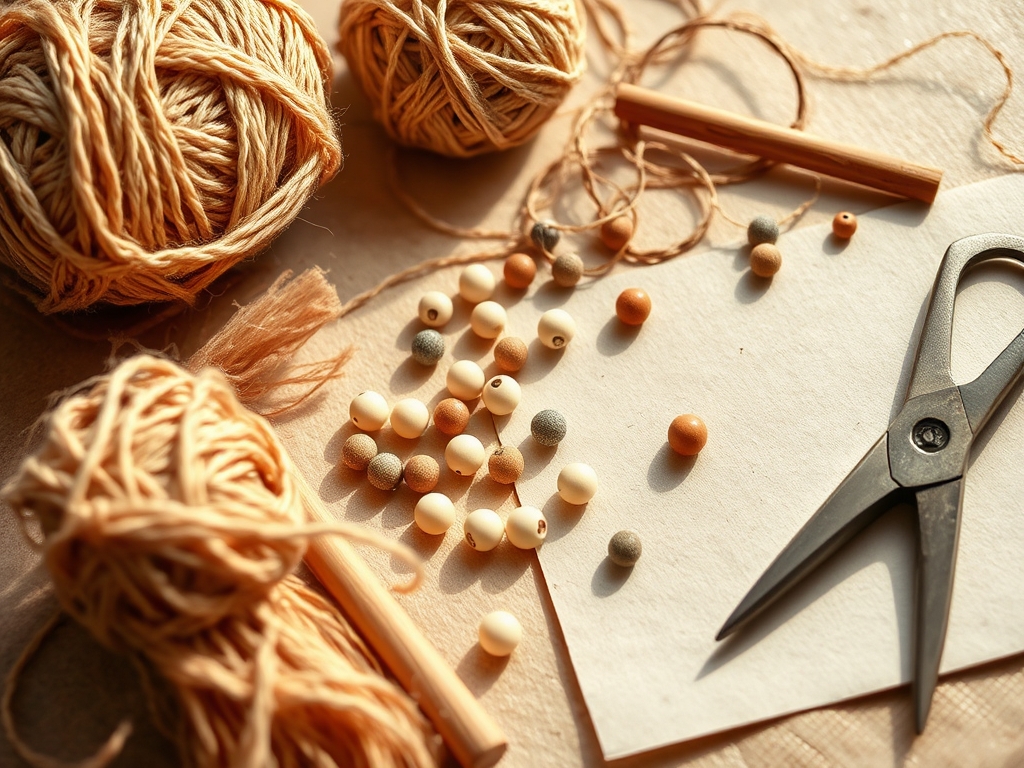
To master Simple Bead Stringing, your workstation needs to be calibrated for precision. You will need a high-quality beading mat to prevent your components from rolling, which provides the necessary friction for sorting. Grab your digital calipers to measure the exact hole diameter of your beads; assuming the size is a recipe for disaster. You will also need a fine-point awl for loosening stubborn knots and a pair of flush cutters to ensure your thread ends are clean and do not fray.
For your "Material Substitutions," if you cannot find specialized silk, a high-density bonded nylon is a fantastic alternative due to its resistance to UV degradation and moisture. While cotton thread might seem accessible, it lacks the ply stability required for heavy gemstones. Professional makers often swap standard needles for collapsible eye needles, which flatten as they pass through narrow channels, reducing the risk of cracking a delicate bead. Always keep a block of beeswax or microcrystalline wax on hand to burnish your thread, which flattens the stray fibers and increases the overall water resistance of the piece.
THE TEMPO
The Maker's Rhythm is all about the cadence of your hands. Simple Bead Stringing is not a race; it is a three-phase process that requires different mental states. The Selection Phase takes about 20 minutes; this is where you use your calipers to sort beads by weight and size. The Loading Phase is the most rhythmic part, taking roughly 45 minutes for a standard 18-inch necklace. This is where you find your flow, sliding beads onto the cord in a repetitive, meditative motion. Finally, the Finishing Phase takes 15 minutes of intense focus. This is the high-stakes moment where you secure the clasps and hide your knots. Total studio time is approximately 80 minutes, but the result is a piece engineered to last a decade.
THE CORE METHOD
1. Pre-Stretching the Core
Before a single bead touches the cord, you must address the elastic deformation of the material. Silk and nylon have a natural "memory" from being wound on a spool. Secure one end of your thread to a fixed point and pull firmly. This removes the initial stretch that would otherwise cause your necklace to sag over time.
Mastery Tip: This process accounts for tensile creep. By pre-stretching, you ensure the structural integrity of the layout remains consistent even under the constant gravitational pull of heavy beads.
2. The Anchor Knot and Clasp Attachment
Thread your needle and slide on a crimping bead followed by your clasp. Loop the thread back through the crimp. Use your chain-nose pliers to compress the crimp with steady, even pressure. This creates a mechanical bond that prevents the thread from sliding out under tension.
Mastery Tip: This utilizes frictional resistance. The flattened metal of the crimp bites into the fibers of the thread, creating a high-friction zone that can withstand several pounds of pull-force.
3. Loading the Sequence
Begin sliding your beads onto the thread. If you are using graduated sizes, start with the smallest beads near the clasp and work toward the larger focal beads in the center. Observe the alignment in the step-by-step photos below to ensure your pattern is symmetrical.
Mastery Tip: Consider the load distribution. Placing heavier beads at the center of the arc reduces the stress on the clasp area, which is the most common point of failure in Simple Bead Stringing.
4. Managing the Friction Gap
As you add beads, leave a microscopic gap between them. If they are packed too tightly, the necklace will be rigid and prone to snapping when it bends. If they are too loose, the thread will show. Aim for a "fluid" feel where the beads can shift slightly but remain cohesive.
Mastery Tip: This gap accounts for the bend radius. When a necklace curves around the neck, the outer edge of the circle requires more length than the inner edge. Without this tiny allowance, the internal tension spikes.
5. The Final Crimp and Burnish
Once the beads are loaded, repeat the crimping process at the opposite end. Trim the excess thread with your flush cutters as close to the bead as possible. Use a tiny drop of hypo-cement on the final knot to seal the fibers.
Mastery Tip: The adhesive works through capillary action, wicking into the fibers of the thread to create a solid, plasticized bond that prevents the knot from unraveling through mechanical vibration.
THE TECHNICAL LEDGER
Maintenance & Longevity: To keep your creations in peak condition, avoid exposing them to ultrasonic cleaners, which can vibrate the knots loose. Wipe the beads with a damp, lint-free cloth after wearing to remove skin oils that can degrade the thread's molecular structure.
Material Variations:
- Sustainable: Hemp cord offers high tensile strength but has a higher abrasion coefficient.
- Premium: 100% natural silk provides the most elegant drape and is the industry standard for pearls.
- Recycled: Repurposed fishing line (monofilament) is incredibly durable but lacks the "breathability" of natural fibers.
The Correction:
- Mistake 1: Thread fraying during loading. Fix: Re-wax the tip or use a thread burner to cauterize the end.
- Mistake 2: The necklace feels "kinked." Fix: You have over-tensioned the crimps. You must restring with more slack.
- Mistake 3: Beads are sliding over the knots. Fix: Use a bead cap or a larger "seed bead" to act as a physical buffer.
Studio Organization: Store your thread in a dark, climate-controlled drawer. UV light breaks down the polymer chains in nylon, and humidity can cause silk to rot. Use a label maker to mark the gauge and break-strength of every spool.
THE FINAL REVEAL
Look at that masterpiece! The way those beads catch the light while hanging in a perfect, effortless U-shape is pure physics in action. You have successfully navigated the complexities of Simple Bead Stringing, turning raw materials into a structured work of art. The weight feels balanced, the knots are invisible, and the movement is totally organic. You are not just a crafter; you are a jewelry engineer. Wear it with pride, knowing every millimeter was calculated for durability and style!
STUDIO QUESTIONS
What is the best thread for heavy gemstone beads?
For heavy stones, use 49-strand stainless steel wire coated in nylon. It offers the highest tensile strength and resists the internal abrasion caused by the rougher drill holes often found in natural minerals.
Why does my silk thread keep snapping?
Silk is a natural protein fiber and can be weakened by excessive moisture or sharp bead edges. Ensure you are using a thread guard at the clasp and burnishing the cord with beeswax to reduce friction.
Can I use regular sewing thread for beads?
No, sewing thread lacks the ply density and specialized finishes required for jewelry. It will stretch and snap almost immediately under the weight of even the lightest glass beads.
How do I know what size needle to use?
Use your digital calipers to measure the bead hole. Your needle and doubled thread should be approximately 0.1mm smaller than the hole to allow for smooth passage without causing internal stress to the bead.
How often should I restring a frequently worn necklace?
For pieces worn daily, plan to restring every 12 to 18 months. This prevents "catastrophic failure" from accumulated micro-wear and environmental degradation of the internal fibers.

