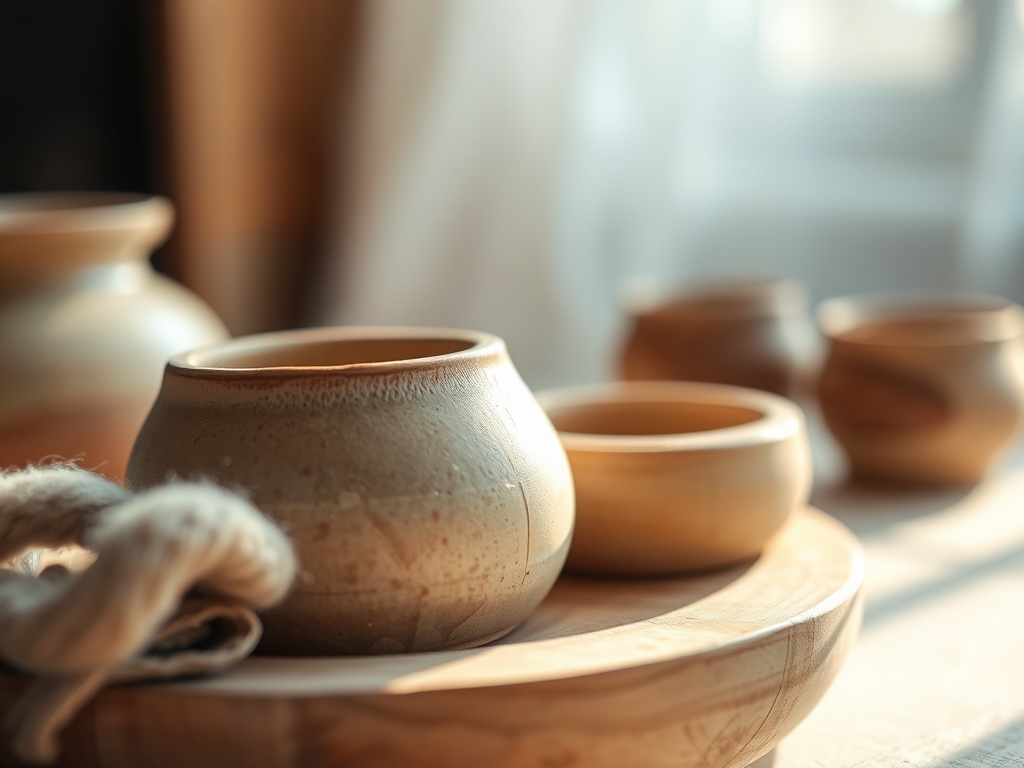
The scent of freshly sheared wool and raw cedar shavings hits you before you even cross the threshold. There is a specific, electric hum that happens when a dozen people are simultaneously manipulating matter. Whether you are feeling the tensile strength of waxed linen thread or gauging the porosity of unglazed porcelain, the sensory input is overwhelming in the best way possible. This is the magic of Community Craft Circles. Within these spaces, your individual creative spark stops being a flickering flame and becomes a collective furnace. You are not just making a thing; you are participating in a communal engineering feat. When you see a peer successfully navigate the grain direction of a difficult piece of oak, your own brain maps that victory. These circles provide the ultimate feedback loop. You get to witness the physics of failure and the chemistry of success in real time. It is about more than just hobbyist chatter. It is about the shared pursuit of mastery through tactile experimentation and the high-energy exchange of technical secrets that you simply cannot find in a solo studio setting.
THE STUDIO KIT
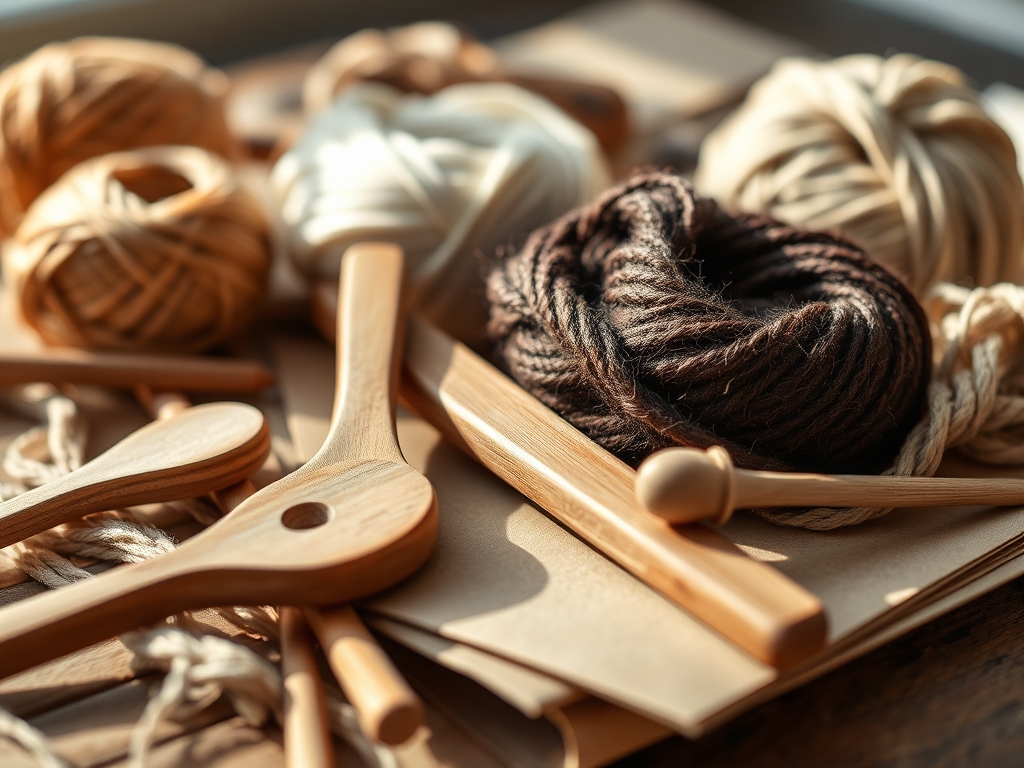
To thrive in this environment, you need a kit that respects both the material and the collective space. We are looking for high-precision instruments that offer maximum control. Your primary tool is a hardened steel awl for creating pilot holes in dense substrates without splintering the fibers. You will also need a bone folder made from genuine bovine bone; the high density of natural bone allows you to burnish edges and create crisp folds without scorching the paper or fabric fibers. For measurement, skip the plastic rulers and grab a pair of stainless steel calipers. These allow you to measure the outer diameter and wall thickness of your projects with sub-millimeter accuracy.
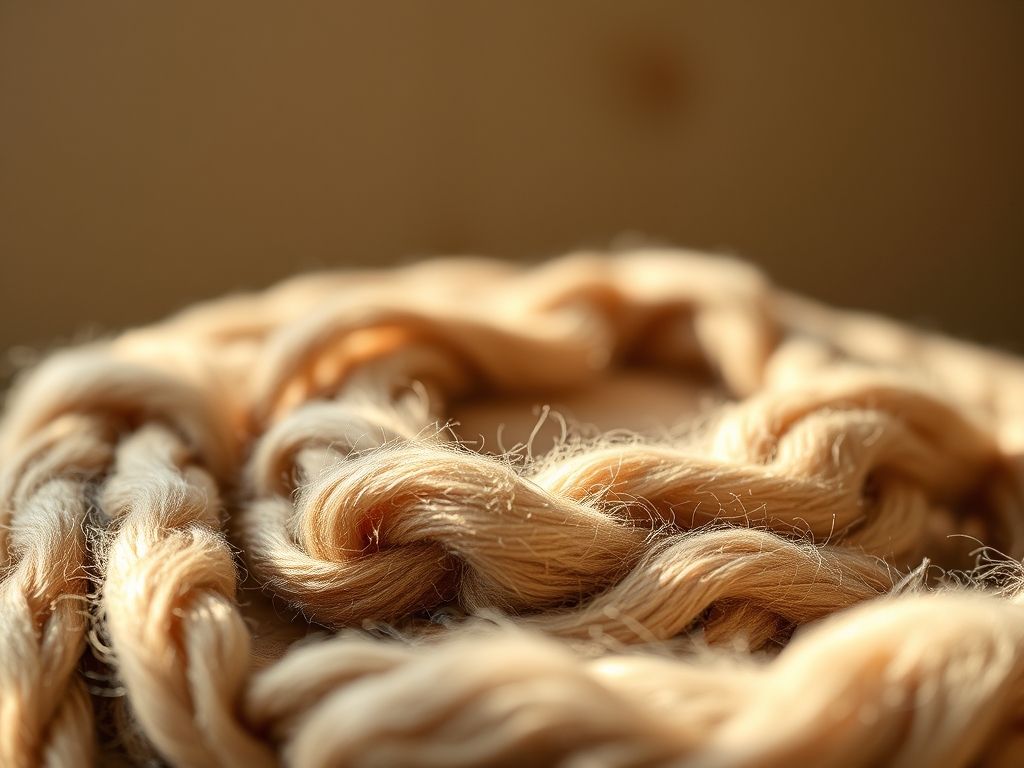
For materials, focus on high-quality multi-ply yarns or vegetable-tanned leathers. The fiber density of your base material determines how it will react to tension and environmental moisture. If you are looking for Material Substitutions, consider using high-density polyethylene (HDPE) scraps instead of traditional hardwoods if you want a waterproof, non-porous alternative. You can also swap expensive silk threads for mercerized cotton, which has been treated with sodium hydroxide to increase its luster and affinity for dye, providing a similar aesthetic at a fraction of the cost.
THE TEMPO
The "Maker's Rhythm" is a biological state where your heart rate synchronizes with the repetitive motions of your craft. In Community Craft Circles, this rhythm is infectious. The first phase is the Acclimation Phase (30 minutes), where you prep your station and calibrate your tools. This is followed by the Flow State (2 to 3 hours), the period of deep work where the most significant structural progress occurs. Finally, there is the Integration Phase (30 minutes), where the group critiques the day's output.
Timing is governed by the material. For example, if you are working with adhesives, you are beholden to the open time of the glue. If you are working with clay, you must respect the evaporation rate to prevent cracking. Understanding these windows of opportunity is what separates a novice from a master. In a circle, you have ten other sets of eyes helping you monitor these critical timelines.
THE CORE METHOD
1. Structural Mapping and Layout
Before the first cut, you must map the internal geometry of your piece. Use a light-colored chalk or a non-bleeding graphite pencil to mark your cut lines. Always account for the kerf, which is the width of the material removed by the cutting tool itself.
Mastery Tip: Always align your primary stress points with the longitudinal grain of your material. This utilizes the natural tensile strength of the fibers to prevent structural failure under load.
2. Precision Material Reduction
Using a rotary cutter or a fine-toothed jeweler's saw, begin removing the excess material. The key here is consistent pressure. If you are cutting through leather, a single, fluid pass is superior to multiple hacking motions, as it preserves the integrity of the grain side.
Mastery Tip: To reduce friction and heat buildup during cutting, lubricate your blade with a small amount of beeswax. This maintains the temper of the steel and prevents the material from scorching.
3. Tension-Based Assembly
Whether you are stitching, bolting, or weaving, assembly is all about managing vector forces. When joining two components, ensure the tension is distributed evenly across the entire seam. If one area is tighter than another, the material will pucker or warp over time as it seeks equilibrium.
Mastery Tip: Use the principle of capillary action when applying liquid adhesives or dyes. By touching the applicator to the edge of a tight joint, the liquid will naturally pull into the gap, creating a more secure and invisible bond.
4. Edge Refinement and Burnishing
The final step is to seal the edges. Use your bone folder or a wooden burnisher to compress the fibers at the seams. This creates a smooth, rounded profile that resists fraying and moisture ingress.
Mastery Tip: The heat generated by friction during burnishing actually melts the natural waxes or lignins within the material. This process, known as plasticization, creates a permanent, hardened barrier that enhances the longevity of the piece.
THE TECHNICAL LEDGER
Maintenance & Longevity
To keep your creations in peak condition, you must manage the hygroscopic nature of organic materials. Wood, leather, and natural fibers will expand and contract with humidity. Apply a thin layer of microcrystalline wax to create a pH-neutral barrier against atmospheric moisture and acidic oils from your skin.
Material Variations
- Sustainable: Use cork fabric, which has a cellular structure similar to a honeycomb, providing natural shock absorption.
- Recycled: Reclaimed copper wire can be annealed (heated and slowly cooled) to restore its ductility for intricate weaving.
- Premium: Grade A goatskin (Saffiano) offers a cross-hatch finish that is highly resistant to abrasion.
The Correction: Common Pitfalls
- The Mistake: Material "creeping" or shifting during a cut. The Fix: Use a high-tack, low-residue repositionable adhesive or specialized spring clamps to lock the layers in place.
- The Mistake: Thread snapping during high-tension stitching. The Fix: Check the denier (thickness) of your thread. If the load is too high, switch to a bonded nylon which has a higher breaking strength.
- The Mistake: Uneven dye penetration. The Fix: Pre-treat the surface with a "degazer" or a light alcohol rub to break the surface tension and allow the pigment to penetrate the pores evenly.
Studio Organization
Store your projects in a climate-controlled environment away from direct UV light. Use acid-free tissue paper to prevent acid migration between different material types. If storing heavy tools like an oscillating tool or heavy hammers, ensure they are oiled to prevent oxidation on the metal surfaces.
THE FINAL REVEAL
Look at that! The finished piece is a testament to the structural integrity and aesthetic harmony you achieved through collective knowledge. Because you worked within Community Craft Circles, your edges are sharper, your tension is more consistent, and your confidence is through the roof. You can feel the weight and the balance of the object; it feels "right" because the physics are sound. This is not just a craft project. It is a high-performance artifact born from shared passion and technical rigor.
STUDIO QUESTIONS
Why is grain direction important in crafting?
Aligning your design with the grain maximizes tensile strength. Cutting against the grain introduces structural weaknesses, making the material prone to snapping or splitting when placed under mechanical stress or environmental pressure.
What does burnishing actually do to the material?
Burnishing uses friction to generate heat, which compresses surface fibers and fuses them together. This process, called plasticization, creates a smooth, hardened edge that prevents fraying and blocks moisture from entering the material core.
How do I choose the right gauge of wire or thread?
Selection depends on the load-bearing requirements of the project. A higher gauge (thinner) is for intricate detail, while a lower gauge (thicker) offers the necessary shear resistance for structural joints and heavy-duty applications.
What is the benefit of using a bone folder over plastic?
Natural bone is denser and smoother than plastic. It dissipates heat more effectively during burnishing and will not leave "shiny" friction marks or plastic residue on delicate porous surfaces like high-end paper or leather.