Grab your favorite pair of calipers and clear the workbench because we are diving deep into the tactile soul of making. There is a specific, electric hum that vibrates through the studio when your hands finally understand the material physics of your medium. Nurturing Creative Confidence starts with the sensory realization that you are the master of the grain, the tension, and the bond. Whether you are feeling the cool, non-porous surface of polished stone or the fibrous, organic resistance of high-gauge leather, your confidence grows as your technical literacy expands. We are not just making things; we are manipulating physical properties to match our internal visions. This journey requires more than just inspiration. It requires a rigorous understanding of how moisture affects wood expansion or how heat changes the molecular viscosity of resins. When you stop fearing the material and start negotiating with its inherent structural integrity, your creative voice finally finds its volume. Let us build that armor of expertise together, one precise measurement at a time.
THE STUDIO KIT
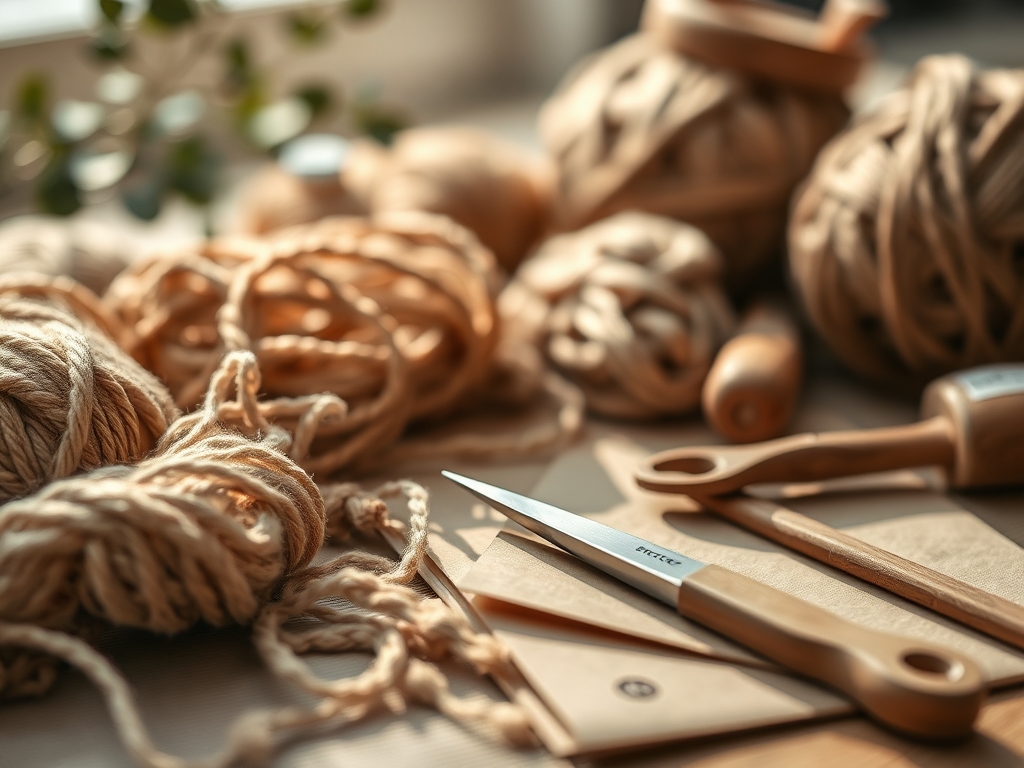
To master the art of the studio, you need a kit that respects the laws of physics. Your primary tool is the bone folder; it is essential for creating crisp, compressed fibers in paper or leather without tearing the surface. Next, you must have a high-quality steel ruler with a cork backing to prevent slippage during high-pressure cuts. For precision, a rotary cutter with a tungsten carbide blade ensures a clean shear through multi-ply materials without dragging the grain. You will also need a set of digital calipers to measure thickness down to the micron. This is vital because a variance of even 0.5mm can ruin the structural fit of a dovetail or a bezel setting.
Material Substitutions: If you cannot source premium vegetable-tanned leather, high-density cork fabric offers a similar tensile strength with a more sustainable footprint. For those working in structural builds, architectural chipboard can substitute for plywood in prototyping phases; just remember that its hygroscopic nature means it will swell in high humidity. Always keep a burnishing tool nearby to seal edges. This process uses friction to melt natural waxes into the fibers, creating a waterproof barrier and a professional finish.
THE TEMPO
The Maker's Rhythm is a biological synchronization between your heart rate and your tool speed. Nurturing Creative Confidence requires a disciplined schedule. The Incubation Phase takes approximately two hours; this is where you map the grain direction and calculate material displacement. The Execution Phase is the longest, often requiring six to eight hours of focused labor. This is where the "flow state" occurs, as your brain moves from conscious calculation to muscle memory. Finally, the Curing Phase is often overlooked but critical. Depending on your adhesives or finishes, this can take twenty-four to forty-eight hours. Rushing this stage risks "silvering" in glues or structural failure. Respect the clock, and the material will respect you.
THE CORE METHOD
1. Mapping the Grain
Before the first cut, you must identify the longitudinal axis of your material. In wood or paper, the fibers run in a specific direction that dictates how the piece will bend or break. Using your awl, lightly score a hidden area to test the resistance. Nurturing Creative Confidence comes from knowing that working with the grain reduces the force required by forty percent.
Mastery Tip: This is about tensile strength. Materials are always strongest parallel to their fiber orientation. If you cut against the grain for a load-bearing joint, you invite a catastrophic shear failure.
2. Calibrating the Force
Apply your tool with graduated pressure. If you are using a jeweler's saw, let the teeth do the work rather than forcing the blade through the metal. A high-frequency, light-pressure stroke prevents the blade from overheating and snapping. Observe the alignment in the step-by-step photos below to see the ideal thirty-degree angle for maximum efficiency.
Mastery Tip: This involves thermal dynamics. Excessive friction creates heat, which can temper your tools or scorch your workpiece. Keeping a steady, rhythmic pace maintains a cool cutting surface.
3. Achieving the Perfect Bond
When joining two surfaces, the secret is not more glue; it is better surface area. Use a fine-grit sandpaper to "key" the surface, creating microscopic grooves that increase the mechanical bond. Apply a thin, even layer of adhesive and use spring clamps to ensure uniform pressure across the entire interface.
Mastery Tip: This is capillary action. A thin layer of adhesive is drawn into the pores of the material, creating a bridge. Too much glue actually acts as a lubricant, causing the pieces to slide out of alignment.
4. The Art of the Burnish
Finishing is where the magic happens. Use a hardwood burnisher to rub the edges of your project. The heat generated by the friction reorganizes the fibers into a dense, smooth wall. This step is what separates an amateur "craft" from a professional "piece." It creates a tactile experience that invites the hand to touch.
Mastery Tip: You are utilizing friction-induced polymerization. The heat slightly melts the natural lignins or waxes in the material, fusing them into a solid, plastic-like edge that resists moisture.
5. Stress Testing the Structure
Once the piece is assembled, you must perform a controlled stress test. Apply gentle pressure to the joints to check for deflection. If the piece "creaks," the fit is too loose. If it feels rigid and vibrates as a single unit when tapped, the structural integrity is sound. This habit builds the "eye" for quality that defines an expert maker.
Mastery Tip: This relates to Young's Modulus, the measure of elasticity. You want your finished piece to operate within its elastic limit, meaning it can take stress and return to its original shape without permanent deformation.
6. Refining the Ergonomics
A beautiful object is a failure if it is painful to use. Take your oscillating tool with a sanding attachment and soften the contact points where the human hand meets the material. Creating a "radius" on sharp edges distributes the pressure across the palm, making the object feel lighter and more intuitive.
Mastery Tip: This is biophysical engineering. By increasing the surface area of the contact point, you reduce the pounds per square inch (PSI) exerted on the skin, significantly increasing user comfort.
7. Documenting the Variable
Keep a studio log of every project. Note the ambient temperature, the humidity, and the specific batch of materials used. If a finish fails to dry or a joint shrinks, your log will tell you why. This data-driven approach is the fastest way to nurture creative confidence because it removes the "mystery" from your mistakes.
Mastery Tip: You are tracking hygroscopic expansion. Many materials absorb water from the air, changing their dimensions by up to three percent. Knowing your studio's baseline humidity is essential for precision work.
8. The Final Polish
The final habit is the application of a protective sealant. Whether it is a carnauba wax or a poly-finish, this layer protects the material from UV degradation and oxidation. Use a lint-free microfiber cloth to buff the surface in a circular motion, ensuring total coverage without streaks.
Mastery Tip: This creates a hydrophobic barrier. By lowering the surface energy of the object, you prevent water molecules from "wetting" the surface, which stops rot and corrosion before they start.
THE TECHNICAL LEDGER
Maintenance & Longevity: To keep your studio running, sharpen your blades after every five hours of use. A dull blade requires more force, which leads to slips and injuries. Store your precision tools in a felt-lined drawer to prevent nicks in the metal.
Material Variations:
- Sustainable: Use reclaimed FSC-certified timbers; they often have a higher density due to age.
- Premium: Grade-A Italian vegetable-tanned leathers offer the best burnishing potential.
- Recycled: High-density polyethylene (HDPE) can be heat-pressed into incredibly durable sheets.
The Correction:
- The Gap: If a joint has a gap, mix sawdust from the same material with wood glue to create a structural filler.
- The Tear: If you over-cut a line, use a "stop-drill" technique by poking a tiny hole at the end of the tear to prevent it from spreading.
- The Stain: If glue seeps onto a finished surface, wait for it to become "rubbery" before peeling; never wipe it while wet, or you will drive it into the pores.
Studio Organization: Store your materials vertically to prevent warping under their own weight. Use airtight bins for any porous materials like paper or unfinished wood to maintain a consistent moisture content.
THE FINAL REVEAL
Look at that! Your finished piece is a testament to the marriage of physics and art. It feels substantial in the hand; it has a weight that speaks to its quality and a finish that reflects the light with professional clarity. By Nurturing Creative Confidence through technical mastery, you have moved beyond "trying" and into "doing." Every crisp edge and solid joint is a victory for your studio practice. You are no longer just a hobbyist; you are a maker who understands the very molecules of her craft.
STUDIO QUESTIONS
How do I stop my wood from cracking?
Maintain a consistent humidity level in your studio between 40 and 50 percent. Use a hygrometer to monitor the air. Rapid changes in moisture cause the fibers to expand and contract unevenly, leading to structural "checking" or cracks.
What is the best tool for precision cutting?
A scalpel with a #11 blade or a high-quality rotary cutter is best. These tools provide the highest "PSI" at the point of contact, allowing you to slice through fibers without the crushing force that causes fraying or jagged edges.
Why does my glue keep failing?
Most glue failures are due to "starved joints" or surface contamination. Ensure both surfaces are free of oils from your skin and that you have applied enough pressure to force the adhesive into the material's microscopic pores for a mechanical lock.
How can I make my projects look more professional?
Focus on the "hidden" details. Burnish your edges, sand your undersides to the same grit as the tops, and ensure all hardware is perfectly countersunk. Professionalism is found in the places where most people think no one will look.