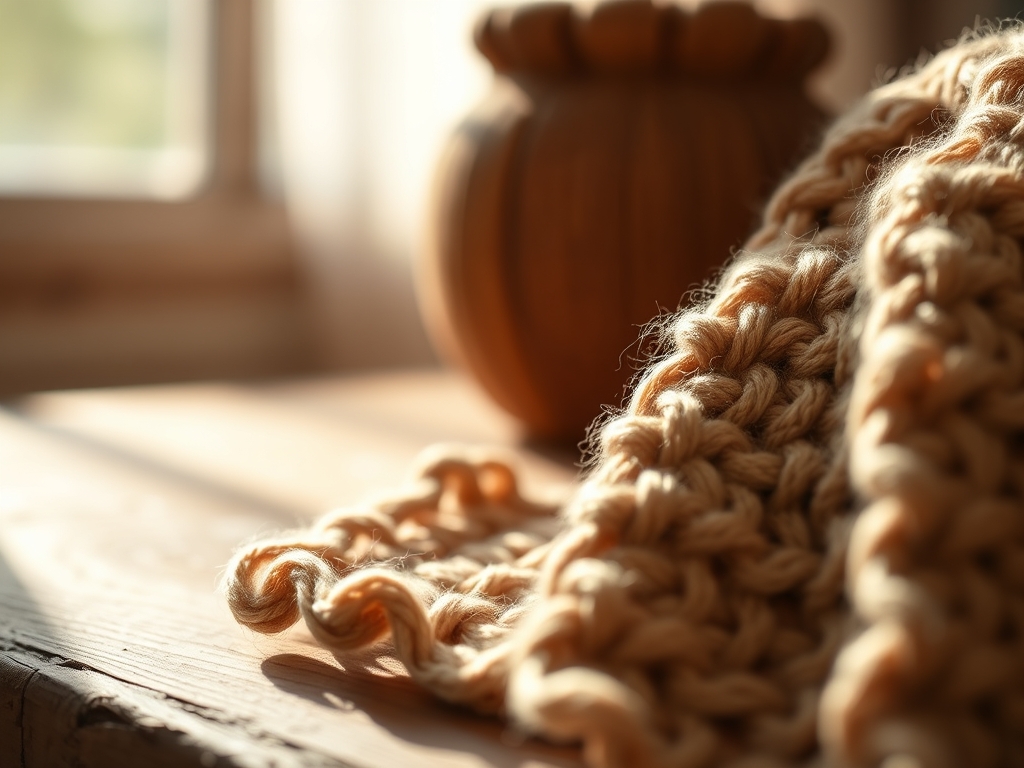
Listen, I can see you eyeing that bag of soy flakes like it is just a hobby, but we are about to treat this like a high-end laboratory experiment. Grab your apron because Simple Candle Making is less about melting goop and more about mastering the molecular dance of vegetable lipids. When you reach into that bag, feel the flakes; they should be soft, almost creamy, indicating a high oil content that promises a smooth finish. We are not just making a scent; we are engineering a vessel of light that relies on the structural integrity of the wax lattice. If your flakes feel brittle, the moisture content is off. If they are too oily, your fragrance load will bleed. We are looking for that perfect, tactile balance where the soy feels like cold silk between your fingertips. This is where the magic happens. We are going to manipulate heat, surface tension, and capillary action to turn a pile of plant matter into a professional-grade olfactory experience that will make your living room smell like a five-star spa.
THE STUDIO KIT
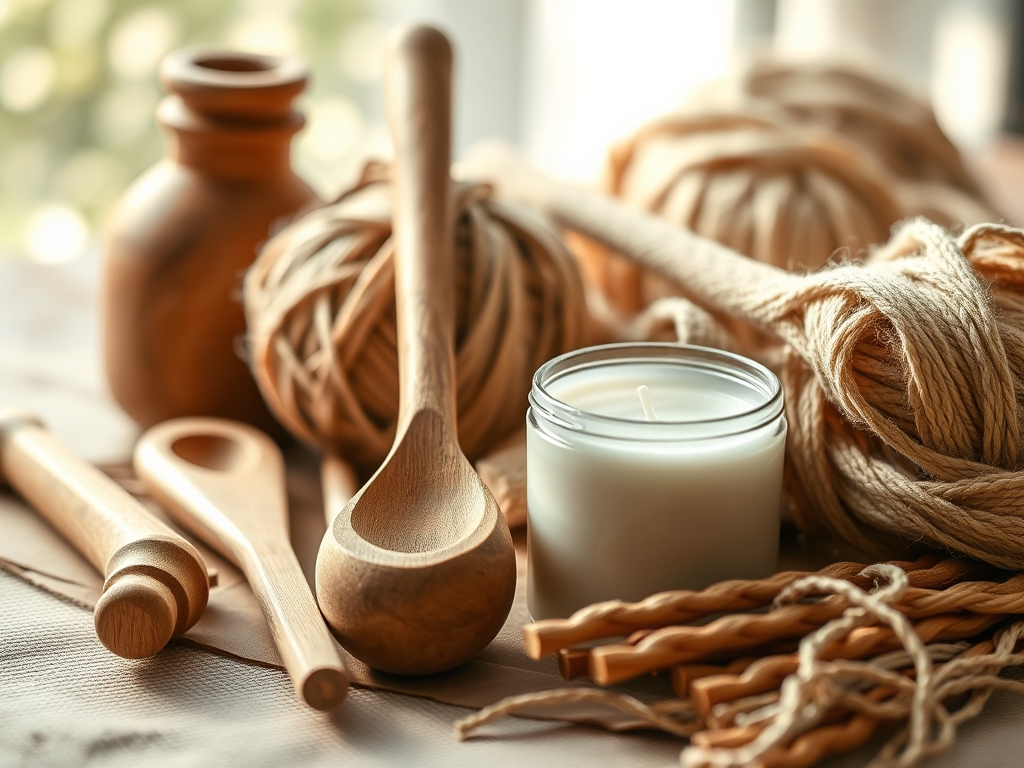
To master Simple Candle Making, you need more than a pot and a dream. You need a precision toolkit. First, grab a digital scale with a high-resolution gauge; we measure by mass, never by volume, because the density of fragrance oils varies wildly. You will need a stainless steel pouring pitcher with an ergonomic handle to ensure a steady, laminar flow when you pour. For temperature control, an infrared thermometer is your best friend to track the cooling rate without breaking the surface tension of the wax.
Your material list includes 464 soy wax, which is a hydrogenated soybean oil blend designed for superior glass adhesion. You will also need braided cotton wicks, which provide the necessary tensile strength to stand tall as the wax liquefies. For Material Substitutions, if you cannot find cotton wicks, a wooden wick offers a unique capillary structure that creates a wider flame pool, though it requires a different burnish on the wood to prevent charring. Instead of a standard glass jar, you can use porous ceramic vessels, provided you seal the interior with a non-flammable glaze to prevent the wax from leaching through the walls.
THE TEMPO
The Maker's Rhythm is all about the "Cool Down." You cannot rush the molecular bonding of soy wax. The entire process takes about four hours of active work, but the true transformation happens over the next two weeks. Phase one is the Melt, which takes twenty minutes of gradual heat. Phase two is the Infusion, a five-minute window where the fragrance oil bonds with the wax molecules. Phase three is the Pour, a thirty-second exercise in steady hands. Finally, the Cure phase requires fourteen days of patience. During this time, the wax crystals are tightening and locking in the scent. If you burn it too early, the fragrance throw will be weak because the oil is still "loose" within the wax matrix.
THE CORE METHOD
1. The Precise Melt
Heat your soy wax in a double boiler until it reaches exactly 185 degrees Fahrenheit. This is the "Goldilocks" zone where the wax is hot enough to expand its molecular structure but not so hot that it begins to discolor or lose its structural integrity.
Mastery Tip: This temperature ensures that the fragrance oil can fully integrate into the wax lattice. If you add oil at a lower temperature, it will simply sit on top of the wax molecules rather than becoming part of the solution, leading to "sweating" in your finished candle.
2. The Fragrance Infusion
Once you hit 185 degrees, add your fragrance oil at a ten percent load. Stir slowly for exactly two minutes using a stainless steel whisk. This is not about speed; it is about creating a homogenous mixture without introducing air bubbles that cause cavitation.
Mastery Tip: This process relies on kinetic energy to force the fragrance molecules to bond with the lipid chains. Two minutes of stirring ensures that every drop of oil is trapped within the wax as it begins to cool and contract.
3. The Vessel Prep
While the wax cools, prepare your vessel. Use an alcohol wipe to remove any dust or fingerprints from the glass. Center your wick using a centering tool or a modified jeweler's saw frame to keep the tension perfectly vertical.
Mastery Tip: Surface tension is the enemy of a clean pour. By cleaning the glass, you remove microscopic debris that causes the wax to pull away from the sides, preventing those annoying "wet spots" or air gaps.
4. The Controlled Pour
Wait for the wax to cool to 135 degrees Fahrenheit before pouring. This is the secret to a smooth, flat top. Pour slowly against the side of the pitcher to maintain a laminar flow, which prevents air from being trapped under the surface.
Mastery Tip: Cooling the wax before pouring reduces the "shrinkage" effect. Since soy wax contracts as it solidifies, pouring at a lower temperature ensures the contraction is minimal, preserving the flat surface and structural integrity of the candle.
5. The Wick Trim
After the candle has set for twenty-four hours, use a pair of high-quality wick trimmers or a rotary cutter to snip the wick to exactly one-quarter inch. This height is the sweet spot for proper capillary action.
Mastery Tip: A wick that is too long creates a flame that is too large, which consumes the wax too quickly and produces soot. A quarter-inch wick ensures the heat is perfectly balanced to create a wide, even melt pool.
THE TECHNICAL LEDGER
Maintenance & Longevity: To keep your candles in peak condition, always store them in a cool, dark environment. Soy wax is photosensitive; UV light will break down the fragrance oils and turn the white wax a murky yellow. Keep the lids on to prevent the "cold throw" from dissipating into the room.
Material Variations: For a premium upgrade, consider blending your soy with a small amount of beeswax. This increases the melting point and adds a natural tensile strength to the wax, making it more durable for shipping. For a sustainable twist, use recycled glass jars, but ensure they are "annealed" glass that can handle the thermal shock of a burning flame.
The Correction:
- Frosting: This looks like white crystals on the glass. Fix it by pre-heating your jars in the oven at 100 degrees before pouring.
- Sinkholes: These occur when air is trapped. Fix it by using a heat gun on the surface to melt the top layer and fill the void.
- Weak Scent: Usually caused by adding oil at too low a temperature. Fix it by ensuring your "flash point" and "pour temp" are strictly monitored with a digital probe.
Studio Organization: Store your wax flakes in airtight HDPE plastic bins. Soy wax is porous and will absorb smells from your garage or kitchen if left exposed. Label every batch with the pour date and fragrance percentage to track your technical progress.
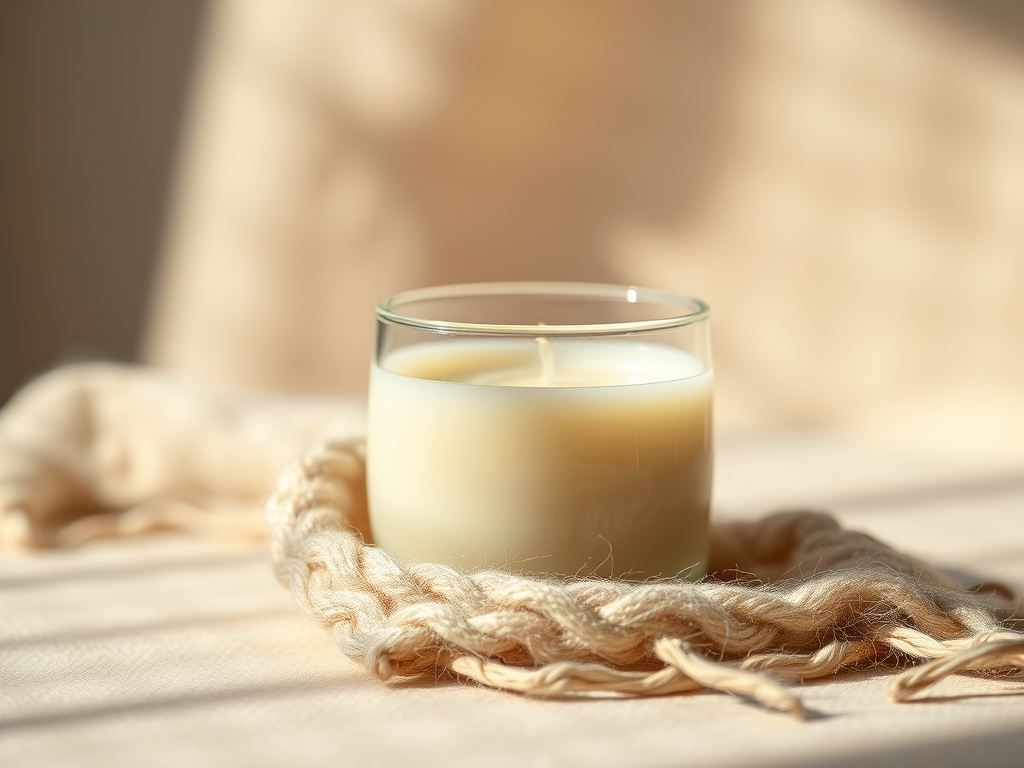
THE FINAL REVEAL
There is nothing quite like the moment you strike that first match. When you have mastered Simple Candle Making, the result is a pristine, creamy-white pillar of light that burns with a steady, flicker-free flame. The scent should fill the room within twenty minutes, a testament to your perfect fragrance-to-wax bonding. Look at that glass adhesion; it should be seamless, with no air gaps or frosting. You have successfully navigated the physics of lipids and the chemistry of aromatics. It is not just a candle; it is a technical achievement wrapped in a beautiful glow.
STUDIO QUESTIONS
Why does my candle have a bumpy top?
Bumpy tops are caused by the wax cooling too quickly or unevenly. To fix this, use a heat gun to gently remelt the surface, allowing the lipids to settle into a flat, uniform plane.
How do I prevent the wick from drifting?
Wick drift occurs when the wax is too fluid during the setting stage. Use a dedicated centering tool to maintain vertical tension until the wax reaches its "solidus" state and locks the wick in place.
What is the best fragrance load for soy?
For most soy waxes, a ten percent fragrance load is the technical limit. Exceeding this can compromise the structural integrity of the wax, leading to oil leaching or a dangerous "secondary ignition" on the surface.
Why is my candle flame flickering so much?
Flickering is usually caused by air pockets or an untrimmed wick. Ensure your wick is cut to one-quarter inch to maintain steady capillary action and prevent the flame from gasping for fuel.