The smell of roasted espresso beans and the fuzzy friction of wool between your fingers is a sensory overload in the best way possible. When you are teaching crochet to friends, you are not just passing yarn through a loop; you are manipulating the structural integrity of high-tensile fibers to create a flexible, three dimensional lattice. It is all about the tactile feedback of the hook against the grain of the ply. You want your bestie to feel that satisfying click when the tool finds the sweet spot in the stitch. We are diving deep into the physics of loops today, so grab your latte and let us get into the grit of how to turn a single strand of string into a masterpiece without losing your mind or your friendship.
THE STUDIO KIT
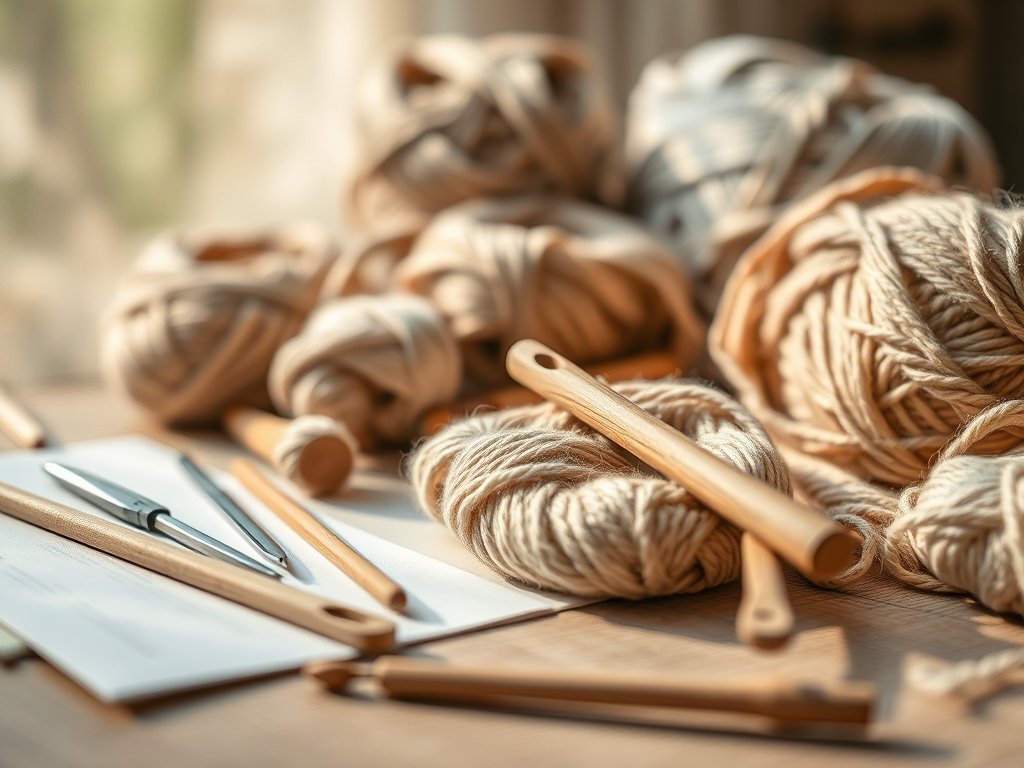
THE STUDIO KIT
To start this journey, you need more than just a ball of yarn. You need a curated selection of tools that respect the tensile strength of your materials. I always recommend starting with a 5.0mm ergonomic aluminum hook. The smooth surface reduces friction, allowing the yarn to glide without snagging on individual micro-fibers. For the yarn, choose a worsted weight wool or cotton blend. Wool has natural elasticity, which is much more forgiving for a beginner than the rigid, inelastic nature of plant fibers like hemp or linen.
Material Substitutions: If your friend is vegan or sensitive to animal fibers, swap the wool for a high quality mercurized cotton. It has been treated to increase its luster and affinity for dye, plus it offers a crisp stitch definition that makes it easier to see where the hook needs to go. Avoid "novelty" yarns with faux fur or sequins; these obscure the stitch anatomy and lead to frustration. You will also need a pair of precision rotary cutters or sharp embroidery scissors for clean terminal cuts, and a set of locking stitch markers to act as your structural anchors.
THE TEMPO
The "Maker's Rhythm" is a real neurological state where your muscle memory takes over the mechanical task. For a beginner, the first 30 minutes are the "Calibration Phase." This is where they learn the hand-eye coordination required to maintain a consistent tension. Expect the first two hours to be dedicated to the foundation chain and the single crochet. A standard dishcloth or scarf project will take roughly 5 to 8 hours of active "hook time" to reach completion. Do not rush the process; the goal is to develop a steady cadence where the hook moves in a fluid, elliptical arc.
THE CORE METHOD
1. The Foundation of Tension
Before a single stitch is made, your friend must learn the "Yarn Cradle." This is the mechanical system of feeding the yarn through the fingers to create consistent surface tension. If the tension is too loose, the fabric will be structurally unsound; if it is too tight, the hook cannot penetrate the previous row.
Mastery Tip: The science here is all about friction coefficients. By weaving the yarn between the pinky and index finger, you create a manual brake system. This allows for a controlled release of the fiber, ensuring every loop is the exact same diameter as the hook shaft.
2. The Mechanics of the Slip Knot
The slip knot is the only knot in crochet that is designed to be adjustable and temporary. It serves as the primary anchor point on the hook. Teach them to leave a four inch tail to allow for later weaving in, which prevents the project from unravelling due to mechanical stress.
Mastery Tip: Ensure the knot is not cinched too tightly against the hook. You need a microscopic gap to allow for capillary action when the yarn is pulled through. If the knot is too tight, the friction will prevent the hook from sliding, causing hand fatigue.
3. Executing the Foundation Chain
The chain is a series of interconnected loops that form the base of the work. It is the most common place for beginners to fail because they work too tightly. Instruct your friend to use the "throat" of the hook to pull the yarn through, rather than just the tip.
Mastery Tip: Think of the chain as the structural footing of a building. If the base is narrower than the subsequent floors, the entire project will curl into a "C" shape. Aim for a chain that is slightly looser than your intended stitches to accommodate the weight of the fabric.
4. The Single Crochet Compression
This is where the magic happens. The hook enters a stitch, grabs the yarn, and pulls it through to create two loops, which are then closed together. This creates a dense, non-porous fabric that is incredibly durable.
Mastery Tip: Explain the pivot point. As the hook enters the stitch, the wrist should rotate approximately 45 degrees. This ergonomic movement uses the hook's taper to enlarge the stitch just enough for the head to pass back through without snagging the plied yarn.
5. Managing the Turning Chain
At the end of every row, you must add a "turning chain" to bring the yarn up to the height of the next row. This maintains the vertical alignment and prevents the edges from tapering inward.
Mastery Tip: This is a lesson in geometry. Without the turning chain, you are essentially trying to climb a wall without a ladder. The extra loop provides the necessary clearance to keep the edges perfectly perpendicular to the base.
THE TECHNICAL LEDGER
Maintenance & Longevity: To ensure a crocheted piece lasts for decades, it must be blocked. This involves pinning the finished item to a foam board and lightly steaming it. This "sets" the fibers in their new orientation, relaxing the internal stresses caused by the hooking process.
Material Variations: For a premium experience, suggest a silk and alpaca blend. The silk provides a high tensile strength and sheen, while the alpaca offers incredible thermal properties and softness. For sustainability, look for "T-shirt yarn" made from recycled textile remnants.
The Correction:
- The Shrinking Project: This happens when a friend misses the last stitch of the row. Use a stitch marker in the very first and last stitch to provide a visual "stop" sign.
- The Gapping Hole: This is caused by inconsistent tension or accidentally skipping a stitch. The fix is to "frog" it (rip it out) back to the error; there is no way to patch a structural gap mid-row.
- Split Yarn: If the hook pierces the yarn strand instead of going under it, the structural integrity is compromised. Slow down the "hook exit" speed to ensure the tool stays within the stitch boundaries.
Studio Organization: Store your yarn in airtight, transparent bins. Natural fibers are susceptible to oxidation and pests. To prevent fiber degradation, keep your stash out of direct UV light, which can break down the molecular bonds in the dye and the fiber itself.
THE FINAL REVEAL
Once those last tails are woven in with a blunt tapestry needle, the transformation is complete. You have successfully guided your friend through the complex physics of fiber manipulation. There is nothing quite like the high-energy buzz of seeing a finished scarf or coaster and knowing that every single loop was a calculated move. You have not just taught a craft; you have shared a masterclass in structural engineering. Now, take a photo of your matching projects and celebrate that maker's high!
STUDIO QUESTIONS
What is the best yarn for a total beginner?
A light colored, worsted weight wool blend is ideal. The light color makes stitch anatomy visible, while the wool's elasticity compensates for uneven tension. Avoid dark or fuzzy yarns that hide the structural details of your loops.
Why does my crochet work keep curling?
Curling usually indicates that your foundation chain is too tight or your tension is excessive. The internal stress of the tight loops forces the fabric to pull inward. Try using a hook one size larger for the starting chain.
How do I fix a mistake three rows back?
In crochet, you must "frog" the work by pulling the yarn until you reach the error. Unlike knitting, there is no easy way to "drop down" to fix a single stitch without compromising the structural integrity of the piece.
Is an ergonomic hook really necessary?
Yes, especially for long sessions. Ergonomic hooks are designed to distribute pressure across the palm, reducing strain on the carpal tunnel. This allows for a more fluid, consistent motion and prevents the cramping that ruins a maker's rhythm.