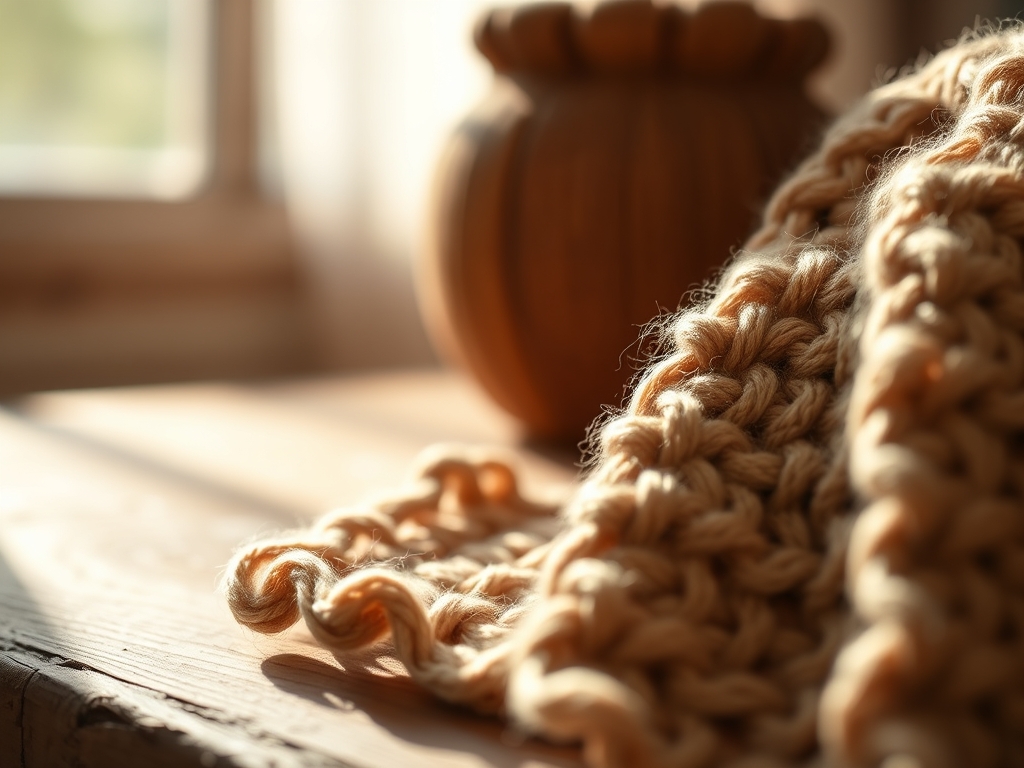
The smell of freshly pressed cotton is a specific kind of magic; it is the scent of steam meeting starch and the promise of a blank canvas. When you are Teaching Sewing Basics to a teenager, you are not just showing them how to join two pieces of fabric. You are teaching them to manipulate fiber density and master the tensile strength of thread. Grab your shears and feel the weight of the metal in your palm. We are diving into a world where geometry meets tactile art. It is about the satisfying click of the bobbin case and the rhythmic hum of the motor. We are going to transform flat, two dimensional textiles into structural masterpieces. Whether it is a crisp linen or a heavy duty denim, every weave has a story to tell. Let us get your studio space ready for a high energy session of creation and technical mastery.
THE STUDIO KIT
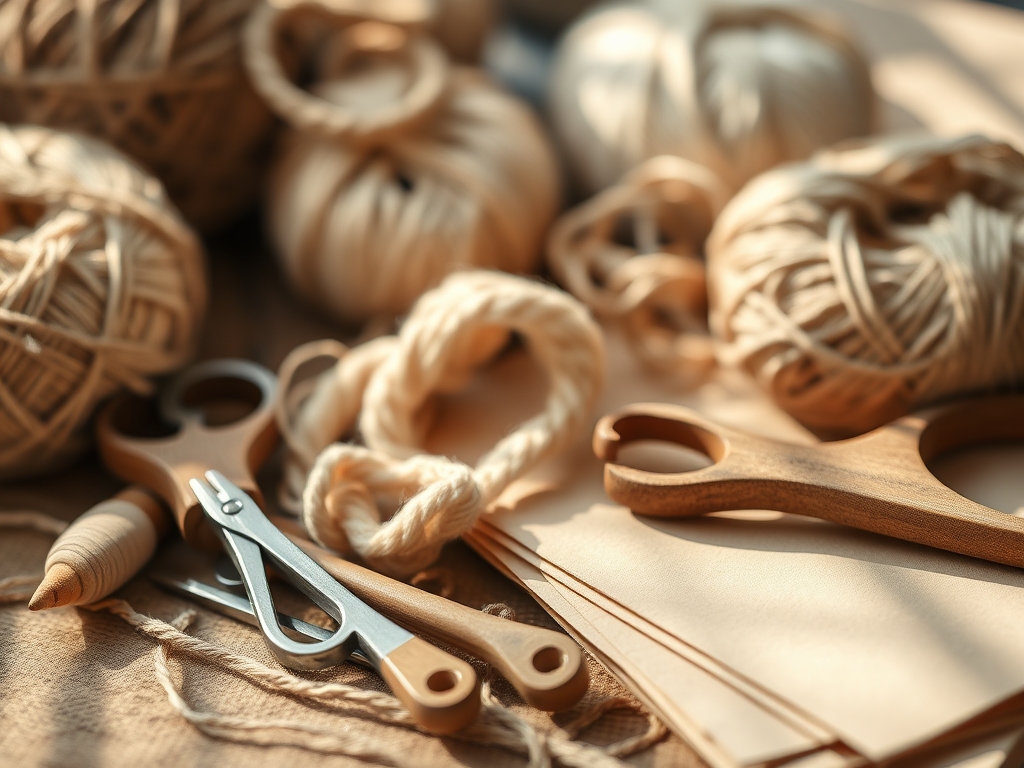
To master the art of the stitch, your toolkit must be precise. We start with calipers or a high grade seam gauge to ensure every hem is mathematically consistent. You will need a rotary cutter with a tungsten steel blade for clean, non frayed edges that scissors simply cannot replicate on a bias cut. For marking, skip the chalk and use a fine point heat erasable pen; it allows for surgical precision on the grain line. Your fabric selection should prioritize high thread count cotton for its stability or a mid weight linen for its breathability and distinct tactile feedback.
Material Substitutions: If you cannot find organic cotton, a recycled polyester blend offers higher elasticity but requires a ballpoint needle to prevent snagging. If a traditional thimble feels clunky, try silicone finger protectors which provide grip without sacrificing manual dexterity. Always keep a bone folder nearby; it is the secret weapon for crisp, professional seams that look like they came off a high end production line.
THE TEMPO
The "Maker's Rhythm" is all about the flow between preparation and execution. For a teenager, the first thirty minutes are the "Calibration Phase." This is where we test the tension settings on scrap fabric to ensure the top thread and bobbin thread lock perfectly in the center of the ply. The "Production Phase" usually lasts sixty to ninety minutes. This is the sweet spot where muscle memory takes over and the hand eye coordination reaches a state of flow. Finally, the "Refinement Phase" takes twenty minutes. This is for the final press and the removal of stray threads. Respecting this tempo prevents fatigue and ensures the structural integrity of the project remains uncompromised.
THE CORE METHOD
1. The Geometric Tote Bag
We start with the tote because it is a lesson in structural load bearing. By using a French seam, we enclose the raw edges, creating a reinforced bond that can withstand significant weight. This project teaches the importance of the grain direction; if you cut against the grain, the bag will stretch and distort under pressure.
Mastery Tip: The strength of a seam is determined by the stitch length. A shorter stitch increases the number of connection points between fibers, enhancing the overall tensile strength of the join.
2. The Tech Sleeve with Padding
This project introduces interfacing, a non woven material that adds rigidity to thin fabrics. We use a fusible fleece to create a shock absorbent barrier for tablets or phones. It requires precise alignment of the seam allowance to ensure the device fits snugly without being constricted.
Mastery Tip: Use a walking foot attachment. This tool ensures that the top and bottom layers of thick padding move through the machine at the exact same rate, preventing "fabric creep" caused by friction.
3. The Reusable Snack Pouch
Here we work with food grade laminate fabrics. This is a lesson in surface tension; the needle must pierce a coated surface without tearing it. We use wonder clips instead of pins because pins create permanent holes in the waterproof membrane.
Mastery Tip: When sewing coated fabrics, increase your needle size to a 90/14 gauge. The larger blade creates a slightly wider hole, reducing the friction and heat buildup that can melt synthetic coatings.
4. The Drawstring Backpack
This project focuses on casing construction and the physics of friction. By creating a hollow channel at the top of the bag, we allow a cord to slide through. The teenager learns how to reinforce "stress points" where the straps attach to the base.
Mastery Tip: Apply a small amount of fray check or use a zigzag stitch on the interior edges. This prevents the mechanical action of the drawstring from unraveling the woven fibers over time.
5. The Envelope Pillow Cover
This is the ultimate lesson in spatial reasoning. By overlapping three pieces of fabric, we create a closure without the need for zippers or buttons. It requires perfect 90 degree corners, which are achieved through a technique called "clipping the curve."
Mastery Tip: When turning the pillow right side out, use a point turner to push the corners. This maintains the geometric crispness of the fabric without overstressing the corner stitches.
6. The Scrunched Hair Tie
Small scale sewing requires high manual dexterity. This project teaches the "burrito method" of rolling fabric to sew a continuous tube. It is a fantastic way to understand how elastic tension works within a confined space.
Mastery Tip: The recovery rate of your elastic is key. Always pre stretch your elastic before measuring to ensure it maintains its original length after the project is completed.
7. The Upcycled Denim Patch
We finish with a lesson in material density. Sewing through multiple layers of denim requires a specific "Jeans Needle" with a reinforced shaft. This project teaches "topstitching," which is both decorative and functional for reinforcing high wear areas.
Mastery Tip: To cross a thick seam, use a hump jumper or a folded piece of cardboard under the back of the presser foot. This keeps the foot level, preventing skipped stitches caused by an uneven needle angle.
THE TECHNICAL LEDGER
Maintenance & Longevity: To keep these projects in top shape, always wash in cold water to prevent fiber shrinkage. Use a pH neutral detergent to protect the dye molecules from oxidizing and fading.
Material Variations: For a premium feel, swap cotton for tussah silk or heavy weight wool felt. For a sustainable approach, use "deadstock" fabrics which are leftovers from the fashion industry that would otherwise head to a landfill.
The Correction:
- Bird's Nesting: If thread bunches under the fabric, it is usually a threading error in the top tension discs, not the bobbin. Re thread with the presser foot UP.
- Skipped Stitches: This indicates a dull needle or an incorrect needle type for the fabric density. Replace the needle every 8 hours of sewing.
- Puckered Seams: This happens when the tension is too high for thin fabrics. Loosen the tension dial by half a point to allow the fiber to relax.
Studio Organization: Store your fabric in opaque bins to prevent UV degradation. Keep your needles in a magnetized case and oil your machine every ten projects to ensure the mechanical parts move with zero resistance.
THE FINAL REVEAL
Look at that! You have officially transitioned from a novice to a maker who understands the molecular behavior of textiles. The finished pieces are not just "crafts"; they are engineered objects. The seams are straight, the corners are sharp, and the structural integrity is rock solid. Your teenager now possesses the power to repair, create, and innovate. There is a profound sense of agency that comes from looking at a store bought item and knowing exactly how it was constructed. You are now part of a lineage of creators who value precision and tactile beauty.
STUDIO QUESTIONS
What is the best fabric for a total beginner?
High quality quilting cotton is the gold standard. It has a stable weave, does not slip under the presser foot, and takes a press beautifully. It provides the most consistent feedback for someone learning to control machine speed.
How often should we change the sewing machine needle?
Change the needle after every eight hours of active sewing. Needles develop microscopic hooks and burrs that can damage fabric fibers and cause skipped stitches. A fresh needle ensures a clean, surgical pierce every single time.
Why does the thread keep breaking during a project?
This is usually due to a tension mismatch or poor quality thread. Ensure you are using a high quality polyester or mercerized cotton thread. Check that the thread is not catching on a notch in the spool.
Can I sew denim on a standard home machine?
Yes, provided you use a denim needle and a longer stitch length. The reinforced needle shaft prevents deflection, while the longer stitch allows the thread to bridge the thick gaps between the heavy denim fibers.
What is the point of backstitching at the start?
Backstitching creates a mechanical lock at the beginning and end of a seam. Without it, the friction of daily use would cause the thread to unspool, leading to a total structural failure of the garment or accessory.