
Picture this: you are curled up with a skein of ethically sourced merino wool that feels like a literal cloud, but your hands are shaking because your fabric looks more like a topographical map of the Andes than a flat scarf. We have all been there, staring at a chaotic mess of loops and wondering where the logic went. If you want to achieve professional results, you need to master Beginner Knitting Fixes before your muscle memory sets in. Knitting is not just a craft; it is a high stakes game of tensile strength and structural engineering. Every time you wrap that yarn around your needle, you are managing the potential energy of the fiber. When your tension is off, the ply of the yarn compresses, leading to a stiff, lifeless fabric. We are going to dive deep into the physics of the stitch so you can stop fighting your tools and start commanding them. Grab your favorite beverage because we are about to turn those wonky rows into a masterpiece of mathematical precision.
THE STUDIO KIT
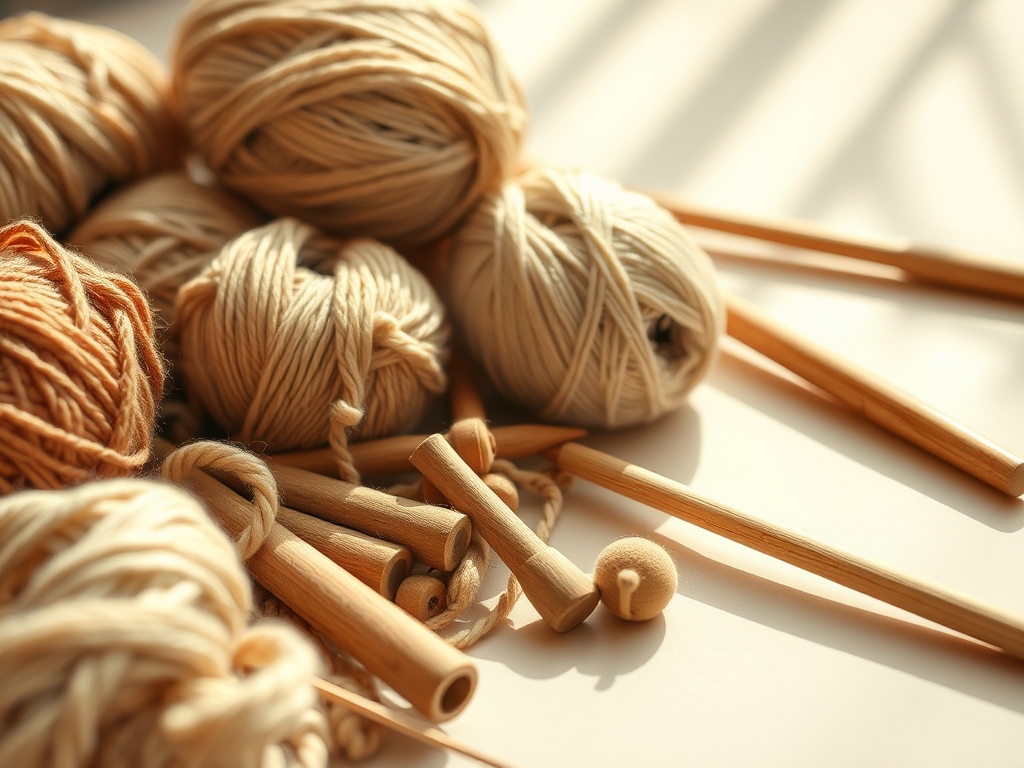
To execute these **Beginner Knitting Fixes**, you need more than just any old pair of sticks. Professional knitters treat their tools like a machinist treats a **caliper**. Your primary tools are your needles; specifically, 5.0mm (US 8) circular needles made of stainless steel or bamboo. Stainless steel offers a low coefficient of friction, allowing for high speed transitions, while bamboo provides a **tactile** grip that helps beginners control slippery fibers. You will also need a **rotary cutter** for trimming yarn ends with surgical precision and a **bone folder** to help flatten your swatches during the blocking phase.
Material selection is the foundation of your structural integrity. Look for a worsted weight yarn with a high twist count. A tightly twisted yarn resists splitting and maintains its tensile profile even after multiple frogging sessions. For Material Substitutions, if you cannot find merino, look for a high quality acrylic blend. While acrylic lacks the porous breathability of natural wool, it offers superior elastic recovery, which is a godsend when you are still learning to regulate your hand pressure. Always keep a set of locking stitch markers nearby to act as your navigational beacons through the sea of loops.
THE TEMPO
The "Maker's Rhythm" is a state of flow where your heartbeat synchronizes with the click of your needles. Achieving this requires a dedicated timeline. The Setup Phase takes approximately 20 minutes; this includes winding your yarn and checking your gauge. The Execution Phase varies by project, but for a standard swatch, expect to spend 45 minutes of focused, high density work. Finally, the Refining Phase takes 15 minutes to weave in ends and burnish the edges.
Understanding the physics of the "Maker's Rhythm" means recognizing that your hands will fatigue. As your muscles tire, your grip strength fluctuates, which directly impacts the diameter of your stitches. To maintain a consistent gauge, work in 30 minute sprints followed by a five minute stretch. This prevents the "tightening effect" where the second half of your work looks significantly smaller than the first. Consistency is the hallmark of the expert.
THE CORE METHOD
1. The Foundation Cast On
Begin by creating a slip knot that is firm but not restrictive. Use the Long Tail Cast On method to ensure a stretchy, ergonomic edge. This technique uses two strands of yarn simultaneously to create a built in base row, providing better structural integrity than a simple wrap cast on.
Mastery Tip: The science of the cast on relies on surface tension. If you pull the yarn too tight against the needle barrel, you eliminate the air pockets between the fibers, making it impossible to insert your needle on the next row. Aim for a "sliding fit" where the loop moves freely but does not sag.
2. Managing the Working Yarn
Hold your yarn so it creates a consistent path of resistance. Many beginners let the yarn hang loose, but professionals use their pinky finger as a tension regulator. This ensures that every stitch receives the exact same amount of yarn from the ball.
Mastery Tip: This is a lesson in friction coefficients. By wrapping the yarn around your fingers, you create controlled drag. This drag prevents the yarn from surging forward, which is the primary cause of uneven, "holy" looking fabric.
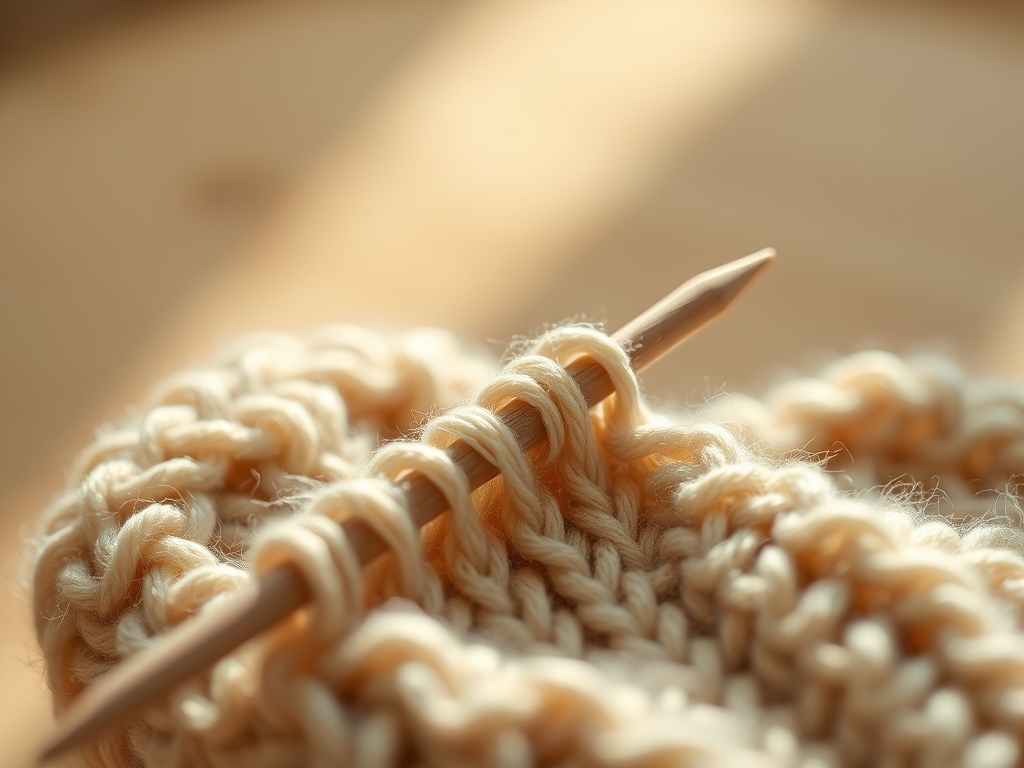
3. Executing the Knit Stitch
Insert your right needle into the loop from left to right. Wrap the yarn counter clockwise. As you pull the new loop through, use the tip of your needle like an awl to clear the path. Slide the old stitch off the left needle with a decisive, flicking motion.
Mastery Tip: This step utilizes capillary action in reverse. By maintaining a sharp angle with your needles, you ensure the yarn fibers are not crushed. This preserves the "loft" of the yarn, allowing the finished garment to trap heat more effectively.
4. The Purl Transition
To purl, bring your yarn to the front of the work. This change in orientation alters the axis of rotation for your stitch. Insert the needle from right to left and wrap. This creates the "bump" characteristic of the purl side, adding thickness and dimensional stability to your fabric.
Mastery Tip: Most tension issues occur during the transition between a knit and a purl. Because the yarn has to travel a longer distance to get to the front, it often leaves a "ladder." To fix this, tug the yarn slightly tighter on the first purl stitch to take up the slack.
5. Counting Your Rows
Never rely on memory; use a digital counter or a physical ledger. Identify the "V" shapes in your work. Each "V" represents one completed cycle of fiber interlocking. If your row count is off, your garment will be asymmetrical.
Mastery Tip: This is about geometric alignment. If one side of your project has more rows than the other, the grain direction of the fabric will shift, causing the finished piece to twist or "bias" when worn.
6. Binding Off for Longevity
When you reach the end, you must secure the loops without crushing them. Knit two stitches, then lift the first over the second. Repeat this until one loop remains. This creates a chain like edge that protects the tensile limits of the yarn.
Mastery Tip: Think of the bind off as a load bearing beam. If it is too tight, it will snap under pressure. If it is too loose, the fabric will lose its shape. Use a needle one size larger for the bind off to ensure the edge remains flexible.
THE TECHNICAL LEDGER
Maintenance & Longevity: To keep your knitted items in peak condition, never hang them. Gravity acts on the molecular bonds of the fibers, stretching them out of shape over time. Instead, store them flat in a breathable cotton bag.
Material Variations:
- Sustainable: Tencel or bamboo fibers offer high luster but low elasticity.
- Recycled: Recycled wool often has shorter staple lengths, making it more prone to pilling.
- Premium: Cashmere provides incredible warmth but has low abrasion resistance.
The Correction:
- The Dropped Stitch: Use a crochet hook to "ladder" the stitch back up. This restores the interlooping sequence without having to rip out your work.
- The Split Yarn: If your needle pierces the yarn ply, the stitch will be weak. Back up and re knit the stitch to maintain structural integrity.
- The Accidental Increase: Usually caused by a "yarn over" mistake. Simply drop the extra loop on the next row and redistribute the slack to neighboring stitches.
Studio Organization: Store your yarn in clear, airtight bins to prevent moisture from affecting the fiber density. Use cedar blocks to repel pests that thrive on natural proteins.
THE FINAL REVEAL
Look at that! You have successfully navigated the complex physics of fiber and emerged with a piece that is structurally sound and aesthetically stunning. By applying these Beginner Knitting Fixes, you have elevated your craft from a simple hobby to an exercise in precision engineering. Your rows are straight, your tension is uniform, and your edges are crisp. This is the moment where the tactile beauty of the wool meets the rigorous logic of your technique. You should feel incredibly proud of the "fabric" you have built; both the literal one in your hands and the new skill set in your mind!
STUDIO QUESTIONS
How do I fix a hole in my knitting?
Holes are usually caused by accidental yarn overs. Identify the extra loop and drop it from your needle. Use a darning needle to redistribute the excess yarn into the surrounding stitches to equalize the surface tension.
Why are my edges curling so much?
Stockinette stitch naturally curls because the tensile force on the knit side is different from the purl side. Fix this by adding a garter stitch border, which creates a balanced, non curling structural framework for your project.
What is the best yarn for beginners?
Choose a light colored, wool blend in a worsted weight. Light colors allow you to see the stitch definition clearly, while the wool blend provides the necessary elastic recovery to hide minor tension inconsistencies.
How do I join a new ball of yarn?
Avoid knots, which create weak points. Instead, use a "spit splice" for wool or a "Russian join" for synthetic blends. These methods maintain the ply continuity and ensure the join is invisible and structurally secure.

