
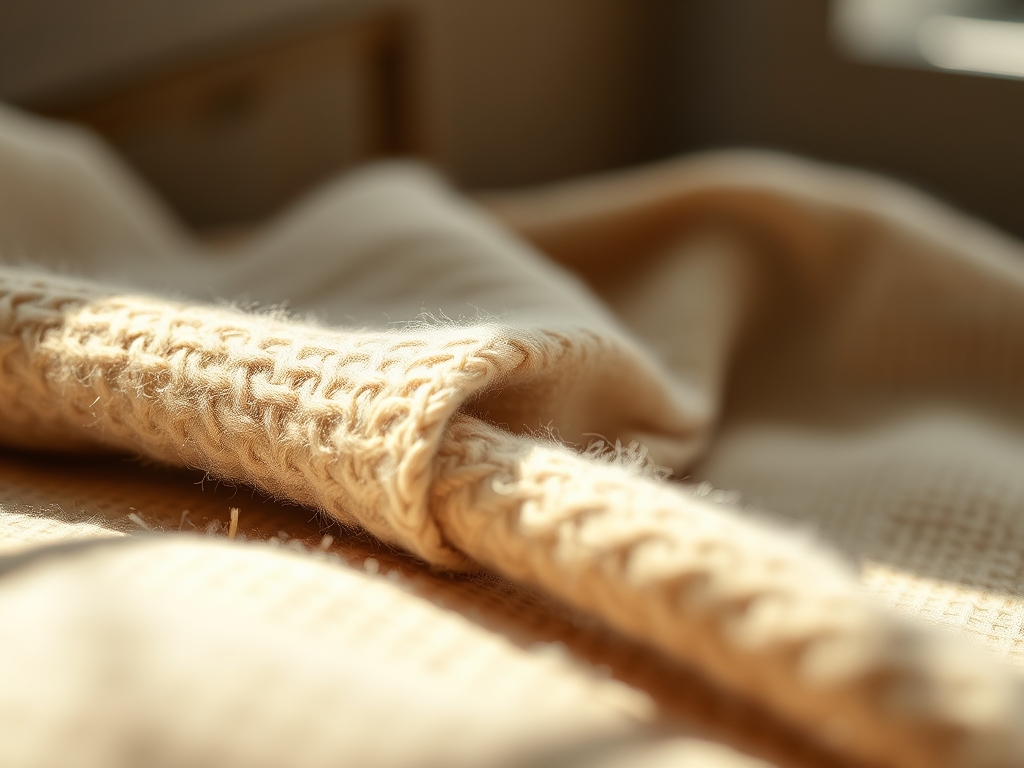
Close your eyes and listen to the crisp, rhythmic snap of steel shears biting through a fresh bolt of laundered linen. There is a specific tactile joy in handling natural fibers during the humid months; the way a loose weave allows for airflow while maintaining enough structural integrity to hold a crisp hem. If you are hunting for Beginner Sewing Patterns, you are essentially looking for a gateway into the physics of drape and the geometry of the human form. Summer sewing is not just about aesthetics; it is about managing the thermal conductivity of your wardrobe. We are going to take those flat, two dimensional planes of fabric and engineer them into three dimensional silhouettes that breathe with you. Think of this as your personal laboratory where we experiment with tension, thread count, and the beautiful friction of a well placed seam. We are moving away from the fast fashion cycle of synthetic blends and stepping into the world of bespoke, breathable architecture. Grab your measuring tape and a cold glass of iced tea because we are about to turn your kitchen table into a high performance design studio.
THE STUDIO KIT
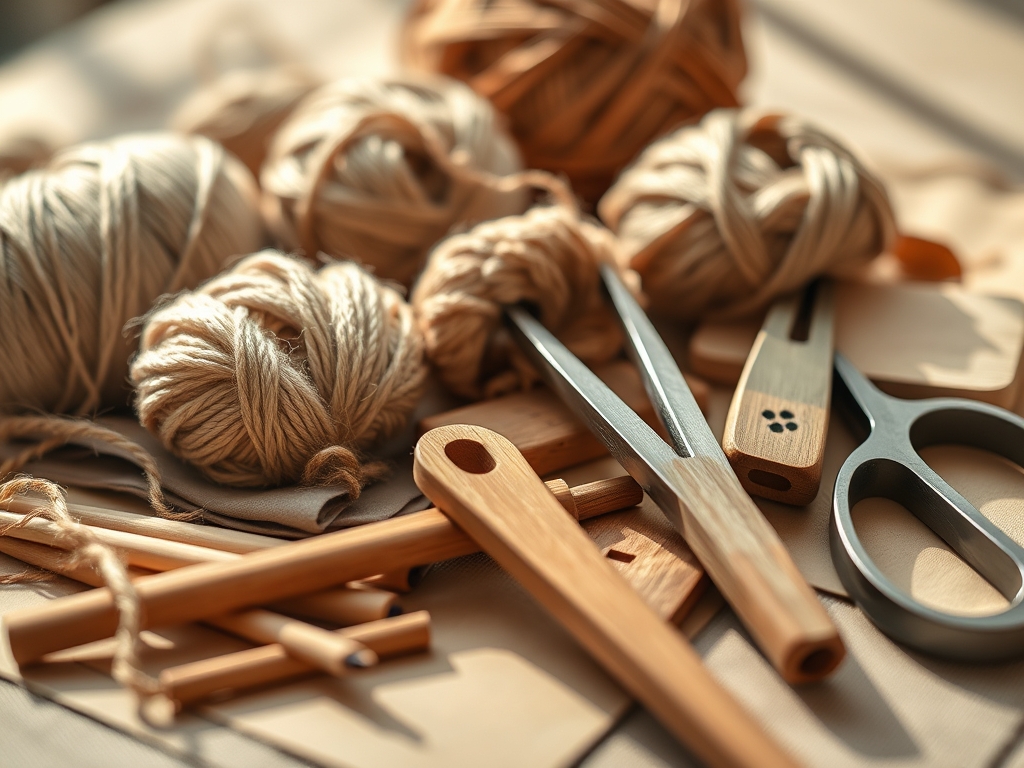
To execute these designs with professional precision, you need more than just a basic needle and thread. You need to understand the **tensile strength** of your materials. Start with a high quality **rotary cutter** and a self healing mat; this ensures your grainlines remain perfectly straight without the distortion often caused by traditional scissors lifting the fabric. You will also need a **tailor’s ham** for pressing curved seams, which allows you to set the shape of the garment using steam and heat without flattening the fiber’s natural loft. For marking your notches, skip the messy chalk and use a fine point **awl** or a disappearing ink pen to maintain a high level of accuracy.
Material selection is where the science really happens. For these summer tops, prioritize lightweight linen, cotton lawn, or double gauze. These fabrics have a lower thread gauge, meaning they allow for maximum vapor transmission. If you cannot find linen, a Material Substitution like a Tencel lyocell or a hemp blend works beautifully. Hemp has incredible antibacterial properties and a high resistance to UV light, making it a technical powerhouse for sun drenched days. Always match your needle size to your fabric weight; a size 70/10 universal needle is the gold standard for these airy textiles to prevent punching large, irreversible holes in the weave.
THE TEMPO
The "Maker's Rhythm" is a psychological state of flow where your manual dexterity matches the mechanical speed of your machine. For a beginner, the tempo is divided into three distinct phases. First is the Preparation Phase (60 minutes), which involves washing, drying, and pressing your fabric to trigger any potential fiber shrinkage before you cut. Second is the Construction Phase (2 to 4 hours), where the actual assembly happens. This is where you find your cadence, syncing your foot pedal pressure with the feed dogs' movement. Finally, the Finishing Phase (45 minutes) involves topstitching, buttonholes, and the final press. Total project time usually clocks in at under six hours, making these designs perfect for a Saturday afternoon sprint.
THE CORE METHOD
1. The Boxy Crop Top
This design relies on simple rectangles, making it the ultimate entry point for Beginner Sewing Patterns. Focus on the selvage alignment to ensure the grain runs vertically down your body. This prevents the top from twisting after the first wash.
Mastery Tip: Use a stay stitch along the neckline. This prevents the fabric from stretching on the bias, maintaining the structural integrity of the opening so it does not sag or gape.
2. The Peplum Tank
This top introduces the concept of radial volume. You will attach a gathered circle of fabric to a fitted bodice. The key is managing the surface tension of the gathers so they are evenly distributed across the waistline.
Mastery Tip: Use two parallel rows of basting stitches for your gathers. This creates a "track" that keeps the pleats perpendicular to the seam, ensuring a professional, non bunched finish.
3. The Tie Shoulder Shell
By using functional ties, you bypass the need for complex dart manipulation or zippers. This design highlights the pliability of your fabric as it knots and drapes over the acromion process of the shoulder.
Mastery Tip: Turn your ties using a loop turner. This tool uses a latch hook mechanism to pull the fabric through itself, preventing the internal bulk from distorting the final strap width.
4. The Linen Kimono Tee
This silhouette features "grown on" sleeves, meaning the sleeve and body are cut as one continuous piece. This reduces the number of seams and focuses on the fluidity of the textile.
Mastery Tip: Reinforce the underarm curve with a small piece of interfacing. This area experiences the highest amount of mechanical stress; the interfacing distributes that load across a wider surface area of threads.
5. The Button Front Camisole
Working with buttons introduces fastener physics. You must calculate the "overlap" or the placket width to ensure the garment stays closed under tension.
Mastery Tip: Use a point turner to get sharp, 90 degree angles on your placket corners. A crisp corner is a sign of high internal pressure management within the seam allowance.
6. The Elasticated Bardot Top
This off the shoulder look relies on elastic recovery. You are creating a channel (a casing) and threading elastic through it to create tension against the skin.
Mastery Tip: Choose an elastic with a high modulus of elasticity. This ensures the top stays in place without losing its "snap" after multiple stretches and washes.
7. The V-Neck Tunic
The V-neck is an exercise in precision pivoting. You must stop the needle at the exact apex of the "V" to ensure the neckline lies flat against the sternum.
Mastery Tip: Clip your seam allowance exactly to the stitching line at the point of the V. This releases the hoop stress of the fabric, allowing the seam to turn inside out without puckering.
8. The Scalloped Hem Shell
This design uses a decorative hem to showcase your ability to follow complex curves. It requires a slow, steady motor speed to maintain a consistent stitch density.
Mastery Tip: Use a bone folder to crisp the edges of your scallops after turning. This tool burnishes the fibers, locking the shape into place without the risk of scorching from an iron.
THE TECHNICAL LEDGER
Maintenance & Longevity: To prevent enzymatic degradation of natural fibers, wash your finished tops in cool water with a pH neutral detergent. Avoid high heat dryers which can cause "fiber snap," leading to pilling and loss of sheen.
Material Variations: For a Premium feel, use silk crepe de chine, which has a high luster and incredible drape. For a Sustainable option, look for "deadstock" fabrics which are leftovers from major fashion houses that would otherwise end up in a landfill.
The Correction:
- Puckered Seams: Usually caused by incorrect thread tension. Adjust your top tension dial downward.
- Wavy Hems: This happens when the fabric is stretched during sewing. Use a walking foot to feed the top and bottom layers at the same rate.
- Frayed Edges: If you do not have a serger, use a zigzag stitch or a French seam to encapsulate the raw edges and prevent unraveling.
Studio Organization: Store your paper patterns in airtight plastic sleeves with a desiccant pack. This prevents moisture from warping the paper and ensures your Beginner Sewing Patterns remain accurate for years of reuse.
THE FINAL REVEAL
There is a profound sense of empowerment that comes from wearing a garment you engineered with your own hands. As you slip on your new summer top, notice how the tactile feedback of the linen feels against your skin and how the seams align perfectly with your movements. You have successfully navigated the complexities of grainlines, tension, and structural design. This is more than just a hobby; it is a technical mastery of the physical world. Your summer wardrobe is now a collection of high performance, breathable art pieces that are uniquely yours.
STUDIO QUESTIONS
Which fabric is best for beginner summer tops?
Linen or 100% cotton are ideal because they have low slipperiness and high dimensional stability. This makes them easy to cut and sew without the fabric shifting or stretching out of shape during the construction process.
Do I need a serger for these patterns?
No, a standard sewing machine is sufficient. You can finish raw edges using a zigzag stitch or a French seam. These methods provide excellent fray resistance and structural integrity without the need for specialized industrial equipment.
How do I choose the right size?
Ignore retail sizing and use your actual measurements (bust, waist, hips). Compare these to the pattern's "finished garment measurements" to account for design ease, which is the extra room allowed for movement and comfort.
What is the most important tool for a professional finish?
A high quality steam iron is your most vital tool. Pressing each seam as you sew sets the stitches into the fiber and flattens the seam allowance, which is the difference between a "homemade" look and a professional "handmade" garment.

