
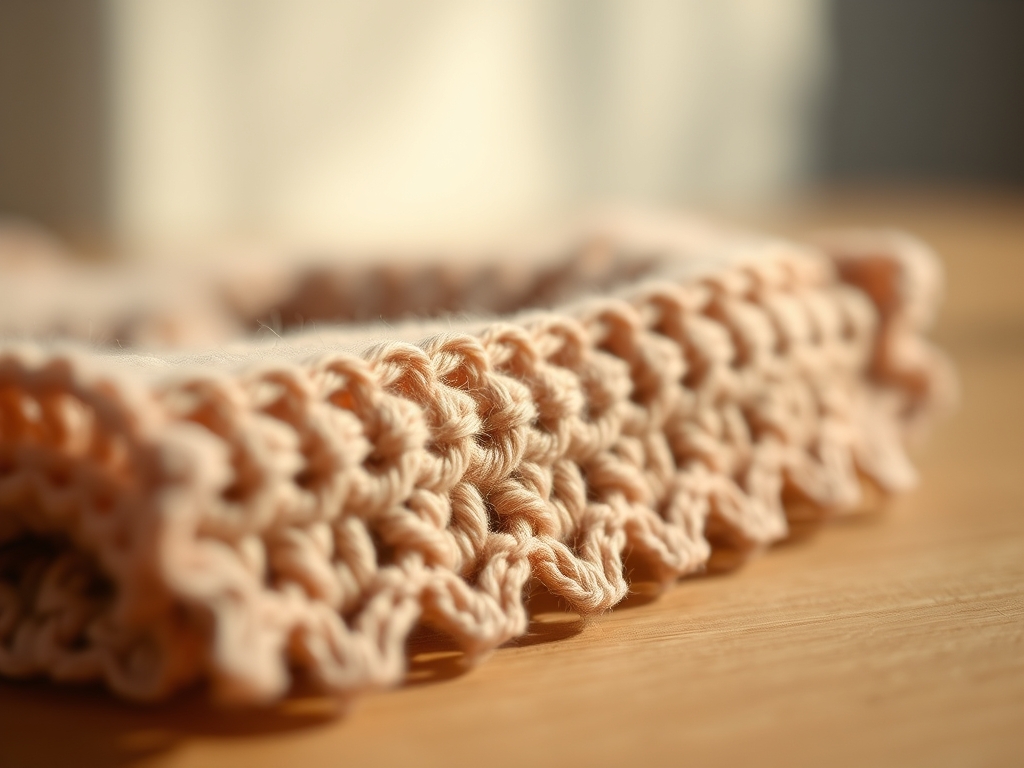
The sensation of premium merino wool sliding through your fingers is more than just a cozy moment; it is a lesson in friction and fiber architecture. When you finish the main body of a project, the edges often look raw and structurally vulnerable. This is where Simple Crochet Edgings come into play. By adding a deliberate border, you are not just decorating; you are creating a structural frame that manages the tensile strength of the knit or crochet fabric. Think of it as the architectural molding for your softest masterpiece. We are looking for that perfect balance between a soft, tactile drape and a crisp, finished perimeter that prevents the dreaded "edge roll" common in high-elasticity yarns. As we dive into these seven elegant styles, remember that the goal is to marry aesthetic grace with mechanical stability. We want a finish that survives the chaotic life of a nursery while looking like it belongs in a high-end boutique. Grab your favorite ergonomic hook and let us get into the physics of the perfect finish.
THE STUDIO KIT
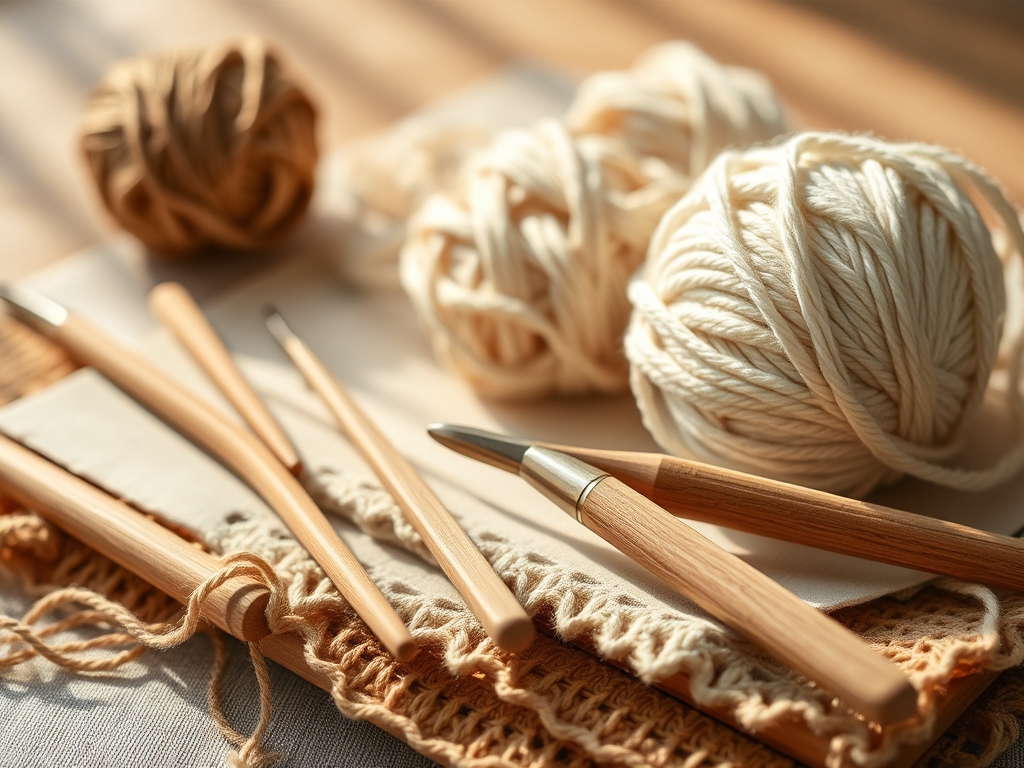
To achieve professional results, you need more than just a random hook from the bottom of your bag. We start with a tapered aluminum or steel hook to ensure the coefficient of friction remains consistent across every stitch. A rotary cutter with a sharp blade is essential for trimming any stray fibers from the base fabric before you begin, while a pair of precision calipers can help you measure the exact distance between your "pierce points" if you are edging a fleece or flannel base.
Material Substitutions: If you cannot find organic cotton, a high-twist bamboo silk blend offers incredible tensile strength and a natural luster. For those working with synthetic fibers, ensure your yarn has at least a three-ply construction. A multi-ply yarn provides better structural integrity and prevents the border from thinning out under the weight of the blanket. You will also need a blunt-tip tapestry needle for weaving in ends; this ensures you do not split the delicate fibers of your primary yarn, maintaining the molecular bond of the twist.
THE TEMPO
The "Maker's Rhythm" is the psychological state where your muscle memory takes over, allowing for perfectly consistent gauge. For a standard baby blanket, expect the Preparation Phase (measuring and marking) to take approximately thirty minutes. The Foundation Row is the most critical and slowest part, requiring about sixty minutes of focused labor to ensure the stitch count is divisible by your chosen pattern repeat. Once the foundation is set, the Execution Phase for these Simple Crochet Edgings moves quickly; you can typically finish a full border in two to three hours. The final Finishing Phase, which includes blocking and weaving, takes another thirty minutes but is vital for setting the crystalline structure of the fibers so the border stays flat forever.
THE CORE METHOD
1. The Classic Picot Point
The Picot is a masterclass in surface tension. By creating a small loop that stands off the edge, you create a decorative "node" that absorbs impact.
Mastery Tip: When pulling the slip stitch closed at the base of the picot, apply slightly more tension than usual. This compresses the yarn ply, ensuring the point stays sharp and upright rather than drooping into a soft curve.
2. The Reverse Crab Stitch
This technique involves working backward, which creates a twisted, rope-like cord. This is the ultimate choice for durability because the twisted stitches provide a dense, protective barrier against abrasion.
Mastery Tip: Keep your hook parallel to the edge. This maintains a consistent torque on the yarn, preventing the "spirals" from becoming uneven or bunching the fabric.
3. The Shell Arc
The Shell stitch uses a series of stitches worked into a single point, creating a fan shape. This distributes the weight of the border over a wider area of the foundation row, reducing the risk of the blanket edge stretching out over time.
Mastery Tip: Use a hook one size smaller than your main project hook. This increases the stitch density, making the fans appear crisp and architectural rather than loose and floppy.
4. The Moss Stitch Border
By alternating chains and single crochets, you create a weave that mimics a woven fabric. This provides excellent dimensional stability, meaning the blanket will not warp during washing.
Mastery Tip: Focus on the "air gap" in the chain space. This creates capillary action during the blocking process, allowing moisture to penetrate the fibers evenly for a perfect flat finish.
5. The Trellis Lace
This is a lightweight, airy option that uses long chain loops. It is perfect for lightweight summer blankets where breathability is key.
Mastery Tip: Ensure your "anchor" stitches are deep. By inserting the hook further into the fabric, you leverage the fiber density of the blanket body to support the weight of the lace.
6. The Block Stitch
The Block stitch creates a geometric, brick-like appearance. It is highly effective at hiding unevenness in the original blanket edge because the "blocks" act as a visual camouflage.
Mastery Tip: Match your yarn weights perfectly. If the border yarn has a different elasticity than the blanket, the blocks will pull and distort the corners.
7. The Pom-Pom Edge
Small, integrated bobbles create a playful, tactile experience for a baby. These "nodes" also act as structural anchors that give the edge a satisfying weight.
Mastery Tip: When completing the bobble, "burnish" the stitch with your fingers to align the fibers. This physical compression helps the pom-pom retain its spherical shape through multiple wash cycles.
THE TECHNICAL LEDGER
Maintenance & Longevity: To preserve the interlocking loops of your Simple Crochet Edgings, always wash the finished piece in a mesh bag. This prevents mechanical stress from the washing machine agitator from pulling at the delicate border.
Material Variations:
- Sustainable: Tencel or Lyocell fibers offer high moisture wicking and a silky hand-feel.
- Premium: Cashmere blends provide unmatched thermal regulation but require lower tension to avoid snapping the delicate hairs.
The Correction:
- The Ruffle: If the edge is waving, your stitch frequency is too high. Reduce the number of stitches per inch to match the base fabric gauge.
- The Cup: If the blanket is curling inward, your tension is too high. Switch to a larger hook to increase the loop circumference.
- The Corner Gap: If the corners look thin, you are not adding enough "increase" stitches. Always work three stitches into the exact corner point to maintain a 90-degree trajectory.
Studio Organization: Store your yarn in airtight, UV-protected bins. Light exposure causes photodegradation, which weakens the yarn's molecular structure and leads to fading and breakage over time.
THE FINAL REVEAL
There is nothing quite like the moment you snip the final thread and lay the blanket flat. The addition of Simple Crochet Edgings transforms a humble rectangle into a legacy piece. The way the light catches the raised texture of a Shell stitch or the crisp line of a Crab stitch is pure magic. You have successfully engineered a piece of art that is as tough as it is beautiful. Your blanket now possesses the structural integrity to withstand years of snuggles, washes, and floor-time adventures. It is polished, professional, and ready for its close-up.
STUDIO QUESTIONS
Which edging is best for a beginner?
The Reverse Crab Stitch is ideal. It requires only one stitch type but produces a sophisticated, corded look that hides minor tension inconsistencies while providing a rugged, durable finish for high-use baby items.
How do I prevent my border from ruffling?
Ruffling occurs when there are too many stitches for the available space. Ensure your foundation row matches the stitch count of the blanket edge exactly. If the fabric waves, decrease your stitch frequency in the next row.
Can I use a different yarn for the border?
Yes, but ensure the fiber content and care requirements are compatible. Mixing a shrinkable wool border with a non-shrink cotton blanket will cause the edges to distort and pucker after the first wash cycle.
How do I make the corners look sharp?
To maintain a crisp 90-degree angle, always work multiple stitches into the corner stitch. A standard formula is "stitch, chain two, stitch" all into the same corner space to provide the necessary radial expansion.

