
The smell of aged cellulose and the crisp, brittle snap of a 1940s ledger page are the ultimate sensory triggers for any maker. When you run your fingertips over a weathered surface, you are feeling the degradation of lignin and the beautiful, chaotic texture of oxidized fibers. We are not just gluing paper to wood today; we are performing a structural lamination process. Transforming a discarded crate into a masterpiece through simple decoupage projects requires a deep understanding of how moisture affects the tensile strength of your medium. If you saturate a thin sheet too quickly, the expansion of the fibers will outpace the evaporation of the solvent, leading to those dreaded structural ripples. We want a flush, glass like finish that looks like the paper grew out of the timber. Grab your favorite vintage ephemera and let us dive into the mechanics of adhesion. We are going to master the art of the perfect bond while keeping our studio energy high and our technical execution even higher.
THE STUDIO KIT
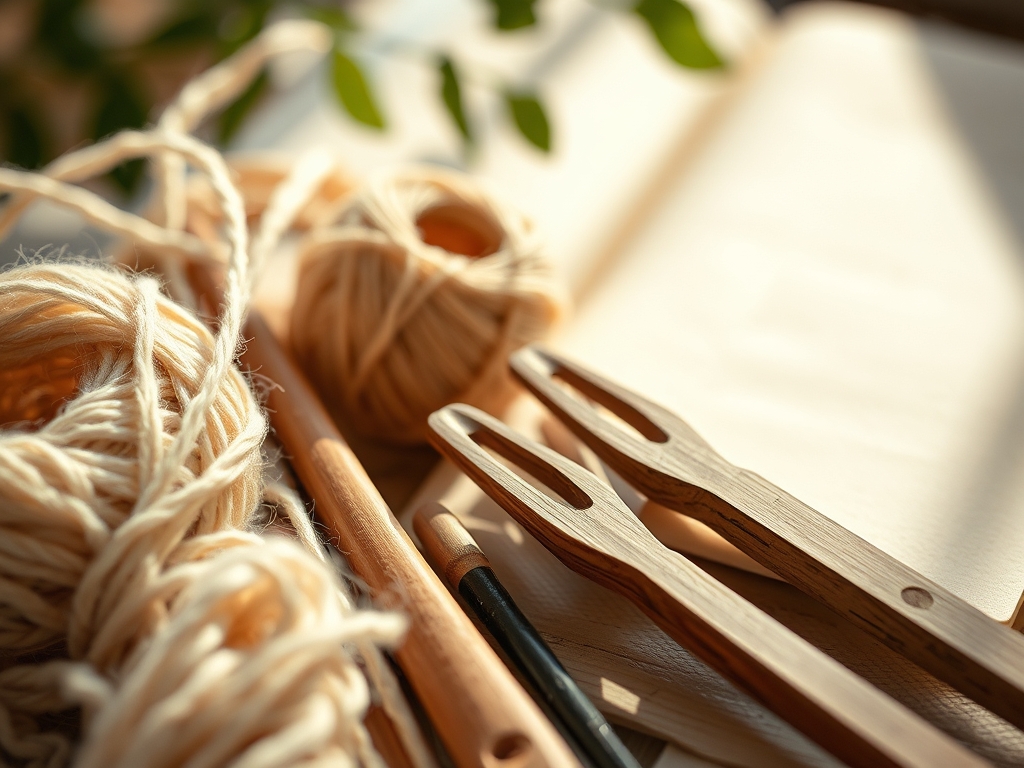
To execute these simple decoupage projects with professional precision, your workbench needs more than just a bottle of white glue. You need tools that respect the porous nature of both the substrate and the overlay. Start with a high quality bone folder or a weighted brayer; these are essential for mechanical burnishing to evacuate air pockets. You will also need a rotary cutter for clean, shear force edges and a set of calipers if you are planning to inset your paper into specific recessed panels.
For the adhesive, a dedicated decoupage medium with a balanced viscosity is superior to standard PVA. You want a high solids content to ensure that once the water evaporates, the remaining polymer film is thick enough to provide structural integrity. If you cannot find a specialized medium, a Material Substitution would be a mixture of 70 percent archival glue and 30 percent distilled water, though this increases the risk of paper cockling. Always have a fine grit sandpaper (400 to 600 grit) on hand to manage the surface profile of the wood before the first application.
THE TEMPO
The "Maker's Rhythm" is all about respecting the cure cycle. You cannot rush the physics of evaporation.
- The Preparation Phase (20 Minutes): This involves the mechanical abrasion of the box surface. You are increasing the surface area for the adhesive to "grab" onto.
- The Application Phase (30 Minutes): This is the high focus window where you manage the open time of your glue. You must work quickly enough that the adhesive does not skin over but slowly enough to ensure perfect alignment.
- The De-gassing Phase (10 Minutes): After the paper is down, you spend this time burnishing from the center outward to ensure no oxygen is trapped in the interface.
- The Cure Phase (4 to 6 Hours): This is the chemical waiting room. The polymers are cross linking and the moisture is exiting the wood grain. Do not touch it.
THE CORE METHOD
1. Surface Preparation and Leveling
Before a single drop of glue touches the wood, you must ensure the substrate is chemically and physically receptive. Use a tack cloth to remove every microscopic particle of dust. If the wood is too smooth, the adhesive will lack the mechanical key needed for a long term bond.
Mastery Tip: Understand capillary action. If the wood is extremely dry, it will suck the moisture out of your glue too fast, leaving the paper brittle. Lightly misting the wood with a fine atomizer can prime the surface tension.
2. Precision Mapping and Cutting
Measure your vintage paper using your calipers or a steel rule. Vintage papers often have a directional grain based on how the pulp was pressed. Always cut with the grain when possible to prevent the edges from fraying during the application process.
Mastery Tip: The tensile strength of wet paper is significantly lower than dry paper. By pre cutting your pieces to a 1:1 scale, you avoid having to trim excess material while the paper is in its most vulnerable, saturated state.
3. Adhesive Distribution
Apply a thin, even coat of medium to both the box and the back of the paper. This creates a "wet to wet" bond that maximizes the interfacial adhesion. Use a synthetic flat brush to avoid leaving brush strokes that could create "valleys" under the paper.
Mastery Tip: This is all about fluid dynamics. A thick glob of glue creates a hydraulic cushion that prevents the paper from sitting flush against the wood cells. Aim for a coat that is translucent, not opaque.
4. The Burnishing Sequence
Lay the paper down and immediately use your bone folder. Start at the dead center and move toward the perimeter in a starburst pattern. This forces air and excess adhesive out, ensuring the paper fibers are pressed into the wood grain.
Mastery Tip: You are essentially creating a composite laminate. By applying consistent pressure, you are forcing the adhesive into the tracheids of the wood, creating a permanent structural bond once dry.
5. The Protective Sealant
Once the piece is fully dry, apply a top coat. This creates a barrier against UV degradation and moisture. Two thin coats are always superior to one thick coat to prevent "clouding" of the finish.
Mastery Tip: Watch for surface tension issues like "fish eyes" where the sealant beads up. This usually means there was oil from your skin on the paper. A quick wipe with a dry microfiber cloth before sealing prevents this.
THE TECHNICAL LEDGER
Maintenance & Longevity: To keep your simple decoupage projects from yellowing, keep them out of direct sunlight. The UV rays will accelerate the breakdown of the hemicellulose in vintage papers. Dust with a dry brush; never use chemical cleaners which can re-emulsify the top coat.
Material Variations:
- Sustainable: Use salvaged 19th century newspapers which have a high cotton content.
- Premium: Opt for Japanese tissue or vellum for a translucent, ethereal layer.
- Recycled: Old maps are excellent because the ink is often oil based and won't bleed when hit with water based glues.
The Correction:
- The Bubble: If a bubble appears after drying, use a fine needle to prick a hole, inject a tiny amount of glue with a syringe, and re-burnish.
- The Tear: If the vintage paper rips, do not overlap a new piece. Instead, "butt join" a small scrap to maintain a level surface profile.
- The Clouding: If the finish looks milky, the humidity in your studio was too high. Use a hair dryer on a low, cool setting to gently coax the trapped moisture out.
Studio Organization: Store your vintage paper flat in acid free folders. If you store them rolled, the memory of the fibers will make them curl during the decoupage process, fighting your adhesive and causing edge lift.
THE FINAL REVEAL
Look at that transformation! Your old box has gone from a dusty relic to a high end piece of functional art. The way the vintage typography sits flush against the wood grain is a testament to your technical precision. When you run your hand over the surface, it should feel like a single, unified material. These simple decoupage projects are the perfect marriage of history and physics. You have successfully preserved a piece of the past using modern chemical bonding. It is sharp, it is sophisticated, and it is built to last another hundred years.
STUDIO QUESTIONS
What is the best paper for beginners?
High quality gift wrap or 19th century ledger paper is ideal. They have enough wet strength to handle repositioning without tearing, making them perfect for those just starting their first simple decoupage projects on wooden surfaces.
How do I prevent the ink from bleeding?
Spray the paper with a quick drying fixative or a light coat of hairspray before applying the adhesive. This seals the pigments and prevents the water in the glue from mobilizing the ink particles across your project.
Can I decoupage over a painted box?
Yes, but you must ensure the paint is fully cured. If the paint is fresh, the outgassing of the paint solvents can create bubbles under your paper. Sand the paint lightly to create a mechanical grip for the glue.
What if the paper starts to wrinkle immediately?
This is caused by hygroscopic expansion. Lift the paper gently, wait thirty seconds for the fibers to relax and expand fully, then lay it back down and burnish. This allows the paper to "grow" before it is locked in place.

