
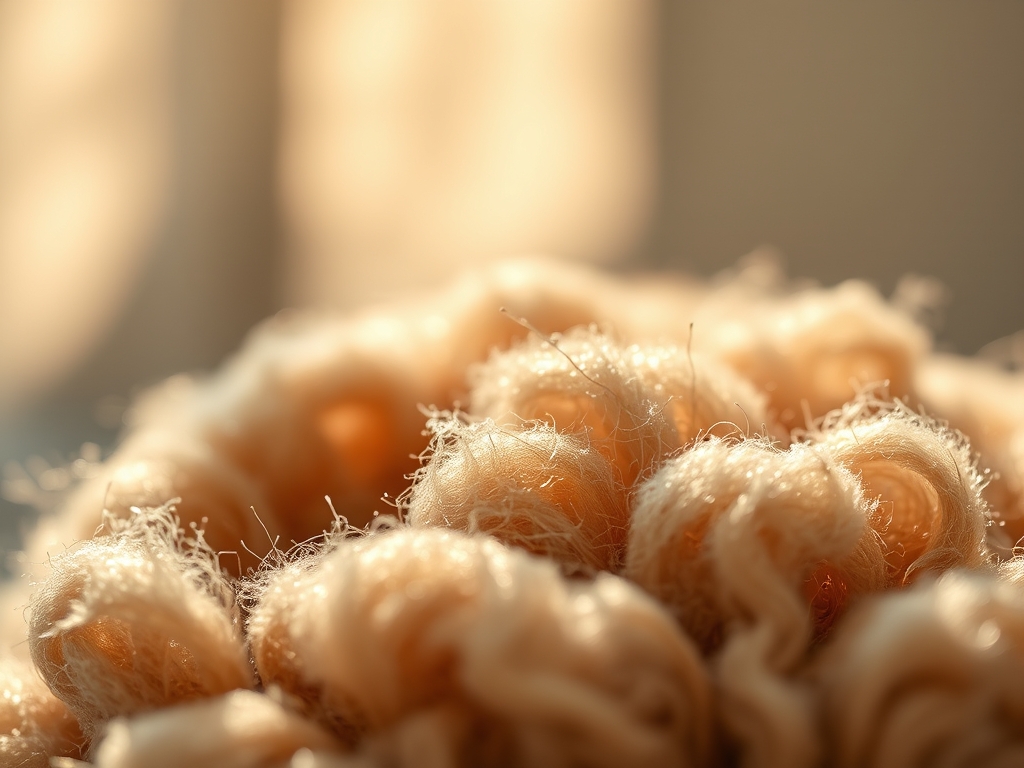
The scent of fresh cedar shavings mixed with the metallic tang of cold-pressed steel is the ultimate morning wake-up call. You know that feeling when the grain of a piece of walnut resists your blade just enough to let you know it is alive? That is the sensory baseline for anyone committed to nurturing maker growth from a casual weekend distraction into a professional-grade discipline. It is about moving past the "good enough" phase and diving deep into the molecular structure of your medium. Whether you are feeling the tensile strength of a leather hide or measuring the viscosity of a resin pour; your hands are becoming precision instruments. We are not just making things; we are engineering art with a soul. Grab your safety goggles and a double espresso; because we are about to upgrade your entire creative DNA.
THE STUDIO KIT
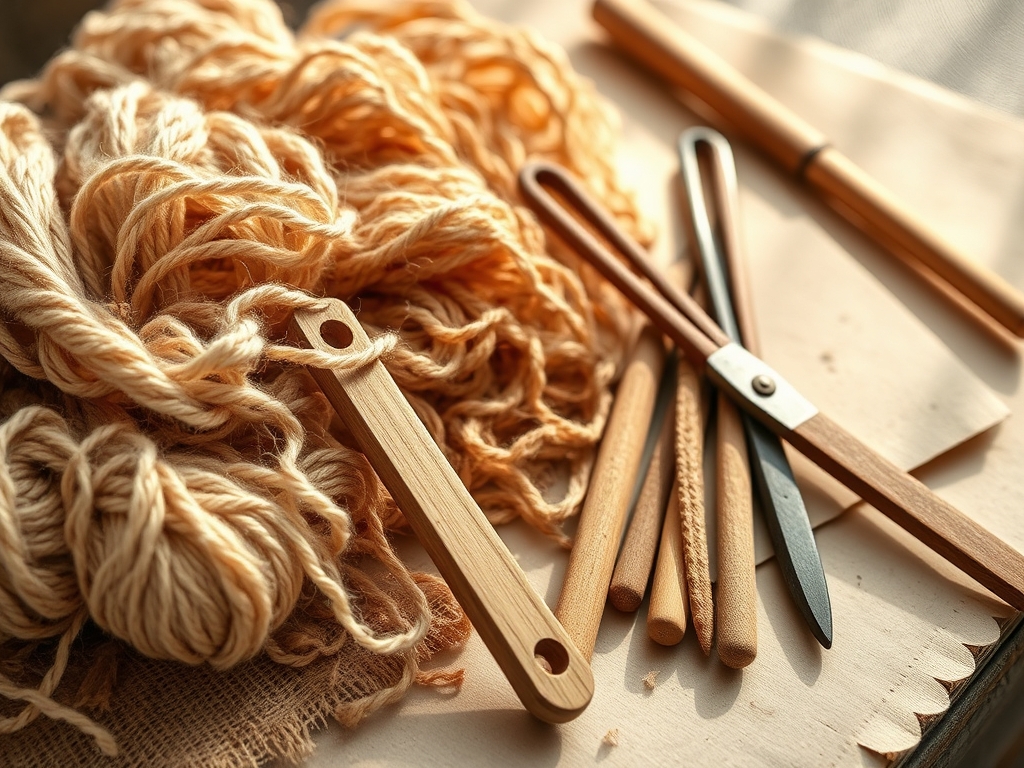
To transition to a professional level; your junk drawer of "sort of" tools needs a serious eviction notice. We start with digital calipers for sub-millimeter accuracy; because "eyeballing it" is the enemy of structural integrity. You will need a high-carbon steel marking knife to score fibers rather than crushing them with a dull pencil. For assembly; a set of parallel jaw clamps ensures even pressure distribution across your workpiece; preventing the dreaded bowing that occurs with cheap spring clamps.
Material selection is where the physics gets spicy. Professionals look for dimensional stability in their wood or high thread counts in their textiles to ensure the final product does not warp or fray under environmental stress. If you cannot source premium hardwoods; a material substitution like Baltic Birch plywood offers incredible shear strength due to its cross-banded layers. If you are working in metals; swapping expensive sterling for phosphor bronze provides a similar ductility while you refine your soldering heat control. Always check the gauge of your wire or the moisture content of your timber before the first cut.
THE TEMPO
The "Maker's Rhythm" is not about speed; it is about respecting the curing times and thermal expansion of your materials. A professional project often spends forty percent of its life cycle in the "prep and measure" phase. This is the latency period where you allow materials to acclimate to your studio's humidity. Rushing a glue-up or a finish application ignores the capillary action required for a bond to truly set. You must learn to work in "batches of focus." Spend three hours on high-precision cutting; then pivot to the low-impact tasks like sanding or cleaning your collets and blades. This prevents mental fatigue from leading to a catastrophic kerf error.
THE CORE METHOD
1. The Precision Score
Before the saw ever touches the surface; you must create a physical path. Using a marking gauge; you slice through the longitudinal fibers of your material. This prevents tear-out by creating a clean break point for the blade.
Mastery Tip: This works because of fiber severance. By pre-cutting the surface cells; you eliminate the jagged edges caused by the upward force of a rotating tool; ensuring a crisp; professional edge.
2. Establishing the Datum
Every measurement must come from a single; perfectly flat reference point known as the datum. Use a try square to check that your primary edge is exactly ninety degrees. If your base is off by even a fraction of a degree; that error will compound across the entire build.
Mastery Tip: This relies on geometric propagation. A one-millimeter error at the base can result in a ten-millimeter gap at the top of a tall structure due to angular deviation.
3. Managing the Kerf
When you cut; the blade removes a specific width of material called the kerf. Professional makers always cut on the "waste side" of their line. If you ignore the blade thickness; your final dimensions will always be short.
Mastery Tip: Use a zero-clearance insert on your saws. This supports the material right up to the edge of the cut; reducing vibration and preventing the fracture toughness of the material from being exceeded.
4. The Mechanical Bond
Whether you are using dovetails; mortises; or welds; the fit must be "piston-tight." This means the pieces slide together with firm pressure but do not fall apart under gravity.
Mastery Tip: This utilizes surface area optimization. The more contact points you have at a microscopic level; the more effectively your adhesive or mechanical fastener can distribute stresses across the joint.
5. Surface Refinement
Sanding is not just about making things smooth; it is about removing the "crushed" cells from previous tool marks. Move through grits methodically (80, 120, 180, 220) without skipping steps.
Mastery Tip: This is the science of abrasive leveling. Each successive grit replaces deep scratches with shallower ones until the light reflects uniformly off the surface; a phenomenon known as specular reflection.
6. Managing Internal Tension
When removing large amounts of material; the internal stresses of the piece can cause it to "spring" or cup. Always remove equal amounts of material from both sides of a board or sheet to maintain balance.
Mastery Tip: This addresses hygroscopic equilibrium. By exposing fresh cells on both sides; you ensure the material absorbs or releases moisture evenly; preventing a structural warp.
7. The Chemical Interface
Applying a finish is a chemical reaction. Whether it is an oxidizing oil or a cross-linking polymer; the first coat is the most critical for adhesion.
Mastery Tip: Use the concept of surface energy. Cleaning your piece with a tack cloth or denatured alcohol increases the surface energy; allowing the finish to "wet out" and bond at a molecular level rather than sitting on top of dust.
8. The Final Burnish
The difference between a hobbyist and a pro is the "hand feel." Use a bone folder or a high-grit polishing cloth to compress the surface fibers for a final; glass-like touch.
Mastery Tip: Burnishing works by plastic deformation. You are physically flattening the microscopic peaks of the material; which increases the density of the surface layer and provides a natural barrier against moisture.
THE TECHNICAL LEDGER
Maintenance & Longevity: Your tools are an extension of your hands. Keep your cast iron surfaces waxed to prevent oxidation. Use a honing guide to maintain a consistent twenty-five-degree primary bevel on your chisels. A dull tool requires more force; which decreases your control and increases the risk of shearing the material incorrectly.
Material Variations: If you are going the sustainable route; look for FSC-certified timbers or recycled HDPE plastics. Note that recycled materials often have "work hardening" or inconsistent grain patterns; so adjust your feed speed accordingly. For premium builds; look for quarter-sawn stock; which offers the highest level of stability against seasonal expansion.
The Correction:
- The Gap: If a joint has a visible gap; do not just fill it with glue. Mix fine sawdust from the same piece with resin to create a color-matched structural filler.
- The Tear-out: If a splinter lifts; use a cyanoacrylate (CA) glue with an activator for an instant bond; then sand flat.
- The Burn Mark: Dull blades cause friction heat. Remove these with a cabinet scraper rather than sandpaper to avoid creating a "dish" in the wood.
Studio Organization: Store your materials horizontally on a cantilever rack to prevent gravity-induced bowing. Keep your precision instruments in a foam-lined "shadow board" to protect their calibration.
THE FINAL REVEAL
Look at that! The light catches the chamfered edges perfectly; and the joinery is so tight it looks like the piece grew that way. There is a specific kind of electricity that happens when a project moves from a "thing I made" to a "professional piece of work." You have mastered the physics of friction; the chemistry of finishes; and the geometry of design. This is the heart of nurturing maker growth. You are no longer just following a tutorial; you are commanding the materials to do your bidding.
STUDIO QUESTIONS
How do I prevent wood from splitting during assembly?
Always drill a pilot hole slightly smaller than the screw diameter. This removes material to make room for the fastener; reducing the hoop stress that causes the grain to fracture and split apart.
What is the best way to clean a metal surface before welding?
Use a stainless steel wire brush and acetone to remove all oils and oxidation. This ensures a clean ionic bond during the melting process; preventing slag inclusions and weak points in your bead.
Why does my finish look cloudy or "blush"?
This is usually caused by high humidity trapping moisture under the surface. The moisture interferes with the polymerization of the finish. Work in a climate-controlled space or use a retarder to slow the drying time.
How often should I calibrate my measuring tools?
Check your squares and calipers every month or after any accidental drop. Use the 3-4-5 triangle method to verify ninety-degree angles. Professional growth requires a constant commitment to metrological accuracy.

