Imagine the smell of cold, damp terra cotta or the crisp, rhythmic snap of high-grade cardstock under a bone folder. Nurturing Artistic Talent starts with these tactile sensations; it is the physical bridge between a child's imagination and the structural reality of the world. When a toddler smears pigment, they are actually experimenting with viscosity and friction.
To truly foster a creative spirit, we must look past the mess and see the engineering. Every brushstroke is a lesson in fluid dynamics. Every clay coil is a study in structural integrity and compressive strength. We are not just making "refrigerator art." We are developing a young maker's ability to manipulate physical matter. By Nurturing Artistic Talent through high-quality materials, we provide the ergonomic feedback necessary for fine motor mastery. Grab your apron and clear the workbench. We are about to dive into the grit and the glory of the studio.
THE STUDIO KIT
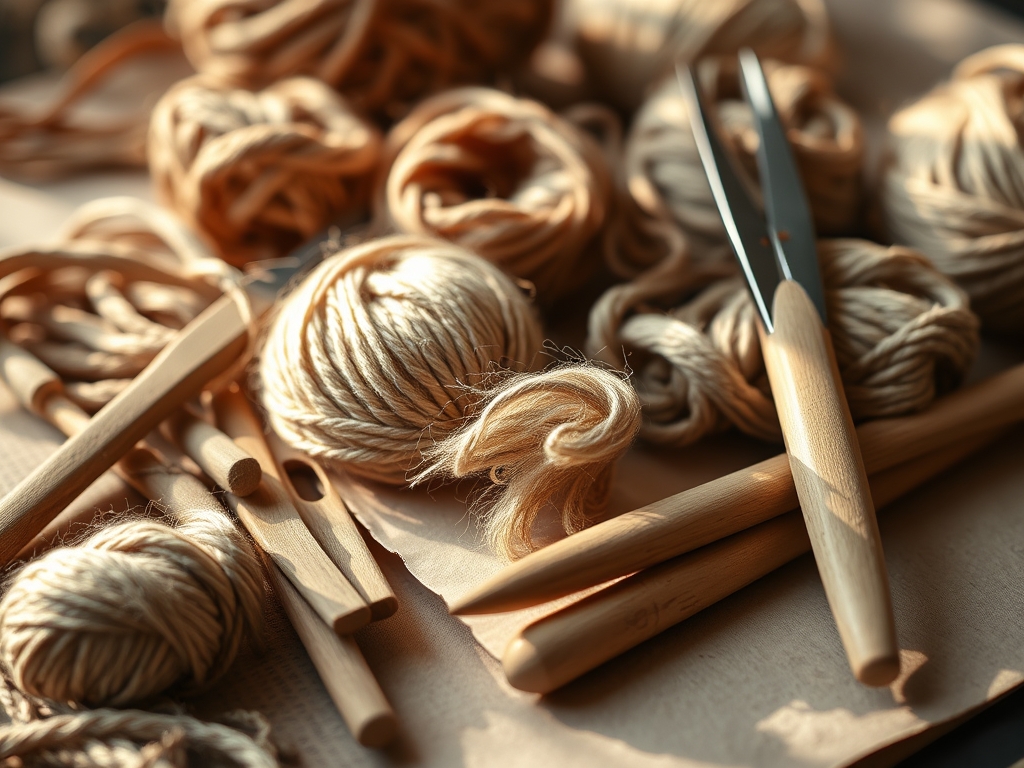
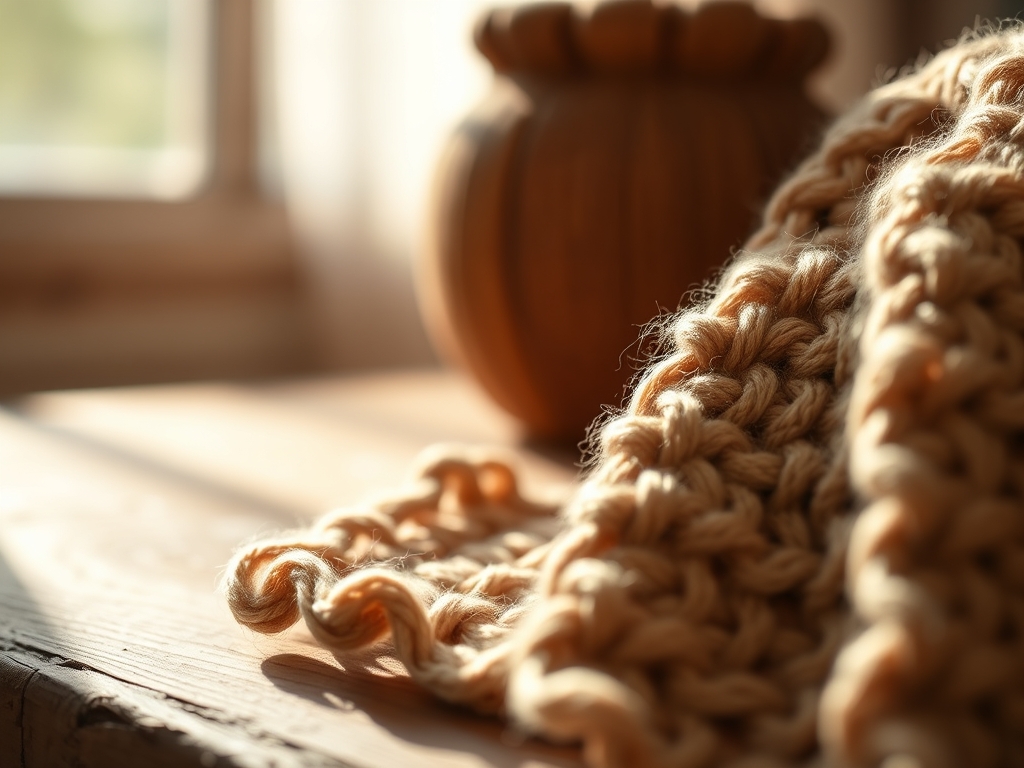
To build a proper foundation, you need tools that offer consistent resistance and feedback. Start with heavyweight watercolor paper, specifically 300gsm cold-press. The high cotton content provides a porous surface that handles heavy saturation without warping. For sculpting, skip the salty doughs and go for polymer clay or air-dry stone clay. These materials have a dense molecular structure that holds fine detail and resists sagging during the curing process.
You will also need a set of natural hair brushes (sable or hog bristle) rather than plastic synthetics. Natural fibers have superior capillary action, meaning they hold more pigment and release it with a predictable flow rate. Add a stainless steel palette knife for mixing; it teaches the child about shear force and the way pigments blend at a molecular level.
Material Substitutions: If professional clay is unavailable, use a dense salt-flour mix but add a teaspoon of glycerin to increase elasticity and prevent cracking. If you lack a palette knife, a stiff silicone spatula works as a functional ergonomic substitute to maintain the tactile experience of spreading high-viscosity media.
THE TEMPO
The Maker's Rhythm is not about rushing to a finished product; it is about respecting the drying times and chemical transitions of the media. For young children, we divide the studio session into three distinct phases. The Exploration Phase (20 minutes) is high-energy and focuses on sensory input. This is followed by the Technical Phase (30 minutes), where we introduce a specific tool or "problem" to solve. Finally, we have the Curing Phase, which can last from an hour to overnight depending on the atmospheric humidity and the thickness of the material.
Respecting this tempo prevents "creative fatigue." When a child understands that paint needs time for the solvent to evaporate or that clay needs to reach a "leather-hard" state before carving, they learn patience through physics. This rhythmic approach ensures that Nurturing Artistic Talent remains a sustainable, long-term pursuit rather than a fleeting burst of chaos.
THE CORE METHOD
1. Establishing the Foundation
Before the first mark is made, secure the substrate. Use low-tack painter's tape to fix the paper to a flat, non-porous board. This creates a mechanical tension that prevents the paper from curling when moisture is applied. Observe the alignment in the step-by-step photos below to see how a taut surface allows for more precise control of the medium.
Mastery Tip: This is about tensile strength. By securing the edges, you allow the cellulose fibers in the paper to expand and contract uniformly as they absorb water, preventing the "buckling" effect that ruins the flatness of the work.
2. Pigment Saturation and Flow
Introduce the concept of a "wet-on-wet" technique. Have the child apply a thin film of distilled water to the paper before adding pigment. Watch as the color blooms outward. This is a lesson in surface tension. The water acts as a carrier, pulling the pigment through the fibers of the paper via capillary action.
Mastery Tip: Use a pipette or a dropper to control the volume of liquid. This teaches the child about volumetric measurement and how the ratio of pigment to solvent changes the opacity and value of the color.
3. Structural Coil Building
When working with clay, teach the "score and slip" method. Use a needle tool or a simple toothpick to create cross-hatched indentations on two surfaces before joining them. Apply a slurry of clay and water (slip) to act as a liquid adhesive. This creates a mechanical bond that is stronger than a simple surface-to-surface press.
Mastery Tip: This process increases the surface area for the bond. Without scoring, the two pieces will have different shrinkage rates as the water evaporates, leading to structural failure during the drying process.
4. Controlled Subtraction
Give the child a small loop tool or a blunt stylus to carve into a semi-dry surface. This is "subtractive sculpting." It requires the child to plan ahead, as material removed cannot easily be replaced. It develops spatial awareness and an understanding of three-dimensional volume.
Mastery Tip: The resistance of the clay provides proprioceptive feedback. The child must adjust the pressure of their hand to match the density of the material, which refines the neural pathways responsible for delicate motor control.
5. Layering and Glazing
Once the base layer is dry, introduce transparent washes. This is Nurturing Artistic Talent through the science of optics. By layering thin, translucent pigments, the child creates new colors that have more depth than pre-mixed hues. This is how the masters achieved luminosity.
Mastery Tip: This relies on light refraction. Light passes through the transparent top layer, hits the white paper or base color, and reflects back to the eye, creating a visual vibration that opaque paint cannot replicate.
6. The Burnishing Finish
For the final touch, use a smooth stone or a bone folder to rub the surface of a dry clay piece or a heavy pencil drawing. This compresses the surface molecules, creating a slight sheen and a hardened exterior. It is a satisfying, high-sensory way to finish a project.
Mastery Tip: Burnishing reduces the porosity of the surface. By physically flattening the microscopic peaks and valleys of the material, you create a surface that reflects light more uniformly, resulting in a professional, polished luster.
THE TECHNICAL LEDGER
Maintenance & Longevity: To keep tools in peak condition, always clean brushes with a pH-neutral soap and store them "bristles up" to maintain their shape. Metal tools should be wiped with a drop of mineral oil to prevent oxidation, especially in high-humidity studio environments.
Material Variations:
- Sustainable: Use beeswax-based crayons or soy-based inks for a lower environmental footprint.
- Recycled: Corrugated cardboard offers incredible structural strength for 3D builds due to its internal "fluting" architecture.
- Premium: Introduce gold leaf or high-pigment gouache to teach children about the value of rare minerals and the weight of metal.
The Correction:
- The Over-Saturated Paper: If the paper is soaking wet and puddling, use a dry sea sponge to "wick" the excess moisture away. This prevents the cellulose fibers from breaking down.
- The Cracking Clay: If a sculpture develops fissures, fill them with a "paper clay" slurry (clay mixed with toilet paper fibers). The fibers act like rebar in concrete to bridge the gap.
- The Muddy Color: If colors become brown and muddy, the child is likely mixing complementary colors. Use a color wheel to explain how opposite wavelengths cancel each other out.
Studio Organization: Store paper flat in a cool, dark drawer to prevent "lightfastness" issues (fading). Clay must be kept in an airtight container with a damp sponge to maintain its plastic state. Label everything with the date and the specific "batch" to track how materials age over time.
THE FINAL REVEAL
Look at that! You have moved from a pile of raw materials to a structured, engineered work of art. The finished piece is more than just a picture; it is a record of physical interactions. The way the light hits the burnished edges and the way the pigments have settled into the grain of the paper shows a deep, technical understanding of the craft. Nurturing Artistic Talent is about giving a child the keys to the physical world. They aren't just playing; they are mastering the very fabric of reality.
STUDIO QUESTIONS
How do I stop paper from curling?
Use painter's tape to secure all four edges to a rigid board before starting. This creates mechanical tension that counters the expansion of the cellulose fibers when they get wet, ensuring the paper stays flat as it dries.
What is the best clay for kids?
High-quality air-dry stone clay or polymer clay is best. These materials offer consistent density and professional-grade tactile feedback, which helps children develop the hand strength and precision needed for intricate structural work and fine detail carving.
Why are natural brushes better?
Natural fibers have microscopic scales that hold liquid through capillary action. This allows for a more controlled, predictable release of paint compared to synthetic bristles, which often dump the pigment all at once in an uneven, messy glob.
How do I fix "muddy" paintings?
Teach the child about the color wheel. Muddy colors happen when too many complementary colors (like red and green) are mixed. Encourage them to clean their brush thoroughly between colors to maintain the purity and light refraction of each pigment.
Is professional gear worth it for kids?
Yes. Professional tools respond predictably to physical force. When a child uses low-quality tools that fail or break, they blame their own skill level rather than the faulty equipment, which can stifle their desire to continue Nurturing Artistic Talent.