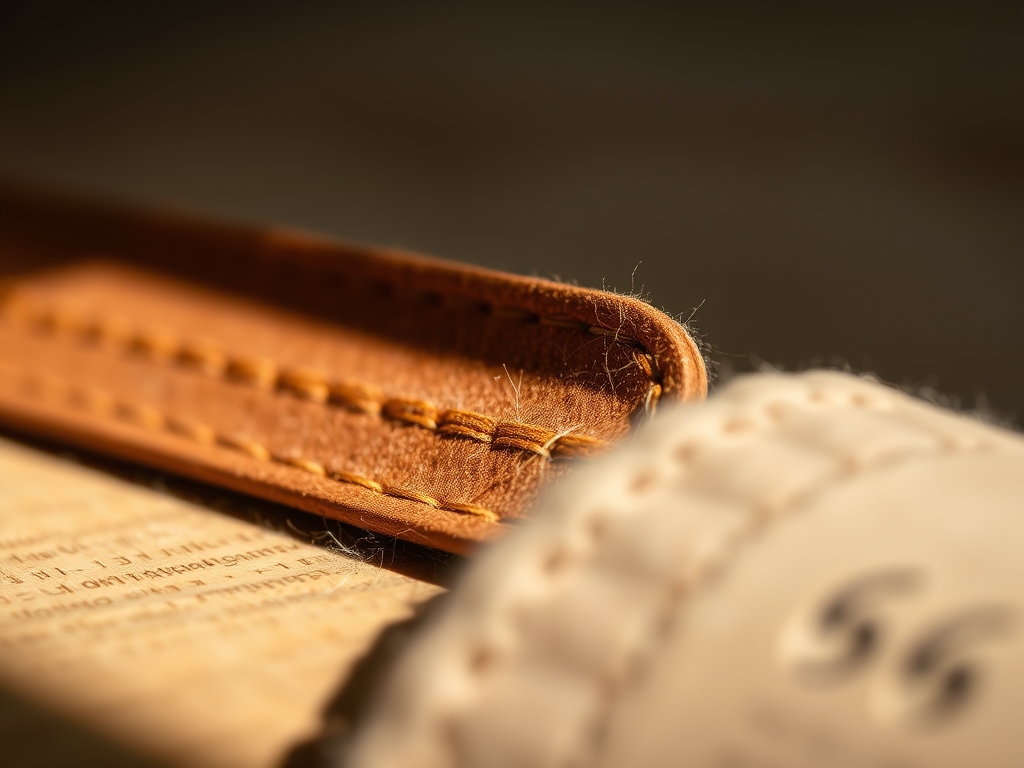
Grab that scrap of vegetable tanned hide and breathe in that deep, earthy scent of tannins and oak bark. Can you feel that? That is the literal weight of history in your hands. When you dive into First Time Leatherwork, you are not just making a card holder; you are manipulating a complex network of collagen fibers that have been stabilized through chemical bonding. It is tactile, it is slightly oily, and it is incredibly forgiving if you know how to talk to it. Most beginners get intimidated by the toughness of the grain, but once you understand that leather is essentially a high tensile natural polymer, you realize you are the boss of the bench. We are going to take that raw, porous surface and transform it into a sleek, professional wallet using nothing but physics and a bit of elbow grease. This is about the marriage of force and finesse. We are about to turn a flat sheet of hide into a three dimensional masterpiece that will outlive your favorite pair of jeans.
THE STUDIO KIT
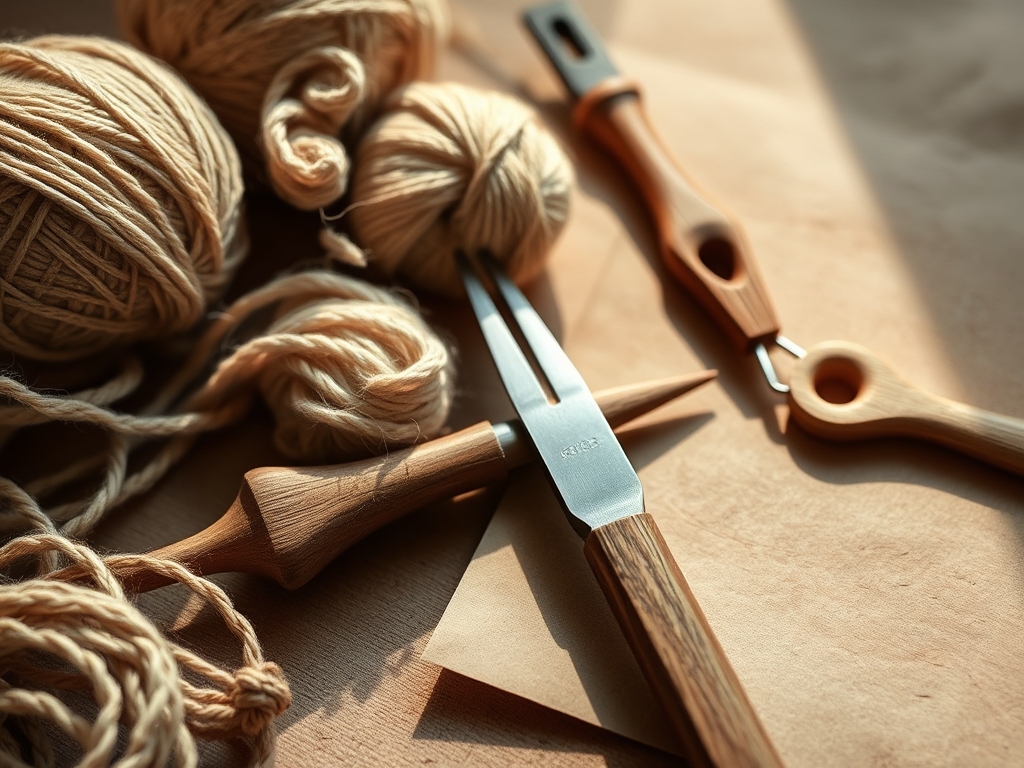
To master the art of the wallet, you need a kit that respects the material's structural integrity. You will need a rotary cutter or a high carbon steel utility knife for those crisp, perpendicular edges. A bone folder is essential for compressing fiber density during folding. For the actual joinery, we use waxed polyester thread, which offers superior tensile strength compared to cotton. You also need a poly mallet; never use metal on your punches because the shock waves will mushroom the tool heads and ruin the calibration.
If you cannot find a professional stitching pony to hold your work, a heavy book or a tabletop vice padded with cork works as a perfect material substitution. For the finish, burnishing gum (like Tokonole) is the gold standard for sealing the edges, but in a pinch, a bit of beeswax and a wooden dowel will create enough friction to fuse the fibers. Always keep a set of calipers nearby to ensure your pocket offsets are symmetrical down to the millimeter.
THE TEMPO
The "Maker's Rhythm" is all about managing your internal clock against the physical properties of the hide. First Time Leatherwork usually follows a four phase tempo. Phase one is the Draft and Cut, which takes about 30 minutes of intense focus to ensure grain direction alignment. Phase two is Edge Prep, a 20 minute meditative process of sanding and beveling. Phase three is the Punch and Stitch, the longest stretch at roughly 60 to 90 minutes; this is where the rhythmic "thud-pull-tighten" cycle becomes your mantra. Finally, the Burnish and Buff takes 15 minutes of high speed friction to seal the deal. Total time? About three hours of pure, focused creation.
THE CORE METHOD
1. Mapping the Grain and Precision Cutting
Before the blade touches the surface, identify the "tight" part of the hide. Leather has a directional stretch; you want your wallet pockets to stretch horizontally, not vertically, to prevent card slippage. Use your rotary cutter to slice along a metal ruler, applying consistent downward pressure to prevent the leather from bunching.
Mastery Tip: This is about shear strength. By cutting with the grain, you minimize the fraying of the internal protein bundles, resulting in a cleaner edge that requires less sanding later.
2. The Five Essential Punches
For a professional finish, you need five specific hole configurations. First, the 4-prong diamond chisel for straight runs. Second, the 2-prong chisel for navigating tight corners. Third, a 1/8 inch hole punch for the snap closure. Fourth, a strap end punch for rounding the flap. Fifth, a scratch awl for marking your stitch line depth without piercing the grain prematurely.
Mastery Tip: Use a polypropylene cutting mat beneath your work. The mat absorbs the kinetic energy of the punch, protecting the sharpened tips of your tools and ensuring a clean exit through the flesh side of the leather.
3. Beveling and Edge Compression
Take your edge beveler and run it along the 90 degree corners of your cut pieces. This removes a tiny sliver of leather, creating a rounded profile. Follow this with a fine grit sandpaper to even out the surface.
Mastery Tip: This process manages surface tension. By rounding the edge, you reduce the surface area prone to snagging and peeling, which significantly increases the lifespan of the wallet's structural joints.
4. The Saddle Stitch Technique
Thread two needles on a single length of waxed thread. Pass one needle through the first hole, then pass both needles through every subsequent hole from opposite directions. This creates an interlocking "figure eight" that will not unravel even if one stitch is severed.
Mastery Tip: This relies on frictional resistance. The wax on the thread lubricates the passage through the tight leather fibers but then "locks" into place once the thread settles, creating a permanent, waterproof bond.
5. Burnishing for the Glass Finish
Apply a small amount of burnishing gum to the edges. Use a wooden slicker to rub the edge rapidly. The heat generated by the friction causes the collagen fibers to bind together and the gum to polymerize into a hard, glossy seal.
Mastery Tip: This is a demonstration of thermoplasticity. The combination of heat and pressure reshapes the natural proteins in the leather, turning a fuzzy, open edge into a solid, moisture resistant barrier.
THE TECHNICAL LEDGER
Maintenance & Longevity
Leather is a biological material that requires hydration. Every six months, apply a light coat of neatsfoot oil or beeswax conditioner to maintain the elasticity of the fibers. Avoid synthetic oils that can break down the natural tannins.
Material Variations
- Vegetable Tanned: The gold standard for structure and patina.
- Chrome Tanned: Softer, higher "drape," but difficult to burnish.
- Recycled Bonded Leather: Great for practice, but lacks the tensile strength of full grain.
The Correction: 3 Common Fixes
- The Misaligned Hole: If a punch goes rogue, do not toss the piece. Use a damp cloth to swell the fibers, then use a bone folder to "massage" the hole closed before re-punching.
- The Thread Snap: If your thread breaks mid-stitch, backstitch three holes and melt the ends with a lighter to fuse the polyester.
- The Rough Edge: If the edge won't get shiny, you haven't sanded enough. Go back to 400 grit sandpaper and remove all "fuzz" before re-applying friction.
Studio Organization
Store your leather flat in a cool, dry place. Humidity is the enemy; it can lead to mold or "spew" (fatty acids rising to the surface). Keep your punches in a tool roll with a light coating of machine oil to prevent oxidation.
THE FINAL REVEAL
Look at that! You just took a piece of organic matter and used mechanical force to turn it into a high functioning accessory. The edges are glassy, the stitches are uniform, and that "pop" when you close the snap is pure acoustic satisfaction. This wallet is more than just a place for your cards; it is a testament to your understanding of material science. As you use it, the oils from your hands will further condition the grain, creating a unique patina that tells the story of your daily life. You have officially graduated from a hobbyist to a maker.
STUDIO QUESTIONS
What is the best leather for a first project?
Vegetable tanned leather between 3oz and 4oz weight is ideal. It has the perfect balance of stiffness for structural integrity and ease of punching, making it the most forgiving choice for First Time Leatherwork.
Why do my edges look fuzzy after burnishing?
Fuzzy edges usually mean the fibers were not sanded smooth enough or the leather was too dry. Sand with progressively finer grits up to 800 before applying burnishing gum to ensure the collagen fibers are properly aligned and compressed.
Can I use a regular hammer for my punches?
No, avoid metal hammers. A steel hammer will damage the strike face of your punches and create excessive vibration. Use a poly, rawhide, or rubber mallet to deliver a controlled, dampened force that protects your tools and your hands.
How do I stop my thread from tangling?
Keep your thread length under an arm's span. Longer threads increase the chance of knotting and lose their wax coating through repeated friction. If it feels "grabby," pull the thread through a block of pure beeswax to re-lubricate the exterior.