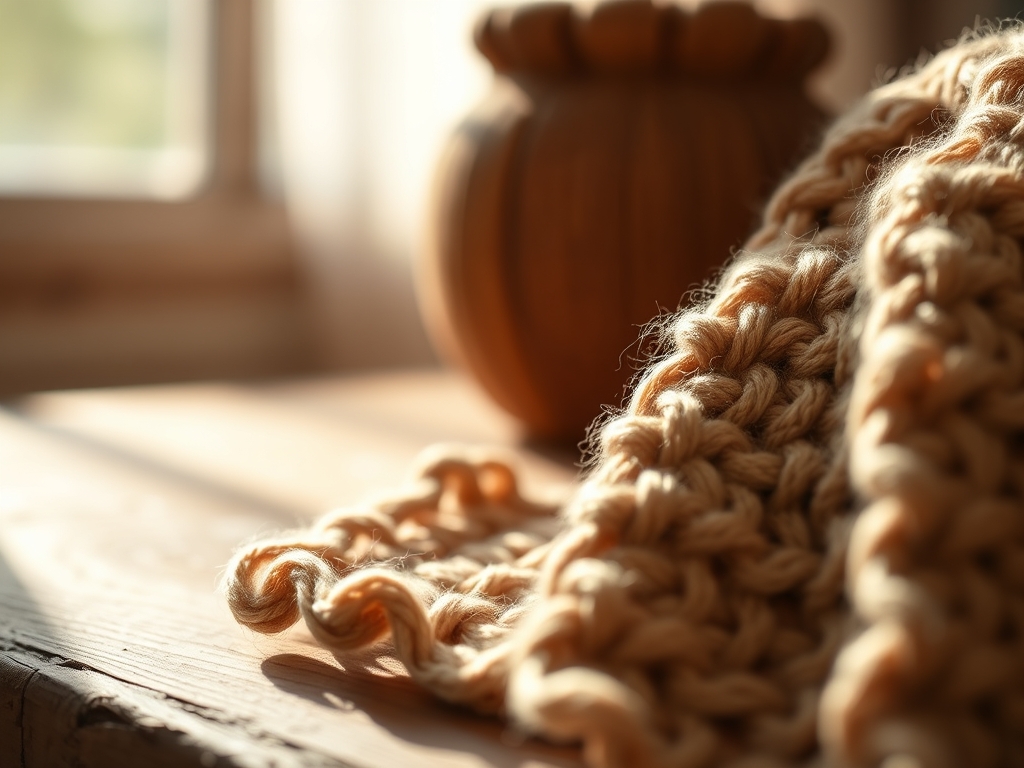
Imagine the scent of cold-pressed cotton paper hitting the air; it is earthy and slightly sweet. Feel the weight of a heavy-gauge graphite pencil in your hand. Teaching Art to Seniors is about more than just passing time; it is about the tactile sensation of a brush dragging across a porous surface. We are diving into a world where the physics of friction and the chemistry of pigment create a perfect sanctuary for the mind.
Artistic expression serves as a biological reset button. When we engage in these movements, we are not just making pretty pictures. We are fine-tuning fine motor skills and stimulating neural pathways through sensory feedback. The resistance of the paper and the viscosity of the paint provide a grounding physical reality. It is about the snap of the bristles and the way light refracts through a thin wash of watercolor. We are going to master six gentle exercises designed to soothe the nervous system while building real technical prowess. Grab your apron because we are about to turn the studio into a laboratory of calm.
THE STUDIO KIT
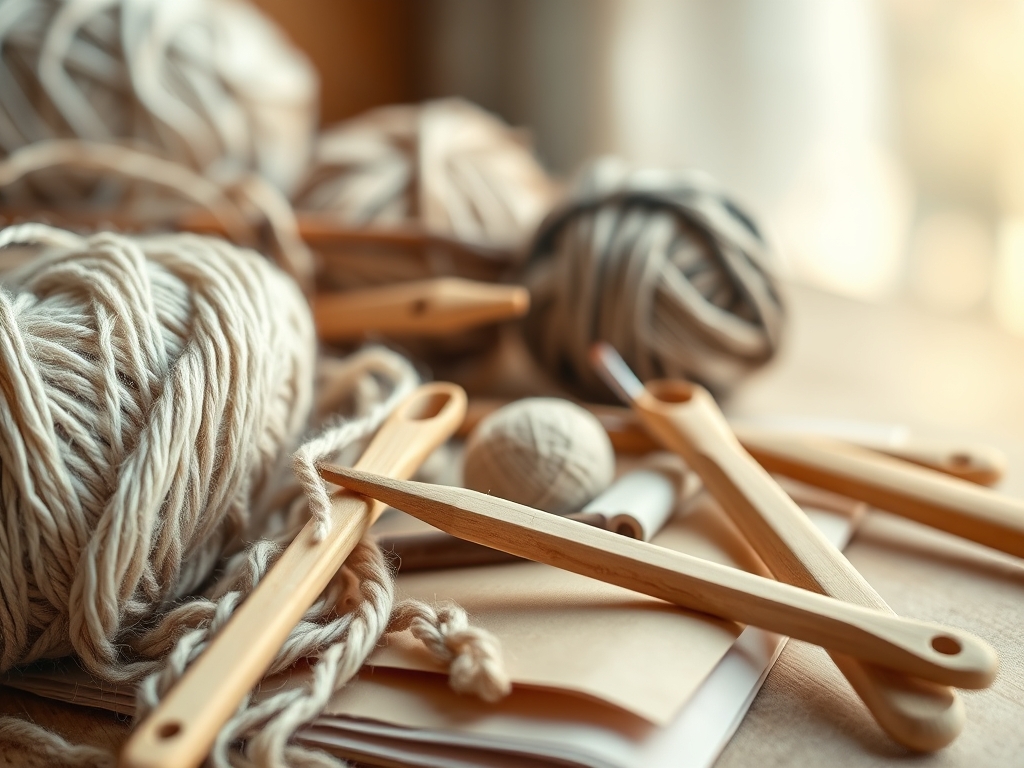
THE STUDIO KIT
To begin our journey, we need tools that respect the ergonomics of the hand. We are looking for high-viscosity acrylics and 300gsm cold-pressed paper. The paper must have a significant tooth to catch the pigment effectively. You will need a set of soft-grip synthetic brushes; these offer better tensile strength than natural hair, meaning they spring back to their original shape after every stroke.
Include a bone folder for crisp paper creasing and a palette knife for mixing. The palette knife is essential because it prevents the destruction of brush fibers during the heavy work of blending. For those with limited grip strength, look for foam tubing to slide over pencil barrels to increase the diameter and reduce strain.
Material Substitutions: If professional watercolors are unavailable, high-quality food coloring diluted in distilled water offers a similar capillary action. Instead of a traditional easel, a simple slanted drafting board can provide a more ergonomic angle for the wrist, reducing the risk of repetitive strain.
THE TEMPO
Success in the studio is all about the Maker's Rhythm. This is the steady, pulsed flow of work that prevents fatigue. We break our sessions into twenty-minute "sprints" followed by five-minute "sensory resets." The first phase is the Setup, which takes ten minutes to calibrate your lighting and organize your palette by pigment weight.
The Execution Phase for each exercise lasts roughly thirty minutes. This allows the brain to enter a "flow state" where the prefrontal cortex relaxes. Finally, the Curing Phase is where we let the media dry or set. During this time, we observe the work from a distance to check for compositional balance and tonal values. Total time per exercise: forty-five minutes of pure, focused bliss.
THE CORE METHOD
1. The Continuous Line Map
Start with a single point on the paper and move the pen without lifting it. This exercise focuses on proprioception, which is the sense of self-movement and body position. By maintaining constant contact, you create a closed loop of feedback between the eye and the hand.
Mastery Tip: Focus on the friction coefficient between the pen nib and the paper. If the pen glides too fast, you lose control; if it drags, the line becomes jagged. Aim for a steady, rhythmic speed to maintain line weight consistency.
2. Gradient Wash Transitions
Using a flat wash brush, we will move from a saturated pigment to a clear water bleed. This teaches the physics of surface tension. You are essentially controlling how water molecules carry pigment across the cellulose fibers of the paper.
Mastery Tip: Use a pipette to add water to your pigment. This allows for precise control over the solute concentration, ensuring your gradient transitions are smooth rather than splotchy.
3. Tactile Texture Stamping
Using found objects like sponges or crumpled paper, we will explore impasto techniques. This is about the rheology of the paint—how it flows and deforms. By pressing objects into thick paint, we create 3D topographies on the 2D surface.
Mastery Tip: Observe the suction force when you lift the stamp. If the paint is too thin, the texture collapses. Add a gloss gel medium to increase the viscosity and hold the structural integrity of the peaks.
4. Symmetry Blotting (Decalcomania)
Apply paint to one side of a page and fold it using your bone folder to burnish the surface. This exercise relies on hydrostatic pressure to distribute the paint evenly across the fold, creating a mirrored Rorschach effect.
Mastery Tip: The ply of your paper matters here. A higher ply prevents the paint from bleeding through the back of the sheet when under the pressure of the burnishing tool.
5. Negative Space Charcoal Lift
Cover a small area with soft charcoal, then use a kneaded eraser to "draw" by removing the material. This is a subtractive process that highlights the electrostatic bond between the charcoal dust and the paper fibers.
Mastery Tip: Use a fixative spray once finished to lock the particles in place. Without it, the kinetic energy of a simple touch can smudge your highlights back into the mid-tones.
6. Geometric Shape Weaving
Cut strips of painted paper using a rotary cutter and weave them together. This introduces structural engineering into art. You are creating a lattice that gains strength through the interlocking of the strips.
Mastery Tip: Pay attention to the grain direction of the paper. Paper is easier to fold and weave when you work with the grain rather than against the tensile strength of the fibers.
THE TECHNICAL LEDGER
Maintenance & Longevity: To keep your brushes in peak condition, wash them with a pH-neutral soap and store them horizontally. Storing them vertically while wet allows water to seep into the ferrule, which rots the wooden handle and dissolves the glue holding the bristles.
Material Variations: For a sustainable approach, use bamboo-based paper which has a high tensile strength and requires less water to produce. For a premium experience, use heavy-body acrylics with high lightfastness ratings to ensure the colors do not fade over time.
The Correction:
- The Muddy Wash: If colors become brown and dull, it is likely due to pigment contamination. Fix: Always use two water jars—one for "dirty" rinsing and one for "clean" thinning.
- Paper Buckling: This happens when the water saturates the fibers unevenly. Fix: Use artist tape to stretch the paper onto a board before starting to maintain lateral tension.
- Cracking Paint: This occurs when the top layer dries faster than the bottom. Fix: Add a retarder medium to slow the evaporation rate and allow the layers to bond properly.
Studio Organization: Store finished works in a flat file or an acid-free portfolio. Keep them in a climate-controlled environment to prevent hygroscopic expansion, where the paper absorbs moisture and warps.
THE FINAL REVEAL
Look at that! You have successfully navigated the complex physics of the studio. From mastering surface tension in your washes to understanding the tensile strength of your paper, you have created something truly sophisticated. These exercises prove that Teaching Art to Seniors is a high-level technical pursuit that yields beautiful, professional results. Your studio is now a place of both high energy and deep, structural calm.
STUDIO QUESTIONS
How do I prevent hand cramps during long sessions?
Use ergonomic grips or foam tubing on all tools. Maintain a loose "pincer" grip rather than a tight squeeze. This reduces the mechanical stress on the small tendons of the hand and allows for longer, pain-free sessions.
What is the best lighting for an art studio?
Aim for 5000K daylight-balanced LED bulbs. This color temperature provides the most accurate chromatic rendition, ensuring that the colors you see on your palette match what appears on the paper under natural sunlight.
Why does my watercolor look dull when it dries?
This is known as the dry-back effect. As water evaporates, the pigment particles settle closer together. To compensate, increase the pigment density in your initial application to ensure the final result remains vibrant.
Can I use regular printer paper for these exercises?
Standard printer paper lacks the absorbency and weight (usually only 80gsm) to handle wet media. It will warp and tear under the hydrostatic pressure of a wash. Always opt for at least 190gsm paper for best results.