
Imagine the smell of fresh cedar shavings swirling in the air as your little apprentice grips a hammer for the first time. There is a specific, tactile magic in that moment when a raw block of lumber transforms into a tangible treasure. When you are Teaching Kids Woodworking, the secret to success is not just in the patience of the teacher but in the cellular structure of the material itself. We are looking for woods with low density and forgiving grain patterns that allow a small hand to drive a nail without the wood splitting under the pressure. You want a material that yields to a hand saw like butter but maintains enough structural integrity to survive a tumble off the workbench. We are building more than birdhouses here; we are building neural pathways and fine motor precision. The goal is to find that sweet spot where the wood is soft enough to be approachable but sturdy enough to provide a satisfying, resonant thud when struck. It is about the sensory feedback of the grain and the way the fibers compress under a thumbprint. Let us dive into the workshop and find the perfect medium for those growing hands.
THE STUDIO KIT
THE STUDIO KIT
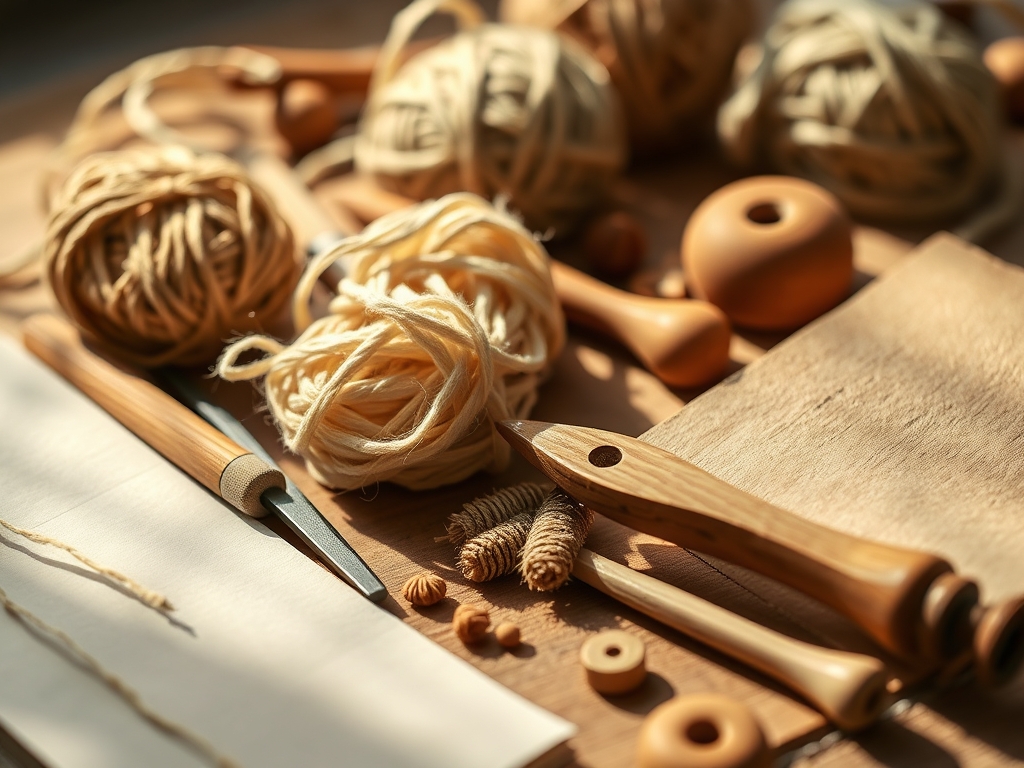
To begin your journey into Teaching Kids Woodworking, you need a curated selection of tools that prioritize ergonomics and safety without sacrificing professional function. Start with a 7-ounce claw hammer; the reduced head weight prevents wrist fatigue while providing enough kinetic force for a 1-inch wire nail. You will also need a Japanese pull saw (Ryoba style) because the cutting action happens on the pull stroke, which prevents the blade from buckling and minimizes the risk of slipping. For precision, include a scratch awl to pre-mark hole locations, which breaks the surface tension of the wood and guides the nail or drill bit.
Your material list should feature a variety of softwoods with a low Janka hardness rating. We are focusing on woods that fall below 600 lbf on the hardness scale. Material Substitutions: If you cannot source specific lumber, high-density cork blocks or even thick balsa sheets serve as excellent "training wheels" for the absolute youngest makers. For older children, a digital caliper is a fantastic addition to the kit; it teaches them to measure thickness in millimeters or decimals, turning a craft session into a practical lesson in physics and geometry.
THE TEMPO
The "Maker's Rhythm" is all about managing the energy levels of a child. For a standard introductory project, expect a 60-minute session broken into three distinct phases. The Preparation Phase (15 minutes) involves measuring and marking; this is the cognitive heavy lifting where accuracy is established. The Active Construction Phase (30 minutes) is the high-energy period of sawing, hammering, and assembly. Finally, the Refining Phase (15 minutes) focuses on sanding and finishing, which allows the child to calm down and appreciate the tactile smoothness of their work. Respecting this tempo ensures that the child remains engaged without hitting the "frustration wall" that occurs when a project drags on too long.
THE CORE METHOD
1. Selecting the Foundation: White Pine
White pine is the gold standard for Teaching Kids Woodworking. It has a very straight grain and minimal resin, making it easy to sand and paint. Because the growth rings are relatively uniform, a saw blade will not "wander" as easily as it might on a knotted piece of wood. Mastery Tip: Explain the concept of porosity to your child; pine is like a bundle of tiny straws. When they apply glue, the wood "drinks" it in through capillary action, creating a bond that is often stronger than the wood fibers themselves.
2. The Precision of Basswood
Basswood is the darling of woodcarvers because it is incredibly soft and has a very fine, even texture. It is the best material for teaching children how to use a bench hook and a small hand plane. It does not splinter easily, which is a massive safety plus. Mastery Tip: Use basswood to teach about grain direction. Show the child how the wood feels smooth when rubbed one way but rough when rubbed the other; this is "petting the cat" with the wood fibers.
3. The Fragrant Western Red Cedar
Cedar is naturally rot-resistant and smells incredible, making it a favorite for outdoor projects like bird feeders. It is very lightweight, which is great for small hands to carry. However, it can be brittle. Mastery Tip: Teach the child about tensile strength. Because cedar can split along the grain, always use a scratch awl to create a pilot hole. This displaces the fibers gently rather than forcing them apart with a nail.
4. The Versatility of Poplar
While technically a hardwood, poplar is quite soft and very affordable. It often has beautiful green or purple streaks. It is much denser than pine, which makes it perfect for projects that need to hold a screw. Mastery Tip: Introduce the caliper here. Have the child measure the thickness of the poplar at different points to understand how wood can expand or contract based on the humidity in the studio.
5. The Lightweight Champion: Balsa
Balsa is the softest wood on the planet. You can dent it with a fingernail, which makes it perfect for the youngest toddlers to practice "hammering" with wooden mallets. It is excellent for building light gliders or architectural models. Mastery Tip: Discuss structural integrity. Show how a thin strip of balsa is easy to snap, but when glued into a triangle shape, it becomes remarkably rigid and strong.
6. The Smooth Finish of Redwood
If you are in a region where it is available, redwood is a dream to work with. It has a high tannin content which makes it resistant to insects. It sands to a beautiful, velvet-like finish. Mastery Tip: Use a bone folder or a smooth stone to burnish the edges of the redwood. This compresses the surface fibers and creates a natural shine without the need for chemical varnishes.
THE TECHNICAL LEDGER
Maintenance & Longevity: To keep your kid-made treasures from warping, always seal them with a food-safe finish like beeswax or mineral oil. This prevents moisture from entering the vascular bundles of the wood.
Material Variations: For a sustainable twist, look for FSC-certified offcuts at local cabinet shops. You can often find "Premium" scraps of butternut or alder that are just as soft as pine but offer a more sophisticated look.
The Correction:
- The Split: If the wood splits while hammering, the nail was too thick for the grain. Fix: Use a thinner gauge nail or pre-drill a hole.
- The Fuzzy Edge: Sanding against the grain leaves "fuzz." Fix: Always sand in the direction of the fibers and use a higher grit sandpaper (220+) for the final pass.
- The Wonky Cut: If the saw is veering off the line, the child is likely pushing too hard. Fix: Remind them that the saw does the work; they just provide the motion.
Studio Organization: Store your lumber horizontally in a dry, temperature-controlled environment. Wood is a "living" material that reacts to the air; stacking it flat prevents the boards from developing a "bow" or "cup" over time.
THE FINAL REVEAL
There is nothing quite like the look on a child's face when they realize they have built something real. The finished piece, with its slightly uneven edges and proud hammer marks, is a testament to their growing autonomy. Whether it is a simple tool box or a whimsical sculpture, the weight of the wood in their hands provides a sense of accomplishment that digital toys simply cannot replicate. You have given them the tools to manipulate their physical world; that is the ultimate goal of Teaching Kids Woodworking.
STUDIO QUESTIONS
Which wood is safest for a 5-year-old?
Balsa wood is the safest choice for very young children. It is so soft that it eliminates the need for sharp tools. They can "cut" it with a simple craft spatula or a dull safety knife under close supervision.
How do I prevent wood from splitting?
Always use a scratch awl or a small drill bit to create a pilot hole. This removes a small amount of material and creates a path for the nail, reducing the internal pressure that causes the wood grain to separate.
What is the best glue for kids?
A non-toxic, fast-setting PVA glue (white school glue or wood glue) is best. It provides a strong bond through capillary action and is easy to clean up with water before it cures and hardens.
Why use a pull saw instead of a push saw?
Pull saws have thinner blades that are under tension when cutting. This prevents the blade from bending or snapping if a child pushes too hard, making the cutting process much smoother and significantly safer for beginners.
How do we finish the wood naturally?
A mixture of beeswax and food-grade mineral oil is perfect. It is safe for kids to apply with their hands, smells wonderful, and provides a beautiful, protective sheen that highlights the natural grain of the softwood.

