

Imagine the smell of raw cotton and the heavy, satisfying weight of a three strand twist resting in your palms. When you are Teaching Macrame Knots to a massive crowd, tiny strings just will not cut it. You need something cinematic. You need ropes that behave like structural beams but feel like butter. We are talking about massive, chunky fibers that allow every student in the back row to see exactly where the working cord crosses the filler cord. It is about the physics of visibility and the tactile feedback of a heavy gauge material. When a student pulls a half hitch tight on a three quarter inch rope, they feel the mechanical tension in their shoulders; it creates a muscle memory that thin twine simply cannot replicate. We are diving into the world of oversized textiles where the friction coefficients are higher and the stakes are even bigger. This is not just a craft; it is a performance of fiber science and communal creativity that turns a simple workshop into an immersive architectural event.
THE STUDIO KIT
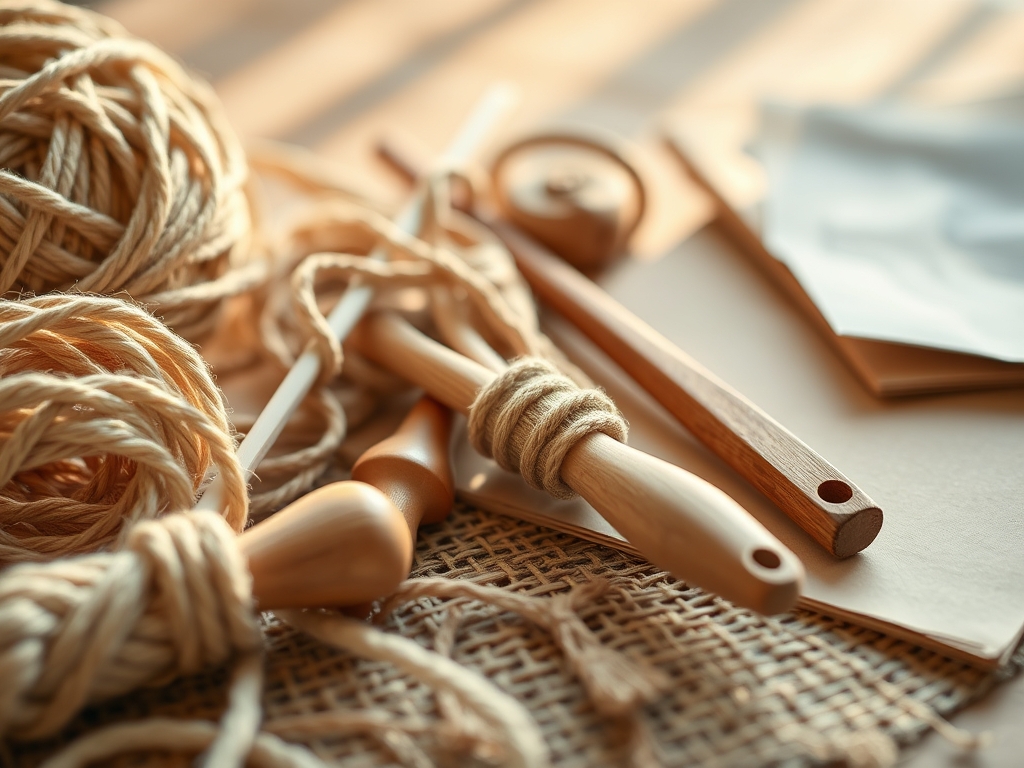
THE STUDIO KIT
To master the art of Teaching Macrame Knots on a grand scale, your kit needs to move beyond the standard craft drawer. You are looking for ropes with a high tensile strength and a balanced ply twist. For our giant demonstration, we utilize a 20mm cotton piping cord. This material is porous enough to hold its shape but soft enough to prevent friction burns during repetitive demonstrations. You will also need a pair of heavy duty rotary cutters with a 60mm blade to slice through the thick diameter without fraying the ends prematurely.
To manage these giant coils, professional makers use calipers to ensure consistent cord thickness across different batches. You will also need a bone folder for smoothing out the kinks in the inner core of the rope. For material substitutions, if you cannot find 20mm cotton, look for braided polypropylene for outdoor workshops; it has a high moisture resistance but a lower coefficient of friction, meaning knots might slide if not cinched with extra force. If you want a more industrial aesthetic, unmanila rope offers incredible structural integrity, though its rough texture requires students to wear gloves to avoid abrasions. Always keep a roll of masking tape handy to wrap the ends of your ropes; this prevents the torsional strain from unraveling the three strand construction before the project is finished.
THE TEMPO
The Maker's Rhythm for giant macrame is slower and more deliberate than standard micro-macrame. You must account for the mass and inertia of the heavy rope.
Phase 1: The Prep (60 Minutes). Measuring and cutting six giant ropes requires space and sharp tools. Because the cord is so thick, you must calculate for "take-up," which is the amount of length lost as the rope bends around itself in a knot.
Phase 2: The Setup (30 Minutes). Securing a heavy horizontal bar or "dowel" that can support fifty pounds of cotton is a feat of engineering. Use a level to ensure your foundation is true.
Phase 3: The Knotting (2 to 4 Hours). This is where the "rhythm" happens. In a large group setting, Teaching Macrame Knots involves a call and response. You demonstrate the loop; they mirror the movement. The physical exertion of moving heavy ropes means you should plan for a five minute "stretch break" every forty minutes to prevent grip fatigue.
THE CORE METHOD
1. The Anchor Hitch Foundation
Start by folding your 20mm rope in half and looping it over the support beam. This is the Lark's Head knot. The tensile load is distributed across the top of the beam.
Mastery Tip: Ensure the "ears" of the knot are flush against the beam to maximize surface friction. If the anchor is loose, the weight of the giant rope will cause the project to sag unevenly as you work down the piece.
2. The Square Knot Architecture
Cross the left outer cord over the two center filler cords, then pass the right cord over the tail of the left and through the loop. This creates a balanced structural bridge.
Mastery Tip: Pay attention to the grain direction of the twist. When working with oversized cotton, over-tightening the square knot can compress the fibers and reduce the visual impact. You want to maintain the "loft" of the rope to keep the knot looking plump and professional.
3. The Spiral Sinnet Rotation
By repeating half of the square knot continuously, the rope will naturally begin to rotate. This is due to the asymmetric torque applied to one side of the cord bundle.
Mastery Tip: To keep the spiral consistent, do not fight the rotation. Allow the rope to find its natural equilibrium. If you force the rope to stay flat, you will create internal tension that might cause the finished piece to warp or "bow" once it is removed from the rack.
4. The Double Half Hitch Diagonal
This knot creates a raised ridge or "cordon." It involves wrapping a working cord twice around a stationary lead cord.
Mastery Tip: This knot relies on capillary action within the fibers to "lock" into place. If your lead cord is not held at a consistent 45 degree angle, the ridge will look jagged. Use your non-dominant hand as a guide to maintain constant tension on the lead rope.
5. The Crown Knot Termination
To finish the ends of your giant ropes, a crown knot provides a decorative and secure cap. It involves weaving the strands of the rope back into themselves.
Mastery Tip: Use an awl or a large fid to open the plies of the rope. This allows you to tuck the raw ends neatly inside, utilizing the rope's own compressive force to hold the finish in place without the need for unsightly adhesives.
6. The Fray and Brush
Once the knots are secure, untwist the bottom ends of the ropes to create a dramatic fringe.
Mastery Tip: Use a stiff bristle brush to separate the individual cotton fibers. This increases the surface area and creates a soft, cloud like texture that contrasts beautifully with the rigid, geometric knots above.
THE TECHNICAL LEDGER
Maintenance & Longevity: Giant macrame is a dust magnet due to the high surface porosity of cotton. Use a low suction vacuum or a soft brush to clean the piece every few months. Avoid direct sunlight, as UV rays can degrade the cellulose bonds in the cotton, leading to brittleness over time.
Material Variations:
- Sustainable: Recycled garment cotton is excellent but has a shorter staple length, meaning it may shed more.
- Premium: Organic long staple Egyptian cotton offers a silky sheen and superior ductility.
- Recycled: Ropes made from plastic bottles are incredibly durable for high traffic areas.
The Correction:
- The Sag: If the knots look loose, the filler cords were likely not held taut. Fix this by using a spring clamp to hold the fillers while you knot.
- The Twist: If your square knots are twisting unintentionally, you have likely missed the alternating side. Trace the "bump" or vertical bar of the last knot to find your place.
- The Fray: If the rope ends are "blooming" too early, wrap them in paraffin wax or tape during the knotting process to preserve the twist.
Studio Organization: Store your giant rope coils in breathable canvas bags. Never use plastic bins, as trapped moisture can lead to mold within the inner core of the heavy fibers. Use a labeling system that notes the gauge and total yardage to avoid running out of material mid-workshop.
THE FINAL REVEAL
There is nothing quite like the moment a group of thirty people steps back to see six giant ropes transformed into a cohesive wall of texture. The sheer scale of the project turns the technical act of Teaching Macrame Knots into a shared triumph of engineering and art. The finished piece should feel heavy, intentional, and balanced. The knots should be crisp, the fringe should be voluminous, and the entire structure should hang with a proud, vertical integrity. You have successfully navigated the physics of fiber, and the result is a tactile masterpiece that commands the room.
STUDIO QUESTIONS
What is the best rope for beginners in a large group?
A 10mm to 20mm three strand twisted cotton rope is ideal. It provides clear visual definition for students to see the "path" of the cord, and the natural friction of cotton helps knots stay secure while learning.
How do I prevent hand fatigue when using giant ropes?
Focus on using your core muscles and shoulders rather than just your fingers. Keep your workspace at an ergonomic height, and use a rotary cutter to minimize the repetitive strain of traditional scissor cutting through thick diameters.
Can I use synthetic ropes for teaching macrame?
Yes, but be aware of the slickness. Synthetic fibers like nylon have a lower friction coefficient, which means knots can slip. They are great for outdoor durability but require more strength to cinch tightly compared to cotton.
How much extra rope should I buy for a group?
Always factor in a 20 percent waste margin. Between "take-up" during knotting and the occasional measurement error by a student, having extra yardage prevents the stress of running out of material during a live demonstration.
How do I stop the rope ends from unraveling?
Wrap the tips in masking tape or dip them in a small amount of beeswax. This maintains the torsional integrity of the twist while you work, ensuring the rope stays neat until you are ready to create the final fringe.

