
Imagine the crisp, rhythmic thud of a rubber mallet meeting wood; it is the heartbeat of the studio. You are standing at a workbench where the air smells faintly of linseed oil and raw cotton. Your hands hover over a fresh slab of linoleum, feeling its cool, non-porous surface. This is the moment where physics meets fashion. We are diving into a high-energy Intro to Block Printing that will transform your textile game from basic to bespoke. You are not just stamping shapes; you are mastering the displacement of ink and the structural integrity of fiber. Grab your apron because we are about to turn pressure into poetry.
THE STUDIO KIT
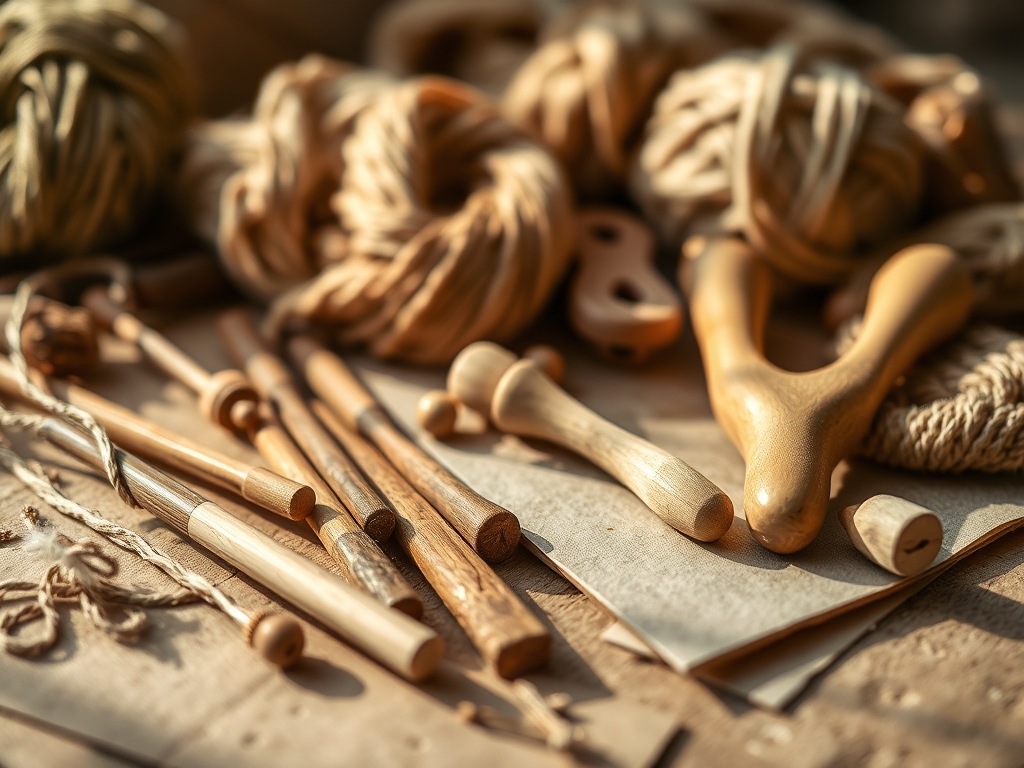
To master this craft, you need more than just "supplies." You need a precision kit designed for ergonomic efficiency. First, the linoleum block or soft-carve rubber acts as your matrix. Rubber has a lower shore hardness, making it easier to slice, while battleship gray lino offers higher tensile strength for fine, hairline details. You will need a brayer, which is a high-density rubber roller used to achieve an even ink film. Look for a brayer with a steel frame to ensure even pressure distribution across the cylinder.
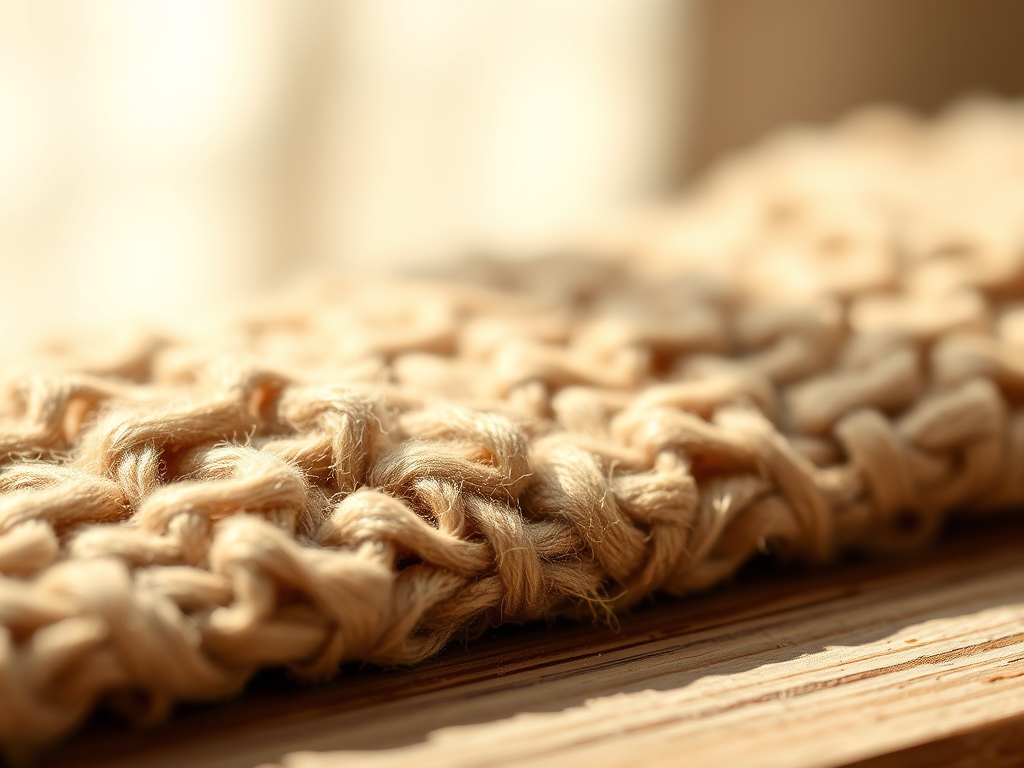
The ink is your most critical chemical component. For fabric, we use oil-based, water-miscible inks. These contain pigments suspended in a vehicle that undergoes a chemical change called polymerization to become permanent. You will also need a bench hook to stabilize your block, preventing the blade from slipping toward your fingers. For material substitutions, if you lack a professional carving block, a high-density white eraser or even a firm potato can serve as a temporary matrix, though they lack the longevity of polymer-based materials. Always keep a bone folder nearby to burnish the back of the fabric, ensuring the ink migrates deeply into the textile pores.
THE TEMPO
The "Maker's Rhythm" is a three-act play. Act one is the Design and Transfer phase, taking roughly thirty minutes. This involves sketching and using graphite transfer to move your motif onto the block. Act two is the Carving phase, which is the most labor-intensive. Depending on the complexity of your motif, expect to spend sixty to ninety minutes here. This is where you enter a flow state, focusing on the resistance of the material against your u-gouge or v-tool.
Act three is the Printing and Curing phase. The actual stamping is fast, but the ink requires a "tack time." You must allow the ink to sit for twenty minutes on the palette to reach the perfect viscosity before it touches the fabric. Once printed, the fabric needs twenty-four to forty-eight hours to air-dry before heat-setting. Respecting this tempo ensures that your motifs do not smudge or lose their crisp edges due to premature handling.
THE CORE METHOD
1. Preparing the Matrix
Before the first cut, you must degrease the surface of your block. Use a damp cloth to remove any factory oils that might interfere with ink adhesion. If you are using linoleum, a light sanding with fine-grit sandpaper increases the surface area, allowing the ink to "bite" better.
Mastery Tip: This is about surface tension. A perfectly smooth surface might repel water-based inks, causing them to bead. Lightly scuffing the surface creates micro-fissures that hold the ink in a uniform suspension.
2. The Precision Carve
Hold your carving tool like a pencil but drive it with the palm of your hand. Always carve away from your body. Start with the v-tool to outline the motif, creating a "moat" that defines the boundaries of your shape. Use the u-gouge to clear away the large negative spaces.
Mastery Tip: Focus on the angle of incidence. If your blade is too steep, it will chatter and create jagged edges. A shallow, consistent angle maintains the structural integrity of the remaining ridges, preventing them from collapsing under the pressure of the printing press or your hand.
3. Inking the Brayer
Squeeze a small bead of ink onto a glass slab. Use the brayer to roll it out until you hear a distinct "hissing" sound. This sound indicates that the ink has been sheared into a thin, consistent layer. The texture should look like orange peel, not thick waves.
Mastery Tip: This involves viscosity and tack. If the ink is too thin, it will flood your carved channels (capillary action). If it is too thick, it will create "orange peel" texture on the fabric, which can crack once dried.
4. The Impression
Place your fabric on a padded surface (a "printing blanket" or a few layers of felt). This padding allows the block to sink slightly into the fabric, ensuring the ink reaches the valleys of the weave. Lay the block face down and apply firm, vertical pressure.
Mastery Tip: Use a barren or a heavy spoon to burnish the back of the block. This utilizes mechanical advantage to force the ink into the porous fibers of the cotton or linen, ensuring a high-saturation print that survives the wash.
THE TECHNICAL LEDGER
Maintenance & Longevity: After your session, clean your brayers with soap and warm water immediately. Never store a brayer resting on its rubber roller; this creates a "flat spot" that ruins future ink distribution. Store them hanging or resting on their metal frames.
Material Variations:
- Sustainable: Use organic hemp or recycled linen. These fibers have high absorbency rates but may require more ink.
- Premium: Silk or high-thread-count cotton provides a "slick" surface that captures hyper-fine details.
The Correction:
- Bleeding Edges: Your ink is too thin. Add a drop of magnesium carbonate to stiffen the ink.
- Faint Prints: You are not using enough "dwell time." Hold the block on the fabric for five seconds to allow the fibers to wick the pigment.
- Ghosting: The fabric moved during the print. Use masking tape to create a "hinge" or registration marks on your workbench.
Studio Organization: Store your carved blocks in a cool, dry place away from direct sunlight. UV rays can cause polymer blocks to become brittle, leading to "clipping" where the edges of your design snap off during the next use.
THE FINAL REVEAL
Look at that! You just transitioned from a spectator to a creator. The nine motifs you have mastered—ranging from geometric chevrons to organic botanical sprigs—are now part of your permanent design library. The tactile satisfaction of seeing a crisp, hand-pressed image on fabric is unmatched. Your textiles now possess a "soul" that mass-produced items lack. You have mastered the physics of the carve and the chemistry of the ink. Go ahead, flaunt that custom-printed tote; you earned every single fiber of it!
STUDIO QUESTIONS
What is the best fabric for an intro to block printing?
Stick to 100% natural fibers like cotton or linen. Synthetic fibers like polyester are non-porous and often repel the ink, leading to smearing. Natural fibers have a high capillary action that pulls the ink deep into the weave for longevity.
Do I need a printing press for fabric?
No, a press is not required. You can achieve professional results using a hand-held barren or a heavy wooden spoon. The goal is to apply consistent, vertical pressure to ensure the ink migrates from the block to the textile fibers evenly.
How do I make the ink permanent on clothes?
Most fabric inks require heat-setting. Once the ink is completely dry to the touch, iron the reverse side of the fabric on a high setting for three minutes. This process thermally bonds the pigment to the cotton fibers, making it wash-fast.
Can I use acrylic paint instead of block ink?
Acrylic paint dries too quickly, which can clog the fine details of your carved block. If you must use it, mix the paint with a "fabric medium" to increase flexibility and slow the drying time, preventing the paint from cracking.
Why is my linoleum block so hard to carve?
Linoleum is sensitive to temperature. If it feels brittle or stubborn, use a hair dryer to gently warm the surface for thirty seconds. This softens the binder, allowing your tools to glide through the material with much less physical resistance.

