
Imagine the sharp, metallic scent of cold steel needles meeting the organic, earthy musk of raw cotton. You feel that sudden, heart-sinking tug as a favorite seam gives way or a button pings into the abyss. It is a visceral disruption of your daily flow. But do not panic; we are about to dive into the physics of fiber to master Simple Sewing Repairs. We are talking about the tactile satisfaction of restoring structural integrity to your wardrobe using nothing but a bit of tension and the right gauge of thread. Grab your kit; we are turning those wardrobe tragedies into triumphs of engineering.
THE STUDIO KIT
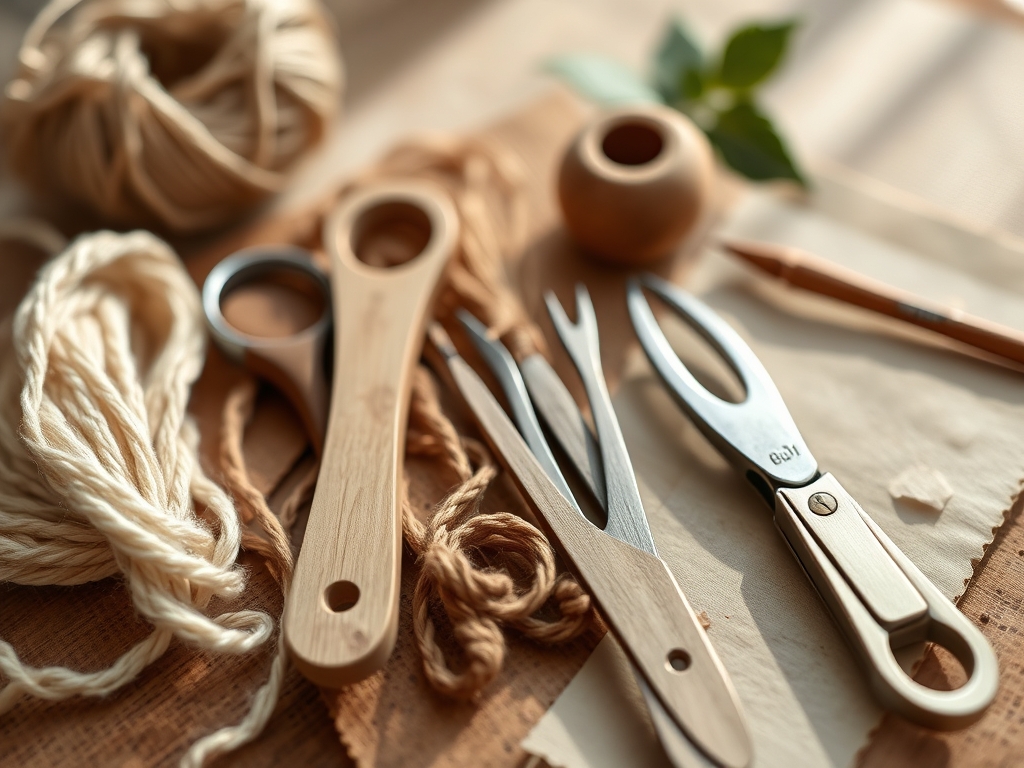
To execute these repairs with professional precision, you need a kit that respects the tensile strength of your fabrics. Start with a variety of hand-sewing needles, specifically sharps and betweens, which offer different lengths and eye sizes for varying thread weights. You will need a high-quality all-purpose polyester thread; its synthetic core provides a higher elasticity modulus than pure cotton, making it less likely to snap under stress.
Your arsenal must include a pair of micro-tip embroidery scissors for clean snips that prevent fraying. For heavier denim or canvas, keep a tailor's awl nearby to pre-puncture holes, ensuring you do not bend your needles against dense weaves. If you lack a specific thread color, utilize a Material Substitution by pulling a single ply from a matching scrap of fabric. This ensures a perfect color match while maintaining the denier of the original garment. Finally, a beeswax puck is essential to coat your thread, reducing friction and preventing the dreaded bird's nest of tangles.
THE TEMPO
The "Maker's Rhythm" is all about the synchronization of hand and eye. For a standard button replacement, expect a five-minute sprint. More complex tasks, like darning a knit, require a meditative twenty-minute session to match the stitch density of the original piece. The first phase is always the Assessment Phase, where you analyze the grainline and identify the point of failure. The second phase is the Active Repair, where the rhythmic repetition of the needle creates a flow state. The final phase is the Finishing Phase, where you burnish the seam or steam the repair to set the fibers. Respecting this tempo ensures you do not rush the structural bonding of your stitches.
THE CORE METHOD
1. The Anchored Button Reset
When a button escapes, the goal is not just to reattach it, but to create a shank. A shank is a small pillar of thread that allows the fabric to sit flush beneath the button without puckering. Pass your needle through the fabric and the button, but place a toothpick or a bone folder between the button and the cloth. After several passes, remove the spacer and wrap the thread tightly around the base of the stitches.
Mastery Tip: This technique utilizes mechanical leverage. By creating a shank, you reduce the lateral stress on the fabric fibers, preventing the button from tearing a hole in the garment during high-tension movements.
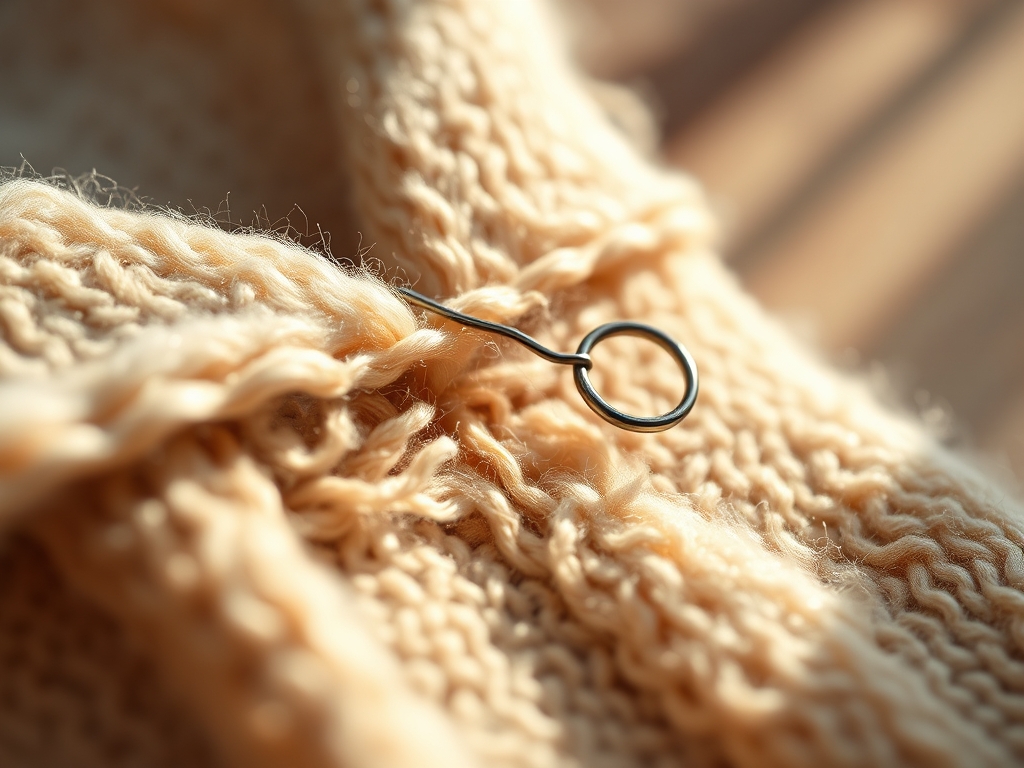
2. The Invisible Ladder Stitch
For split seams in linings or plush items, the ladder stitch is your secret weapon. You work on the "right" side of the fabric, taking small, parallel bites of material on alternating sides of the gap. When you pull the thread taut, the edges collapse inward, hiding the thread entirely within the fold geometry.
Mastery Tip: This relies on surface tension. As you pull the thread, the opposing forces draw the fabric edges together in a linear alignment, mimicking the original machine-stitched seam without visible external hardware.
3. The Friction-Lock Darning
Holes in socks or sweaters require a woven patch created directly from thread. Secure your thread around the perimeter of the hole, then lay down a series of vertical "warp" threads. Next, weave your "weft" threads over and under the warp in a perpendicular pattern.
Mastery Tip: This creates a new textile structure. By interlacing the threads, you distribute the load across a wider surface area, utilizing the coefficient of friction between the threads to lock the repair in place without a bulky knot.
4. The Reinforced Hem Recovery
A fallen hem is a trip hazard and a visual mess. Use a blind hem stitch, catching only one or two fibers of the exterior fabric. This requires a steady hand and a sharp needle to ensure the repair remains invisible from the outside while securing the folded edge.
Mastery Tip: This involves minimal fiber displacement. By only engaging a microscopic portion of the fabric's cross-section, you maintain the drape and flow of the garment while providing a secure vertical hold.
5. The Zig-Zag Blowout Prevention
For thinning denim, do not wait for a hole. Place a scrap of matching fabric behind the thin spot and use a multi-point zig-zag stitch to "quilt" the two layers together. This is often called "sasiko" or "visible mending" when done with contrasting thread.
Mastery Tip: This increases the material density. By adding a secondary substrate, you reinforce the weakened area, allowing the patch to absorb the kinetic energy of movement that would otherwise shred the thinning original fibers.
6. The Precision Knot Anchor
A repair is only as good as its starting and ending points. Instead of a bulky overhand knot, use a tailor's knot. Loop the thread around your needle three times and pull it through to create a small, dense bead that sits flush against the fabric.
Mastery Tip: This is about volumetric efficiency. A smaller, denser knot is less likely to pull through the interstices of the weave, ensuring the repair stays anchored even under significant wash-cycle agitation.
7. The Steam-Set Finish
Once your sewing is complete, the fibers are often stressed or misaligned. Use a professional steam iron to "press" the repair. Do not slide the iron; lift and press firmly to allow the heat and moisture to relax the polymer chains in the thread and fabric.
Mastery Tip: This utilizes thermodynamic reshaping. The heat breaks temporary hydrogen bonds in the fibers, allowing them to reform in the new, repaired configuration, which effectively "locks" your stitches into the fabric's DNA.
THE TECHNICAL LEDGER
To ensure your Simple Sewing Repairs last a lifetime, you must understand the longevity of the bond. Natural fibers like wool and silk require more delicate handling; always use a silk thread for these to match the thermal expansion of the garment. For sustainable options, consider using recycled PET thread or organic hemp twine for heavy-duty repairs.
The Correction:
- The Puckered Seam: This happens when your tension is too high. Use a seam ripper to remove the stitches and re-sew with a looser "give."
- The Visible Thread: If your repair stands out, you likely ignored the light refraction of the thread. Switch to a matte thread for cottons and a trilobal polyester for synthetics.
- The Needle Mark: Using a gauge that is too thick leaves permanent holes. Always test your needle on an inconspicuous hem first to check for fiber piercing damage.
Studio Organization: Store your needles in a magnetized tray to prevent loss. Keep your threads in a UV-protected case; sunlight can degrade the polymers in the thread, leading to premature brittleness and failure of your repairs.
THE FINAL REVEAL
Look at that! Your garment is no longer a candidate for the landfill; it is a custom-engineered masterpiece. There is a profound sense of power in knowing you can manipulate the very molecular structure of your wardrobe. The repaired area is often stronger than the original fabric, a testament to your skill and the physics of the stitch. You have successfully navigated the complexities of Simple Sewing Repairs, and your clothes look spectacular. Now, go wear that favorite piece with the confidence of a master maker!
STUDIO QUESTIONS
Why does my thread keep snapping during a repair?
You are likely using a thread with low tensile strength or a needle with a burr in the eye. Switch to a high-quality polyester corespun thread and use a fresh needle to reduce friction and prevent shearing.
Can I use clear nylon thread for all repairs?
Nylon has a high melting point but poor UV resistance. It can also be abrasive against natural fibers. It is best saved for heavy synthetics rather than delicate cottons or wools where it might cut the fabric.
How do I choose the right needle size?
Match the needle gauge to the fabric weight. A fine #70 needle is for silks and lightweight voiles, while a #100 or #110 is necessary to pierce the dense weave architecture of heavy denim or canvas.
What is the best way to secure a thread tail?
Use a burying technique. Instead of cutting the thread at the knot, pass the needle back through the fabric layers for an inch before clipping. This uses internal friction to prevent the knot from ever coming undone.

