
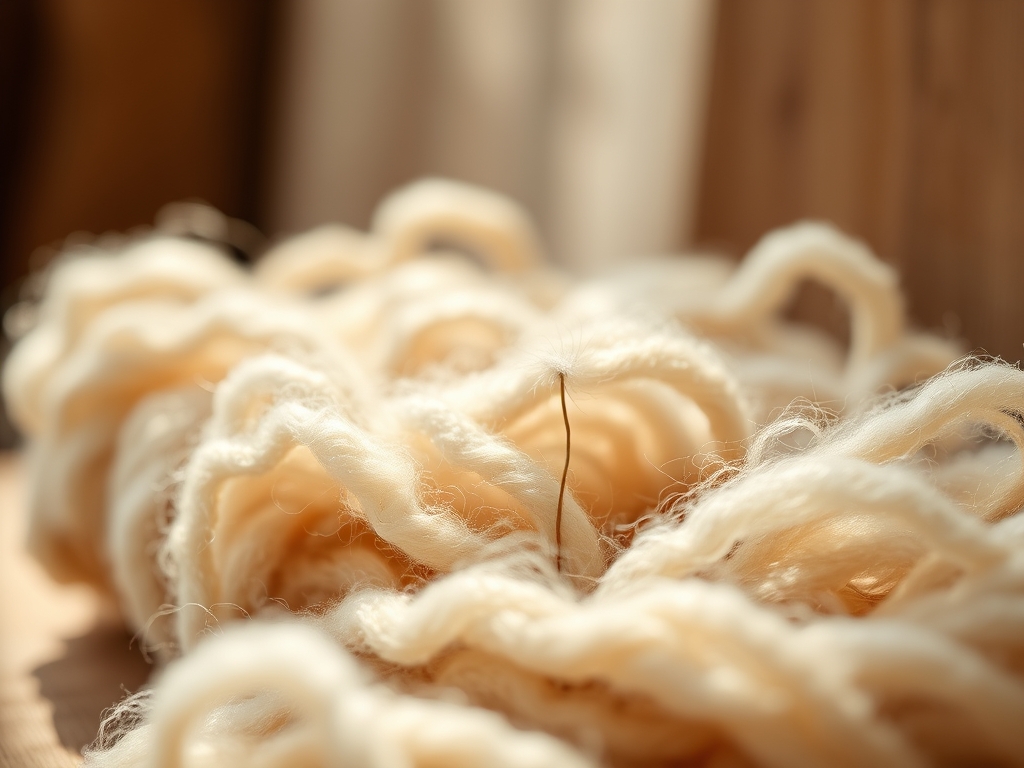
Imagine the scent of raw lanolin hitting your senses; it is earthy, rich, and slightly waxy, signaling that you are about to engage in one of the oldest technological feats of human history. When you are First Time Spinning Wool, you are not just playing with fluff; you are mastering the physics of friction and the structural integrity of protein fibers. Feel that roving in your hands. It is a cloud of unorganized potential held together by microscopic scales that want to grab onto each other. Your goal is to coax those scales into a permanent, spiraling embrace. We are diving deep into the tactile world of twist and tension today. This is not just a craft; it is a high-energy dance between your fingers and gravity. You will feel the weight of the spindle as it tugs on the fiber, testing the tensile strength of your drafting zone. If you have been craving a hobby that combines mechanical precision with cozy textures, you have arrived at the perfect studio session. Let us turn that messy pile of sheep hair into a professional-grade yarn.
THE STUDIO KIT
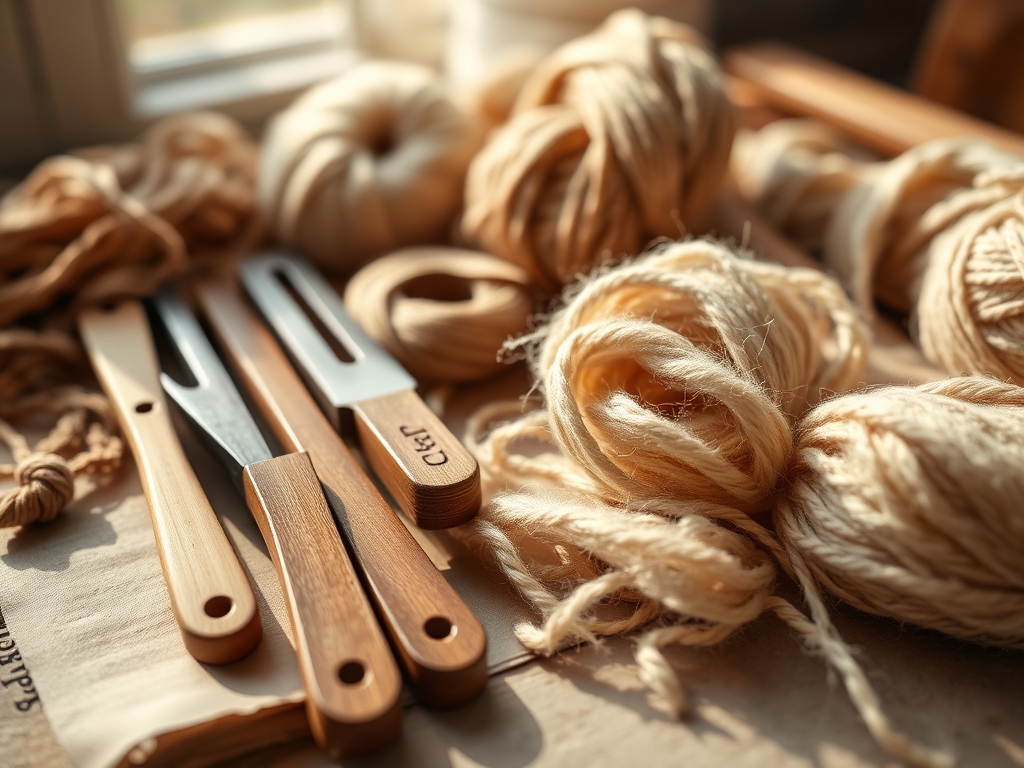
To begin, you need a top-whorl drop spindle, which acts as a flywheel to store kinetic energy. Look for one with a weight between 1.5 and 2.5 ounces; this provides enough momentum to keep spinning without snapping your delicate thread. Your primary material is wool roving or top. I recommend Corriedale or Romney for beginners because these breeds have a longer staple length, which is the actual measurement of individual fibers. Longer fibers provide more surface area for friction, making it easier to maintain a consistent gauge. You will also need a leader thread, which is a piece of sturdy, pre-spun yarn about two feet long, and a pair of sharp embroidery scissors.
If you cannot find professional roving, you can explore material substitutions like combed cotton or even bamboo top, though be warned: plant fibers lack the microscopic barbs found in wool, meaning they have much lower friction and require a significantly higher twist per inch to stay together. For a truly professional setup, keep a set of digital calipers nearby to measure your yarn diameter and ensure your consistency remains within a specific micron range.
THE TEMPO
The Maker's Rhythm is a three-part harmony of drafting, spinning, and winding. For your first session, expect to spend about thirty minutes just getting a feel for the fiber's slip. The drafting phase, where you pull the fibers to the desired thickness, is the most time-consuming part of the process. Once you find your flow, you will enter a meditative state where your hands move in a repetitive, ergonomic cycle. A standard four-ounce braid of wool can take anywhere from six to ten hours to spin into a fine lace-weight yarn, or about three hours for a chunky, high-texture art yarn. Do not rush the twist; the physics of torque requires time to travel up the fiber path.
THE CORE METHOD
1. Attaching the Leader
The leader is your mechanical interface between the spindle and the raw wool. Tie your leader thread to the shaft of the spindle using a secure knot, then bring it up over the whorl and through the hook. This creates a stable anchor point.
Mastery Tip: This step relies on the principle of a fixed axle. By securing the leader tightly, you ensure that 100 percent of the rotational energy from the whorl is transferred directly to the fiber rather than slipping around the wood.
2. The Park and Draft Technique
For those First Time Spinning Wool, the park and draft method is a lifesaver. Give the spindle a sharp flick to build up twist in the leader, then park the spindle between your knees. Use your hands to draft out a small section of wool and let the stored twist travel up into it.
Mastery Tip: This utilizes potential energy. By "parking" the spindle, you eliminate the variable of gravity, allowing you to focus entirely on the fiber density and the alignment of the staple lengths without the risk of the yarn snapping under its own weight.
3. Controlling the Twist
As the twist moves into the drafted wool, you must manage the "twist triangle." This is the V-shaped area where the unspun roving meets the twisted yarn. Keep your back hand holding the fiber supply and your front hand controlling the flow of twist.
Mastery Tip: This is all about capillary action in a dry state. The twist forces the fibers to compress, increasing the normal force between them. This creates the friction necessary to overcome the tensile stress of the spindle's weight.
4. Winding On to the Cop
Once you have spun a length of yarn as long as your arm, it is time to wind it onto the spindle shaft, creating a "cop." Unhook the yarn, wind it neatly near the whorl, and leave enough length to re-attach to the hook.
Mastery Tip: Building a conical cop is essential for balance. By keeping the weight centered near the whorl, you maintain a consistent center of gravity, which prevents the spindle from wobbling and introduces a smoother rotational velocity.
5. Joining New Fiber
When you reach the end of your roving, you must perform a "spit join" or a felted join. Overlap the thin end of your current yarn with a fresh tuft of roving and add extra twist to lock them together.
Mastery Tip: This relies on the interlocking of the wool's protein scales. When you apply pressure and twist, the scales hook into one another, creating a seamless structural bond that is just as strong as the rest of the strand.
THE TECHNICAL LEDGER
Maintaining your equipment is simple but vital. Keep your spindle shaft smooth by occasionally rubbing it with a bit of beeswax to prevent snags. For material variations, sustainable options like Tencel or recycled sari silk add incredible luster, though they lack the elasticity of wool. If you want a premium experience, Merino wool offers a very fine micron count, resulting in a buttery-soft yarn that feels luxurious against the skin.
The Correction:
- The Yarn Snaps: This usually happens because there is not enough twist to support the weight. Increase your RPMs.
- The "Slub" Problem: If you get a thick lump, it is due to uneven drafting. Use your fingers to "pinch and pull" the lump to redistribute the fibers before the twist locks them in place.
- Over-twisting: If the yarn kinks back on itself like a telephone cord, you have too much energy. Let the spindle hang and spin the opposite direction for a moment to release the torque.
For studio organization, store your unspun roving in airtight bins with a cedar block. Wool is a porous organic material and can degrade if exposed to moisture or pests. Keep your finished bobbins out of direct sunlight to prevent UV degradation of the natural protein fibers.
THE FINAL REVEAL
Look at that! You have officially transformed raw, chaotic fleece into a structured, high-tensile yarn. There is a visceral thrill in seeing those consistent spirals and feeling the bounce of a well-balanced thread. Your first skein might have some "character" bumps, but that is the mark of a handmade masterpiece. You have mastered the mechanics of the whorl and the biology of the sheep. Now, take a moment to admire the way the light catches the fibers; you are no longer just a consumer, you are a producer of raw material.
STUDIO QUESTIONS
How do I know if I have enough twist?
Fold a small length of yarn back on itself. If it plies together neatly without looking like a tight corkscrew or falling apart, your twist is balanced. This is a quick way to check structural integrity during the spinning process.
What is the best wool for beginners?
Look for Corriedale or Bluefaced Leicester. These breeds have a medium-to-long staple length, which provides a forgiving "grip" when you are First Time Spinning Wool. Avoid short fibers like cotton or cashmere until you have mastered tension control.
Why does my spindle stop spinning so fast?
This is usually a physics issue involving the distribution of mass. Ensure your "cop" of yarn is wound tightly and centered. If the spindle is unbalanced, it will wobble, losing kinetic energy to friction and air resistance.
Can I spin wool straight from the sheep?
Yes, this is called spinning "in the grease." The natural lanolin acts as a lubricant, which can be helpful, but most beginners find it easier to work with washed and carded roving to avoid dirt and vegetable matter.
How do I fix a thin spot in my yarn?
Before the twist becomes too permanent, stop the spindle and manually untwist the thin area. Draft a tiny bit more fiber into the gap from your supply, then allow the twist to re-enter the zone to reinforce the weak point.

