Imagine the sensation of cold, damp earth yielding under the pressure of your palms; it is the ultimate tactile reset for a brain fried by digital pixels. We are diving into the world of easy clay sculpting tonight because your hands crave the resistance of a medium that pushes back. When you first wedge a slab of clay, you are not just squishing mud; you are aligning the microscopic plate-like particles of the material to ensure uniform moisture distribution. This process, known as de-airing, is the secret handshake of the sculpting world. It transforms a lump of raw earth into a plastic, workable canvas that responds to the slightest flick of your wrist. We are going to bypass the frustration of complex armatures and jump straight into the physics of form. By understanding how gravity interacts with the tensile strength of your clay, you can create professional-grade objects that look like they belong in a high-end gallery. Grab your apron and clear some space on the workbench; we are about to turn physics into art.
THE STUDIO KIT
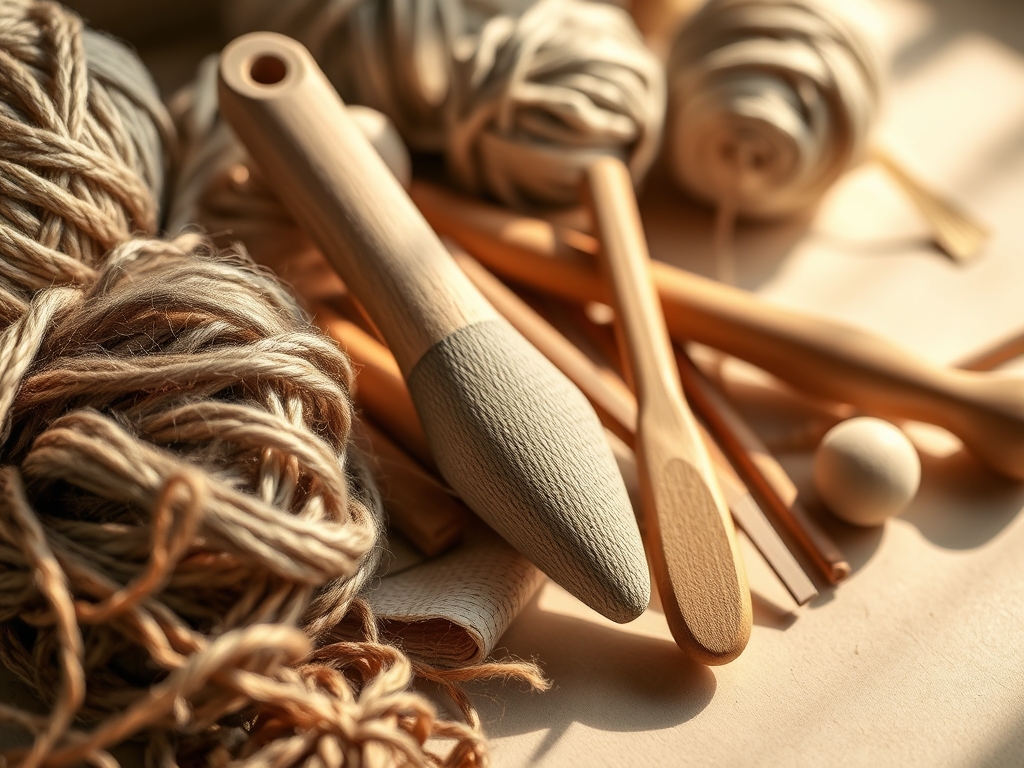
To master easy clay sculpting, you need more than just enthusiasm; you need the right mechanical advantages. Start with a high-quality air-dry or kiln-fire clay that boasts a high plasticity index. You will need a basic loop tool for subtractive sculpting and a needle tool for precision scoring. A rubber kidney rib is essential for burnishing surfaces to a glass-like finish, while a wire cutter allows you to slice clean slabs from your bulk block without deforming the internal structure. For fine details, a small paintbrush and a container of slip (watered-down clay) act as your chemical adhesive.
If you cannot source professional supplies, look for material substitutions in your kitchen. A rolling pin functions as a manual slab roller; a butter knife can mimic a palette knife for smoothing seams. Instead of a specialized caliper, use a standard ruler to maintain geometric symmetry. The goal is to manage the porosity of the material. If your environment is too dry, keep a spray bottle of distilled water nearby to prevent premature evaporation, which leads to structural cracking.
THE TEMPO
The "Maker's Rhythm" is a three-act play governed by the evaporation rate of water. Phase one is the Plastic State, lasting roughly 30 to 60 minutes, where the clay is at its peak malleability. This is when you establish your primary volumes. Phase two is the Leather-Hard State, occurring 2 to 4 hours into the process. This is the golden hour for carving, refining edges, and adding intricate textures because the clay has enough structural integrity to resist deformation but remains damp enough to cut cleanly.
The final phase is the Bone-Dry State, which can take 24 to 72 hours depending on the ambient humidity of your studio. During this time, the clay undergoes significant linear shrinkage as the interstitial water evaporates. You must resist the urge to handle the piece during this stage, as the material becomes incredibly brittle. Understanding this timeline prevents the heartbreak of a collapsed base or a snapped protrusion.
THE CORE METHOD
1. The Geometric Sphere
Every masterpiece begins with the humble sphere. Use the palms of your hands to apply even, centrifugal pressure to a lump of clay. This compresses the material, increasing its density and eliminating internal air pockets that could cause the piece to explode during firing or crack during drying.
Mastery Tip: Utilize the physics of centripetal force. By rotating the clay in a consistent circular motion, you ensure that the surface tension is equalized across the entire diameter, preventing the "lopsided egg" phenomenon.
2. The Tapered Cylinder
Start with a thick coil and roll it against a non-porous surface using your fingers in an outward spreading motion. Once you have a uniform cylinder, apply more pressure to one end to create a taper. This shape is the foundation for vases, limbs, and architectural elements.
Mastery Tip: Watch for torque stress. If you roll too fast or with uneven pressure, the clay will develop a hollow core or spiral cracks. Keep your fingers flat to distribute the load across the entire length of the cylinder.
3. The Flattened Ovoid
Take a sphere and gently compress it between two flat boards or your palms. This creates a disc with rounded edges, perfect for organic bases or decorative pendants. This shape tests the compressive strength of your clay body.
Mastery Tip: To prevent the edges from fraying, use a damp sponge to burnish the perimeter as you compress. This reintroduces moisture to the areas under the most mechanical stress, maintaining the clay's elasticity.
4. The Infinite Coil
Roll out long, thin ropes of clay with a consistent gauge. These can be stacked and joined to create complex vessels. Each layer must be "scored and slipped" to create a mechanical bond between the layers.
Mastery Tip: This relies on capillary action. When you apply slip to a scored surface, the dry clay sucks the moisture and fine particles into the grooves, creating a microscopic interlocking web that is stronger than the clay itself once dried.
5. The Geometric Cube
Start with a solid block and use a wire cutter or a bench scraper to shave off the sides at 90-degree angles. This introduces you to subtractive sculpting, where you find the form by removing the excess.
Mastery Tip: Use a square tool or a bone folder to crisp up the edges. Sharp angles are difficult in clay because the material naturally wants to slump; by compressing the edges, you increase the local structural integrity to hold the sharp line.
THE TECHNICAL LEDGER
Maintenance & Longevity: To keep your tools in peak condition, never let clay dry on them. The abrasive minerals in the clay can dull the edges of your loop tools and rust your needle tools. Clean them with a damp microfiber cloth and a drop of mineral oil after every session.
Material Variations:
- Sustainable: Use "wild clay" harvested locally, but ensure you process it through a fine-mesh sieve to remove organic debris.
- Premium: Porcelain offers the highest level of translucency but has low green strength, making it a challenge for beginners.
- Recycled: Collect your "slops" and dry them on a plaster bat to reclaim the clay for future projects.
The Correction:
- The Crack: If a crack appears during the leather-hard stage, do not just add water. Fill it with "paper clay" (slip mixed with toilet paper fibers) to provide internal reinforcement.
- The Slump: If your shape is collapsing, it is too wet. Use a hair dryer on a low, cool setting to accelerate evaporation until the base can support the weight.
- The Air Bubble: If you feel a soft spot, use an awl to prick the bubble and collapse it, then burnish the hole shut with a rib tool.
Studio Organization: Store your in-progress pieces in a "damp box"—a plastic container with a layer of wet plaster at the bottom. This creates a 100% humidity environment that pauses the drying process, allowing you to return to your work days later without the clay becoming too brittle to manipulate.
THE FINAL REVEAL
Look at that! You have successfully navigated the transition from raw material to structured form. Your finished pieces now possess the geometric clarity and structural soundness of a seasoned pro. By focusing on these five foundational shapes, you have built a vocabulary of form that will allow you to tackle any complex project in the future. The weight of the piece in your hand, the smoothness of the burnished surface, and the precision of the edges are all testaments to your mastery of the medium's physics. You didn't just make "stuff"; you engineered art.
STUDIO QUESTIONS
What is the best clay for easy clay sculpting?
Water-based air-dry clay with added nylon fibers is ideal for beginners. It offers high tensile strength and does not require a kiln, making it accessible for home studios while maintaining excellent detail retention and structural integrity during the drying phase.
How do I prevent my clay from sticking to the table?
Always work on a porous surface like a canvas mat, a plaster bat, or a piece of unfinished wood. These materials wick away excess moisture from the bottom of your piece, preventing a vacuum seal and allowing for easy removal.
Why does my clay crack as it dries?
Cracking is usually caused by uneven drying or high linear shrinkage. If one part of your sculpture dries faster than another, it pulls away, creating a fracture. Cover your piece loosely with plastic to ensure a slow, uniform evaporation process.
Can I mix different types of clay together?
It is generally discouraged unless the clays have identical shrinkage rates and firing temperatures. Mixing a high-shrinkage clay with a low-shrinkage one will result in internal stress and structural failure as the piece dries or fires.
How do I make my sculpture look professional?
Focus on the burnishing stage. Using a metal rib or a smooth stone to compress the surface particles creates a dense, reflective finish. This eliminates fingerprints and small imperfections, giving the piece a refined, intentional aesthetic.