
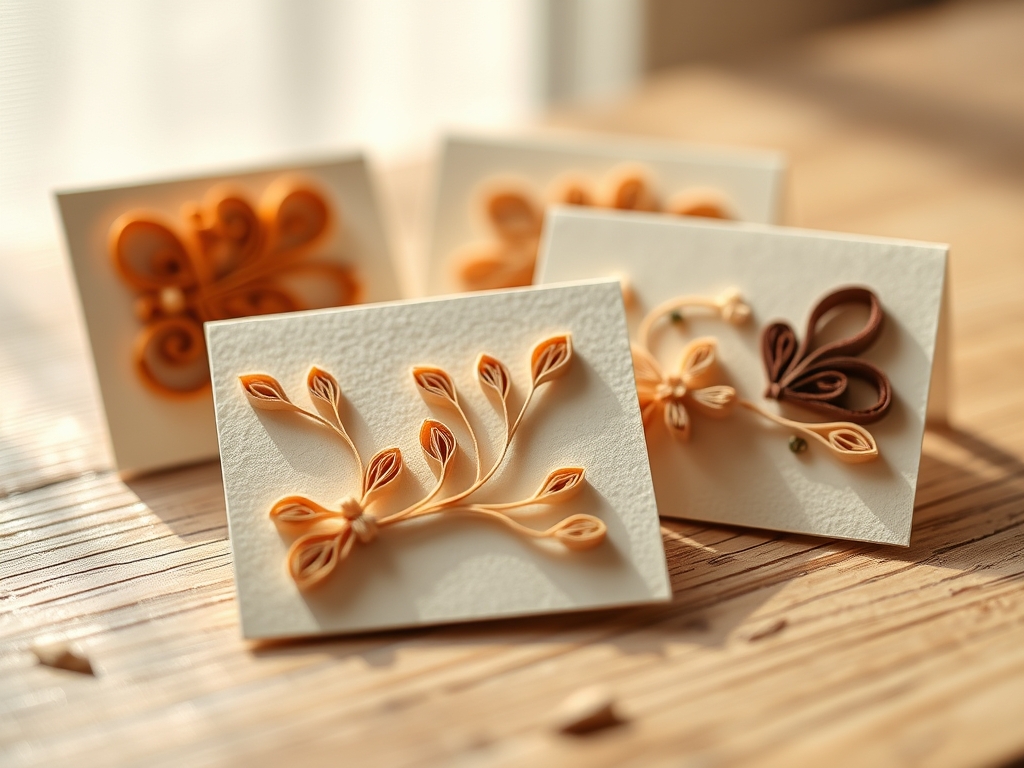
The scent of fresh, high-grammage paper is intoxicating. It has that crisp, earthy aroma that tells you it is ready to be transformed. When you are making First Time Quilling Cards for birthdays, you are not just playing with paper; you are manipulating the tensile strength of cellulose fibers to create structural art. Feel that slight resistance as you run a strip between your thumb and forefinger. That is the grain direction of the paper. If you pull too hard, the fibers snap. If you guide them with a gentle, consistent pressure, they yield into a perfect, tension-held spiral. This is the ultimate tactile experience for a maker. We are taking 120-gsm strips and turning them into miniature architectural wonders. It is part geometry, part patience, and a whole lot of creative spark. You are about to master the art of the coil, turning a flat, two-dimensional medium into a three-dimensional masterpiece that defies its own fragile nature. Let us get those fingers moving and the glue flowing.
THE STUDIO KIT
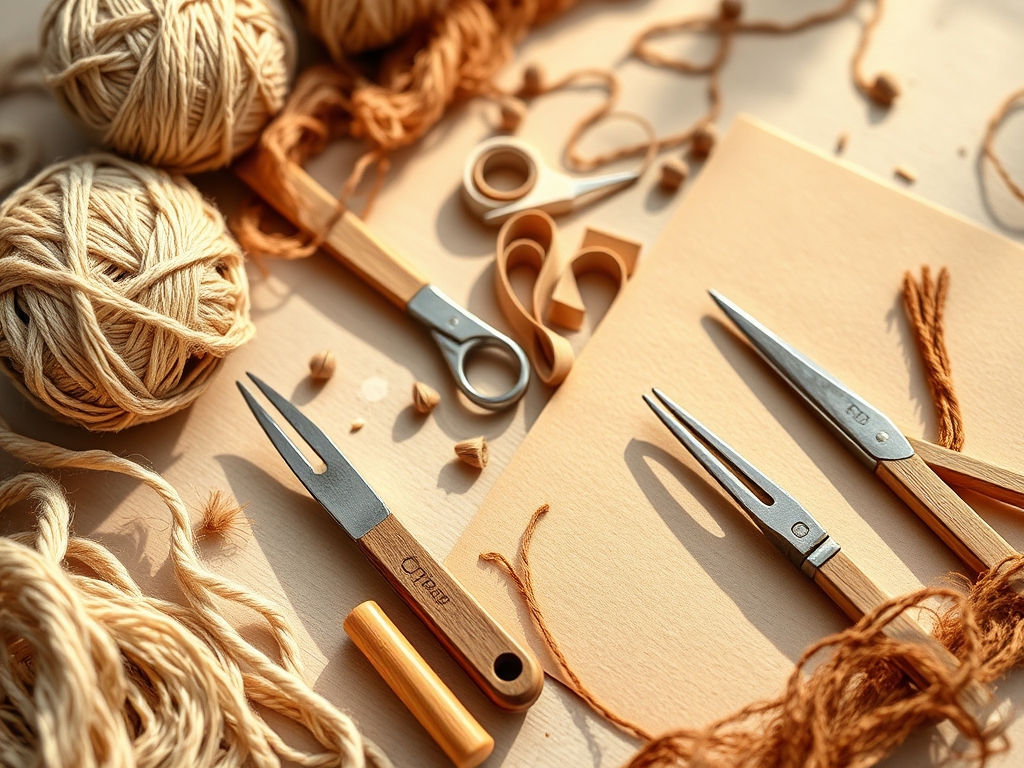
To execute these elegant swirls, your workstation needs to be calibrated for precision. You cannot just use any scrap paper. For First Time Quilling Cards, you need acid-free, lignin-free paper strips to ensure the birthday card does not yellow or become brittle over time. Your primary tool is the slotted quilling tool, which features a high-grade steel head with a microscopic gap. This gap grips the paper edge, allowing you to exert torque on the strip. You will also need a circle sizer ruler to ensure every swirl has a consistent diameter. This is vital for visual symmetry.
For adhesives, skip the school glue. You need a fine-tip applicator filled with a high-tack, clear-drying PVA glue. This glue relies on capillary action to seep into the paper fibers without warping the cardstock. If you do not have a quilling tool, a tapered awl or a simple toothpick can act as a mandrel. For material substitutions, you can use a rotary cutter and a self-healing mat to slice your own strips from 80lb text-weight paper. Avoid heavy cardstock for the swirls; the ply is too thick, causing the paper to "crack" rather than roll smoothly.
THE TEMPO
The "Maker's Rhythm" is all about finding the flow between the prep and the execution. Expect to spend about 15 minutes on material calibration, which includes sorting your colors and checking the moisture content of your environment. If the air is too humid, the paper loses its rigidity. The actual rolling of the five swirls will take approximately 25 minutes. This is the meditative phase where your breath should match the rotation of the tool. Finally, allow 20 minutes for the setting phase. Because we are using a porous substrate, the glue needs time to create a permanent bond. Total studio time: 60 minutes of pure, focused creation.
THE CORE METHOD
1. The Anchored Tight Coil
Start by inserting the tip of your paper strip into the slot of your tool. Keep your non-dominant hand steady to maintain lateral tension. Rotate the tool away from your body, ensuring the edges of the paper stay perfectly flush. If the edges stagger, your coil will have a "telescope" effect, ruining the structural integrity. Once the strip is fully wound, apply a microscopic dot of glue to the end before removing it from the tool.
Mastery Tip: The science here is all about friction. If you wind too loosely, the coil will unravel from the center. If you wind too tightly, you risk "bruising" the paper fibers, which prevents the coil from expanding evenly if you decide to turn it into a loose scroll later.
2. The Expanding Teardrop
Create a loose coil by letting the paper expand within a 15mm circle on your sizing board. Once it reaches the desired diameter, glue the tail. Pick up the coil and pinch one side firmly between your thumb and index finger. This creates a focal point of high-compression, while the rest of the coil maintains a relaxed, circular arc.
Mastery Tip: This technique utilizes the elasticity of the paper. By pinching one side, you are permanently deforming the fibers at a specific point. This creates a "hinge" that allows the swirl to hold its shape against the natural urge of the paper to return to a flat state.
3. The S-Scroll Flourish
Unlike the coils, the S-scroll is an "open" shape. Take a 4-inch strip and roll one end toward the center. Flip the strip and roll the opposite end toward the center from the other side. You are creating two opposing forces of torsion. The result is a graceful, balanced curve that adds movement to your First Time Quilling Cards.
Mastery Tip: To get a perfect S-curve, use a bone folder to gently break the stiffness of the paper before rolling. This pre-stresses the fibers, ensuring the curve is fluid rather than angular. It is all about managing the internal stress of the paper strip.
4. The Marquis Petal
Start with a loose coil, just like the teardrop. However, instead of pinching one side, you will pinch two opposite sides simultaneously. Align your fingers so the pinches are 180 degrees apart. This creates a sleek, eye-shaped swirl that is perfect for floral birthday motifs.
Mastery Tip: Use tweezers for the final pinch to ensure the points are sharp. The surface tension of the glue at these two points is what keeps the shape from popping back into a circle. Precision here ensures the light catches the edges of the paper uniformly.
5. The Eccentric Heart
Fold a strip in half to create a sharp crease using a burnishing tool. Roll each end inward toward the crease. The two coils will meet in the center, forming a heart. This shape is a lesson in symmetry and balance. The central fold acts as a structural anchor, while the two scrolls provide the aesthetic volume.
Mastery Tip: When gluing this to your card, only apply adhesive to the bottom edges of the paper. This allows the top of the coils to remain "free," creating a beautiful shadow effect known as depth of field when the card is viewed from different angles.
THE TECHNICAL LEDGER
Maintenance & Longevity: To keep your quilling from flattening, store the finished cards in a cool, dry environment. Exposure to high humidity will cause the paper to absorb moisture, leading to "sagging" of the scrolls. You can apply a light spray of matte fixative to the finished design to lock out moisture and increase the UV resistance of the paper dyes.
Material Variations: For a sustainable approach, use strips cut from recycled bamboo paper, which has incredible tensile strength. For a premium look, use gilded-edge strips. These have a microscopic layer of foil on the edges that reflects light, making your First Time Quilling Cards look like they are made of solid gold wire.
The Correction:
- The Glue Bloom: If you use too much glue, it creates a shiny residue. Fix this by using a damp "micro-brush" to lift the excess while it is still wet.
- The Unravel: If a coil pops open, the paper has reached its elastic limit. You must re-roll a new strip; once the "memory" of the paper is compromised, it will never hold a tight shape again.
- The Tilt: If your swirls are leaning, your base cardstock is too thin. Use a heavyweight 110lb cover stock to provide a rigid foundation.
Studio Organization: Store your strips in vertical acrylic organizers sorted by color and width. This prevents the edges from fraying. Never store paper in direct sunlight, as the photochemical reaction will bleach the vibrant pigments within weeks.
THE FINAL REVEAL
Look at that! You have just transitioned from a paper-curious enthusiast to a master of the coil. Your First Time Quilling Cards are no longer just stationary; they are tactile sculptures. The way the light hits those 3mm edges creates a rhythmic play of shadow and color that no store-bought card can replicate. You have successfully manipulated the physical properties of paper to create something elegant, durable, and deeply personal. The birthday recipient is not just getting a card; they are getting a display of your newfound technical prowess. Keep that tool spinning!
STUDIO QUESTIONS
What is the best paper weight for quilling?
The ideal weight is 80lb text or 120-gsm. This provides enough tensile strength to hold a coil without being so thick that the fibers crack during the rolling process. It offers the perfect balance of flexibility and structural integrity.
Why do my coils keep unravelling?
This usually happens due to insufficient tension or poor glue application. Ensure you are maintaining a consistent pull on the strip as you rotate your tool. Use a high-tack PVA glue to create an immediate, permanent bond.
Can I quill with regular printer paper?
You can, but it is not ideal. Printer paper has a low fiber density, making it prone to tearing and warping when glue is applied. For professional results, stick to dedicated acid-free quilling strips with consistent widths.
How do I stop my cards from warping?
Warping is caused by moisture absorption. Use a fine-tip applicator to limit the amount of glue used. Always work on a heavyweight substrate like 110lb cardstock to ensure the base can support the weight and moisture of the swirls.
How do I clean my quilling tools?
Over time, glue builds up in the slotted tool head. Use a fine needle or a jeweler's saw blade to gently scrape away dried residue. This ensures the tool maintains a smooth grip on the paper for every new project.

