
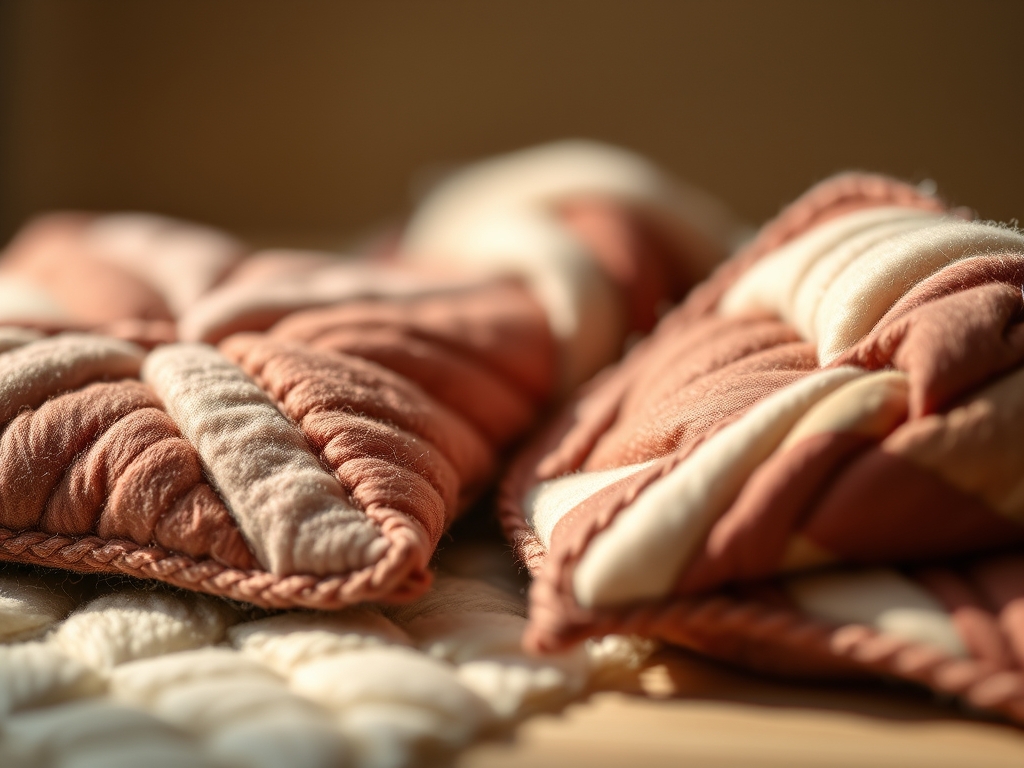
The smell of sizing and the crisp snap of cotton fibers are the first signals that your studio session has officially begun. When you handle high quality quilting cotton, you are feeling the result of a tight weave with high thread counts that ensure structural integrity during the sewing process. Mastering Beginner Quilting Blocks is not just about aesthetics; it is an exercise in managing the physics of fabric. As you run your fingers across the grain, you can feel the difference between the stable lengthwise grain and the stretchy, unpredictable bias. That stretch is your greatest enemy and your most versatile tool. We are going to harness that tension to create shapes that lock together with mathematical precision. Forget the idea that quilting is just a hobby for quiet afternoons. This is structural engineering with a soft touch. You are about to manipulate two dimensional planes into a three dimensional heirloom. Grab your coffee and let's get into the grit of the weave because your first quilt deserves to be a masterpiece of alignment and tactile perfection.
THE STUDIO KIT
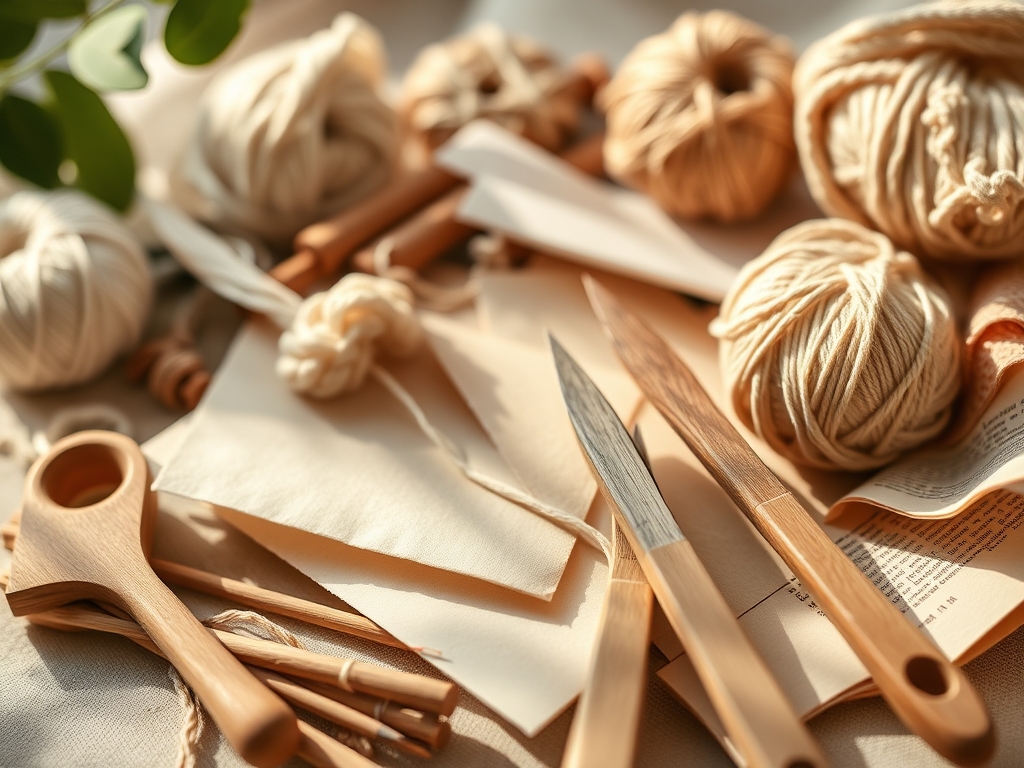
To execute these blocks with professional accuracy, your tool kit must prioritize precision over flair. You will need a rotary cutter with a fresh 45mm tungsten steel blade to ensure clean cuts without fraying the edges. Pair this with a self healing mat that features a printed grid; this grid acts as your external skeletal reference for every measurement. A non slip acrylic ruler is non negotiable for maintaining a perfect 90 degree angle. For marking, use a fine point chalk pencil or a heat erasable pen that will not bleed into the porous fibers of your textile.
Your fabric selection should focus on 100 percent cotton. This material offers the ideal tensile strength and minimal slippage under the presser foot. If you are looking for Material Substitutions, you can experiment with linen blends for a more organic texture, though be warned that linen has a lower thread density and tends to shift. Avoid synthetics for your first project; polyester lacks the "memory" of cotton, meaning it won't hold a crisp crease when you burnish your seams. You will also need a high quality 50 weight cotton thread to ensure your seams are strong but low profile, preventing bulk at the intersections.
THE TEMPO
The "Maker's Rhythm" is a cycle of preparation, execution, and refinement. Do not rush the cutting phase. In a standard eight hour studio block, you should spend at least two hours on fabric preparation and precision cutting. This is the foundation of your Beginner Quilting Blocks. The sewing phase is the "tempo" where you find a steady cadence with your machine's motor. Expect to spend about forty minutes per block for assembly.
The final phase is the pressing phase. This is where the magic of heat and pressure stabilizes the fibers. You aren't just ironing; you are setting the seams to ensure the fabric layers bond. Budget ten minutes per block for meticulous pressing. If you respect this rhythm, your finished quilt will have a flat, professional finish rather than the wavy, distorted look of a rushed project.
THE CORE METHOD
1. The Simple Square
The square is the fundamental unit of quilting. Start by cutting two identical squares of contrasting fabric. Align the raw edges with the selvage to ensure the grain runs parallel to your seam. This prevents the fabric from warping as the feed dogs move it through the machine. Use a consistent quarter inch seam allowance.
Mastery Tip: Understand the friction coefficient. When you place two pieces of fabric right sides together, the microscopic fibers interlock. Pinning perpendicularly to the seam line prevents these layers from "creeping" or shifting at different speeds, ensuring your squares remain perfectly congruent.
2. The Four Patch
This block takes the square a step further by joining four units into a larger grid. The key here is the "nesting" of seams. By pressing the seam allowance of the top pair to the right and the bottom pair to the left, the seams will lock together like a puzzle.
Mastery Tip: This nesting technique relies on seam bulk displacement. By alternating the direction of the seam allowances, you reduce the thickness at the center intersection, allowing your needle to pass through without skipping stitches or breaking the thread.
3. The Half Square Triangle (HST)
The HST introduces the diagonal line. Place two squares right sides together and draw a diagonal line from corner to corner. Sew exactly a quarter inch away from both sides of that line, then cut along the marked center.
Mastery Tip: When you cut on the diagonal, you are exposing the bias. The bias has the highest degree of elasticity in woven fabric. To maintain structural integrity, handle these pieces as little as possible before pressing them flat to "lock" the shape.
4. The Flying Geese
This classic shape involves a large rectangle and two smaller squares. By sewing the squares onto the corners of the rectangle and trimming the excess, you create a sharp point. This is a lesson in geometric efficiency.
Mastery Tip: Precision in "point preservation" is about geometric clearance. You must ensure your seam line hits exactly at the intersection of the fabric folds so that when you join blocks later, you do not "chop off" the tip of your triangle.
5. The Rail Fence
This block uses long strips of fabric sewn together and then cut into squares. It is a fantastic way to practice "strip piecing," which is a high speed production method used by professional quilters.
Mastery Tip: Use a consistent gauge. Even a deviation of 1/16th of an inch across three strips will result in a block that is significantly smaller than intended. Check your seam allowance frequently using a metal seam guide or calipers.
6. The Log Cabin
Starting with a center square, you "build" the block by adding strips around the perimeter in a clockwise fashion. This creates a spiraling effect that is both structural and visually hypnotic.
Mastery Tip: This block demonstrates cumulative error. Because each strip depends on the accuracy of the previous one, any small mistake is magnified as the block grows. Use a bone folder to crisp each seam before adding the next "log" to ensure the block stays perfectly square.
THE TECHNICAL LEDGER
Maintenance & Longevity: To ensure your quilt lasts for generations, always use a "dry" iron setting during construction to avoid steam distortion. Once finished, wash only in cold water with a pH neutral detergent to protect the fiber bonds.
Material Variations: For a sustainable approach, look for "deadstock" cotton or GOTS certified organic textiles. If you want a premium feel, Liberty of London Tana Lawn offers a silk like hand with the stability of cotton, though its high thread count requires a finer needle (size 70/10).
The Correction:
- Wavy Seams: This usually indicates your presser foot pressure is too high, stretching the fabric. Reduce pressure or use a walking foot.
- Blunt Corners: You likely sewed directly over the intersection. Aim for a "scant" quarter inch to allow for the fold of the fabric.
- Fraying Edges: Your blade is dull. A dull blade "chews" the fibers instead of slicing them, compromising the tensile strength of the seam.
Studio Organization: Store your cut pieces in flat, airtight containers. Do not hang unfinished blocks, as gravity will pull on the bias and distort your measurements over time. Label each container with the project date and the specific "gauge" used for the seams.
THE FINAL REVEAL
There is nothing quite like the moment you lay out your finished Beginner Quilting Blocks on the studio floor and see the secondary patterns emerge. The sharp angles of your HSTs and the clean lines of your Rail Fence blocks create a rhythmic, visual texture that is incredibly satisfying. You have moved beyond simple sewing; you have mastered the art of textile manipulation. Your first quilt is no longer just a project; it is a technical achievement that proves you understand the relationship between fiber, tension, and geometry. Feel that crispness? That is the sound of success.
STUDIO QUESTIONS
Which fabric is best for beginner quilting blocks?
Stick to 100 percent quilter's cotton. It has a stable weave and high tensile strength, which prevents the fabric from stretching out of shape while you sew. This ensures your geometric points stay sharp and professional.
How do I keep my quilt blocks perfectly square?
Precision starts with the cut. Use a rotary cutter and an acrylic ruler to ensure 90 degree angles. During assembly, use the "nesting" technique for seams to prevent the fabric layers from shifting under the presser foot.
What is the "scant" quarter inch seam?
A scant quarter inch is a seam just a hair narrower than a true 1/4 inch. This tiny adjustment accounts for the thickness of the fabric fold, ensuring your finished block measures exactly the intended size.
Can I use a regular iron for quilting?
Yes, but keep it on a dry setting. Steam can temporarily swell the cotton fibers and lead to "fabric creep," causing your blocks to become distorted. A dry, hot iron provides the best burnish for crisp seams.
How do I fix a block that is too small?
If the deviation is minor, you can sometimes "quilt it out" during the final stitching. However, if it is more than 1/8th of an inch off, it is best to unpick and re sew to maintain structural integrity.

