
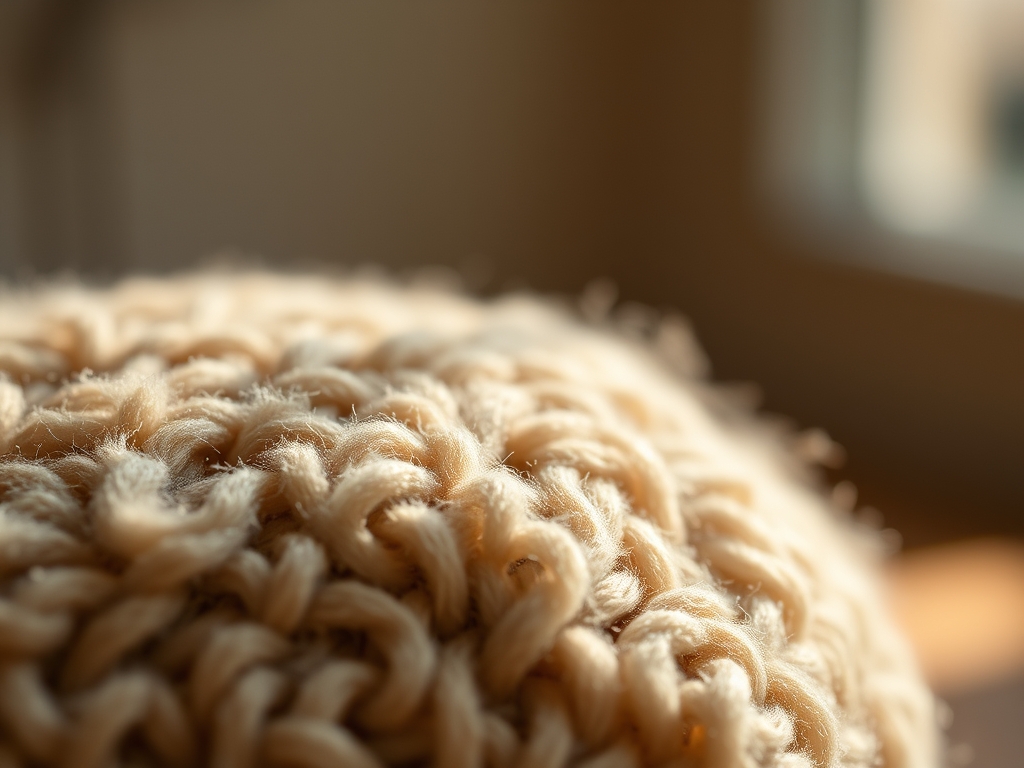
Imagine the smell of fresh rain on warm asphalt mixed with the clean, waxy scent of potential. That is the aroma of a fresh block of PVC based medium before it hits your hands. When you first touch it, the material feels cold and stubborn; it resists your initial attempts to bend it. This resistance is actually a sign of high molecular density. As your palms transfer thermal energy into the slab, the long chain polymers begin to slide past one another. This transition from rigid solid to a supple, buttery state is the most satisfying part of your Intro to Polymer Clay journey. You are literally reshaping a synthetic material at a molecular level through friction and heat. Once the clay reaches its glass transition temperature, it becomes a playground for your imagination. We are talking about high tensile strength jewelry that looks like marble but feels like a cloud. It is light enough to wear all day without tugging on your earlobes, yet durable enough to survive a drop on a hardwood floor. Let us get your hands messy and your brain firing.
THE STUDIO KIT
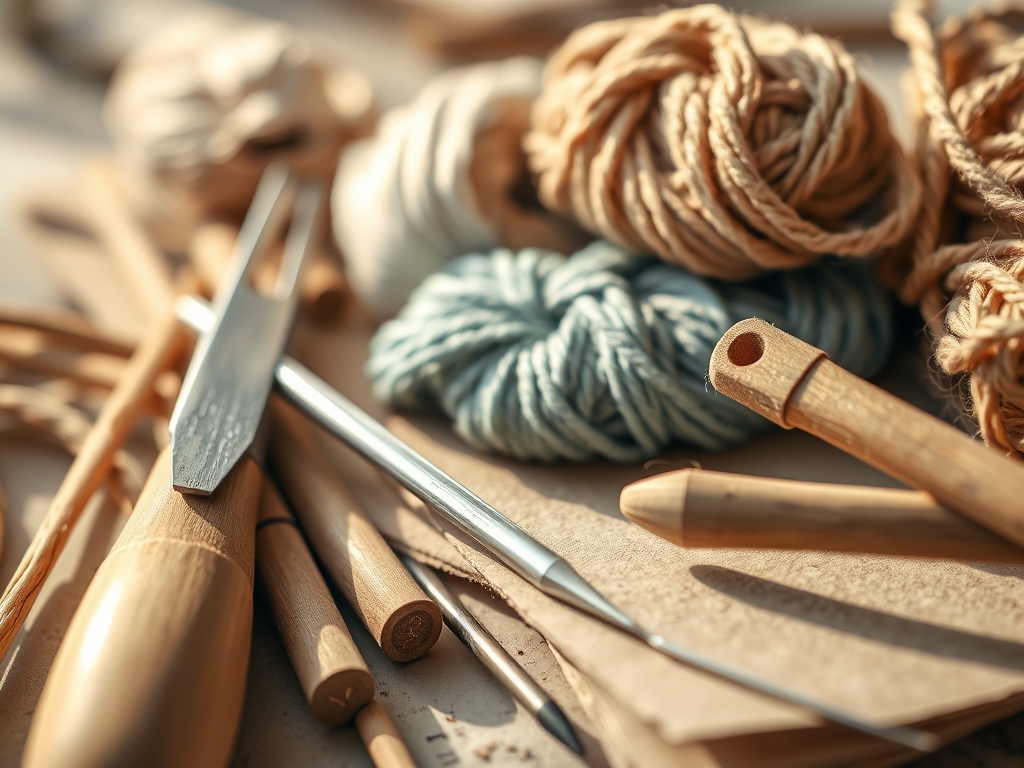
To master the art of the blend, you need more than just fingers; you need precision instruments that respect the physics of the medium. Your primary tool is an acrylic roller or a dedicated pasta machine. These tools apply even pressure across the surface area, ensuring a consistent gauge throughout the sheet. If the thickness varies by even half a millimeter, your earrings will bake unevenly, leading to structural warping. You will also need a tissue blade, which is a thin, flexible steel cutter. Unlike a standard kitchen knife, a tissue blade has a microscopic edge profile that prevents the clay from compressing or "dragging" during a cut.
For fine details, keep a stainless steel awl and a bone folder nearby. The awl is perfect for creating pilot holes for jump rings, while the bone folder allows you to burnish the surface to remove fingerprints without adding moisture. If you lack a professional pasta machine, a heavy glass bottle can serve as a Material Substitution, provided it has no embossed logos that would leave an unwanted texture. For sanding, skip the hardware store variety and grab high grit wet dry sandpaper in 400, 800, and 1200 grits. This allows you to refine the edges without inhaling toxic dust particles.
THE TEMPO
The Maker's Rhythm is a three phase cycle: conditioning, construction, and curing. You cannot rush the chemistry. Conditioning takes about ten to fifteen minutes of active manipulation to ensure the plasticizers are evenly distributed. If you skip this, your final piece will be brittle. The Construction phase is where the "flow state" happens; expect to spend sixty to ninety minutes mixing your nine colorful blends and cutting your shapes. Finally, the Curing phase is the most critical. Most clays require thirty minutes per quarter inch of thickness at a precise temperature. This is not just "drying" the clay; it is a chemical reaction called polymerization. If your oven temperature fluctuates by more than five degrees, you risk scorching the pigments or leaving the core underbaked.
THE CORE METHOD
1. The Skinner Blend Gradient
Start by aligning two triangles of different colors to form a rectangle. Feed them through your roller repeatedly, folding the sheet exactly in half each time. This creates a seamless transition from one hue to another.
Mastery Tip: This works because of mechanical adhesion. By folding and rolling in a consistent direction, you are forcing the pigment particles to interleave at a microscopic level, creating a perfect spectrum without muddying the colors.
2. The Terrazzo Technique
Take your scraps and chop them into irregular, jagged shards using your tissue blade. Scatter these over a solid base sheet and roll them flat until the surface is flush.
Mastery Tip: Pay attention to surface tension. If you press too hard, the base layer will displace. Use a light, multi directional rolling motion to integrate the shards into the substrate without distorting their geometric shapes.
3. The Marbled Veining
Twist two or three contrasting colors into a "snake" and fold it over itself multiple times. Stop before the colors fully merge to maintain distinct lines.
Mastery Tip: This mimics the geological process of metamorphism. To keep the veins crisp, ensure all colors have the same viscosity. If one clay is softer than the others, it will bleed into the surrounding areas and ruin the marble effect.
4. The Mokume Gane Stack
Layer several thin sheets of different colors, then use an awl or a stamp to poke deep indentations into the stack. Shave off the top layers with a flexible blade to reveal the hidden patterns.
Mastery Tip: This technique relies on stratigraphy. The blade slices through the distorted layers at an angle, exposing the internal architecture of the stack. Keep your blade parallel to the work surface to avoid gouging the base.
5. The Translucent Depth Blend
Mix a tiny amount of saturated color into a large portion of translucent clay. Roll this thin and layer it over a white base.
Mastery Tip: This utilizes light refraction. The translucent particles allow photons to pass through and bounce off the white backing, giving the jewelry an internal glow that solid colors cannot achieve.
6. The Geometric Inlay
Cut precise shapes out of two different colored sheets using a jeweler's saw or sharp cutters. Swap the shapes and press them into the opposite holes.
Mastery Tip: Focus on the fit tolerance. Because polymer clay is slightly elastic, you can "stretch" the edges of the hole to accept the inlay, creating a seamless bond that looks like a single piece of manufactured plastic.
7. The Mica Shift
Use a metallic clay containing mica flakes. Stamp a deep texture into it, then shave the raised portions away until the surface is flat.
Mastery Tip: This is an optical illusion based on particle alignment. The mica flakes reflect light differently depending on their orientation. Even though the surface is flat, the "ghost image" remains because the flakes are still tilted at different angles.
8. The Color Wash
Bake a textured piece of clay first, then rub acrylic paint into the crevices and wipe the surface clean.
Mastery Tip: This relies on capillary action. The liquid paint is drawn into the microscopic valleys of the texture. Once the carrier fluid evaporates, the pigment remains trapped, highlighting the three dimensional detail.
9. The Salt Texture Finish
Press coarse sea salt into raw clay, bake it, and then dissolve the salt in water after the piece has cooled.
Mastery Tip: This creates a porous surface texture without using harsh chemicals. The salt acts as a temporary structural support that leaves behind a "moon rock" aesthetic once removed.
THE TECHNICAL LEDGER
Maintenance & Longevity: To keep your jewelry pristine, avoid contact with acetone or high alcohol perfumes, which can degrade the polymer bonds. Store pieces in a cool, dry place away from direct UV light to prevent pigment fading.
Material Variations: If you want a more eco friendly approach, look for brands that use bio based plasticizers. For high end professional work, use Premium grade clays which have a higher pigment load and less filler, resulting in more vibrant colors after the bake.
The Correction:
- Bubbles: If you see a pocket of air, use a fine needle to prick the center and burnish the air out before baking.
- Scorching: If the clay turns brown, your oven has a "hot spot." Use an internal oven thermometer and tent your pieces with aluminum foil to deflect direct radiant heat.
- Brittleness: If the piece snaps after baking, it was under-cured. You can actually re-bake polymer clay multiple times to complete the polymerization process.
Studio Organization: Store your raw clay in polypropylene (PP) containers. Avoid polystyrene (PS), as the plasticizers in the clay will actually melt the container over time.
THE FINAL REVEAL
Look at that! You have just turned a handful of synthetic blocks into a collection of wearable art that screams professional quality. The way those colors bleed into each other in the Skinner blend is pure magic. Your jewelry has that perfect satin sheen, a testament to your patience with the sandpaper and the burnishing tool. These pieces are not just accessories; they are a masterclass in material science and creative grit. You have officially graduated from "just playing with clay" to a genuine maker.
STUDIO QUESTIONS
What is the best way to avoid fingerprints?
Use a bone folder or a piece of parchment paper to burnish the surface before baking. You can also wear latex free gloves, though they may reduce your tactile sensitivity. Dipping your fingers in cornstarch can also neutralize skin oils.
Can I mix different brands of polymer clay?
Yes, but you must check the required baking temperatures for both. Always bake at the lower temperature for a longer duration to ensure the high temp clay fully cures without burning the more sensitive brand in the mix.
How do I fix a piece that broke?
Use a specialized cyanoacrylate adhesive or a liquid polymer clay as a bonding agent. If using liquid clay, you will need to re-bake the piece to fuse the broken sections back into a single structural unit.
Why did my clay change color after baking?
This is usually caused by pigment oxidation or overheating. Some translucent clays naturally darken as they cure. To prevent unwanted shifts, always perform a small test bake with a scrap piece before committing your final design to the oven.

