
Listen to that sound. It is the crisp, rhythmic snap of corrugated fibers yielding to a razor sharp blade. There is something deeply satisfying about the resistance of double walled cardboard; it offers a structural integrity that belies its humble origins as a shipping container. When we talk about Simple Weaving Looms, we are not just talking about a rainy day craft project. We are discussing the intersection of tensile strength and portable engineering. You can feel the potential energy stored in a flat sheet of cellulose, waiting to be transformed into a rigid frame capable of holding a high tension warp. As you run your thumb along the edge, notice the porous nature of the material. This porosity is your best friend because it allows for high friction grips when we start anchoring our yarns. We are about to turn industrial waste into a precision instrument for textile art. Grab your coffee and clear the workbench; we are diving into the physics of the weave.
THE STUDIO KIT
THE STUDIO KIT
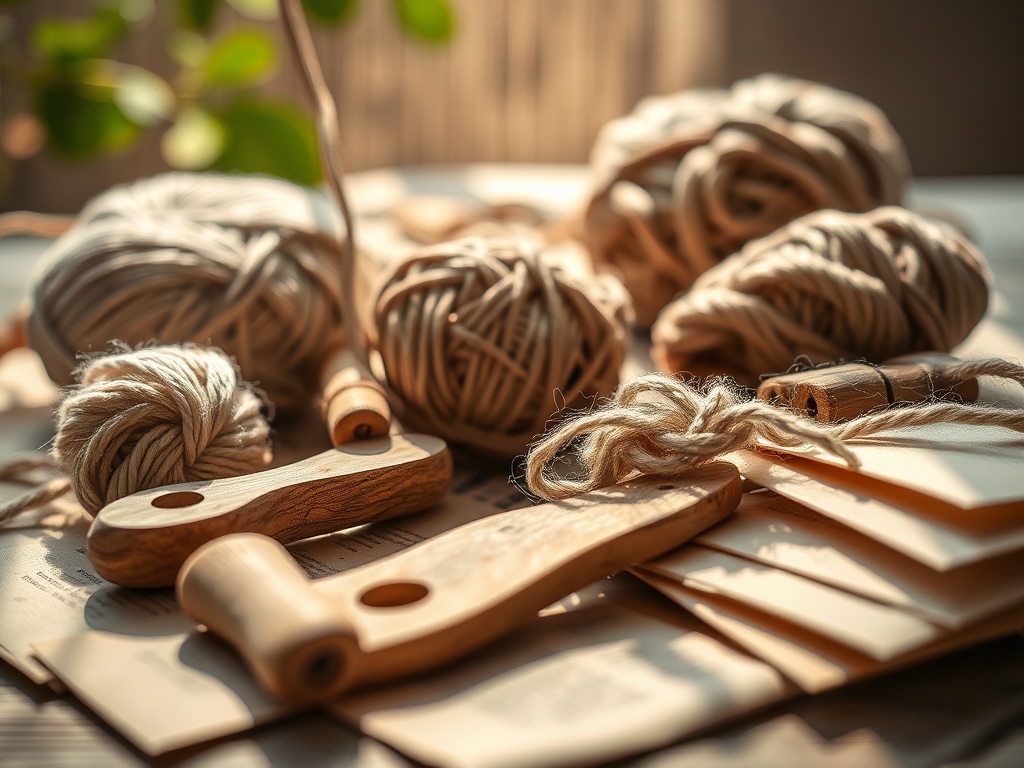
To execute these Simple Weaving Looms with professional precision, you need a kit that respects the material physics of paperboard. Your primary tool is a heavy duty rotary cutter or a fresh scalpel blade. Dull blades drag through the fluting, causing jagged edges that snag your delicate silk or wool fibers. You will also need a stainless steel cork backed ruler to prevent slipping during high pressure cuts. For marking your notches, use a fine point technical pen to ensure a sub millimeter gauge of accuracy.
The cardboard itself should be "C-flute" or "B-flute" corrugated stock. This provides the necessary structural rigidity to withstand the inward pull of the warp threads without buckling. For the weaving process, a bone folder is essential for burnishing the edges of your loom, ensuring the yarn glides smoothly over the notches. If you want to elevate the build, keep a metal awl nearby for punching starter holes.
Material Substitutions: If you lack heavy cardboard, you can laminate three layers of cereal box cardstock using a thin layer of PVA glue. This creates a composite material with high cross grain strength. Instead of a professional weaving needle, a large tapestry needle or even a smoothed popsicle stick with a drilled eyelet works beautifully as a makeshift shuttle.
THE TEMPO
The "Maker's Rhythm" is all about respecting the phases of production. Phase one is the Architectural Cut, which takes approximately fifteen minutes. This is where you focus on the geometry of the frame. Phase two is the Notch Calibration, a meditative ten minute process where spacing must be perfectly uniform to ensure even warp tension. Finally, the Warping Phase takes about ten minutes of steady, rhythmic looping.
In total, you are looking at a forty five minute build before you even touch your weft yarn. The key is not to rush the measurements. If your notches are off by even two millimeters, the resulting fabric will have uneven density. Think of this as setting the foundation of a house; if the slab is crooked, the walls will never be straight.
THE CORE METHOD
1. THE FRAME ARCHITECTURE
Start by cutting a rectangle of cardboard to your desired dimensions. For a standard wall hanging, a ten by twelve inch frame is ideal. Ensure the grain direction of the cardboard fluting runs vertically. This orientation provides the highest resistance against the vertical tensile stress of the warp. If the fluting runs horizontally, the loom will likely fold in half once you start tightening your strings.
Mastery Tip: Cardboard is an anisotropic material, meaning it has different strengths in different directions. By aligning the fluting with the warp, you utilize the "column effect" of the internal arches to prevent structural collapse under load.
2. THE NOTCH GEOMETRY
Using your steel ruler, mark a line half an inch from the top and bottom edges. Along these lines, mark points every quarter inch. Use your rotary cutter to make small V-shaped snips at each mark. These notches must be deep enough to hold the yarn securely but shallow enough that they do not weaken the edge of the board.
Mastery Tip: Use a bone folder to burnish the interior of each notch. This compresses the fibers and creates a smooth, hardened surface. This reduction in surface friction prevents the yarn from fraying as it moves during the weaving process.
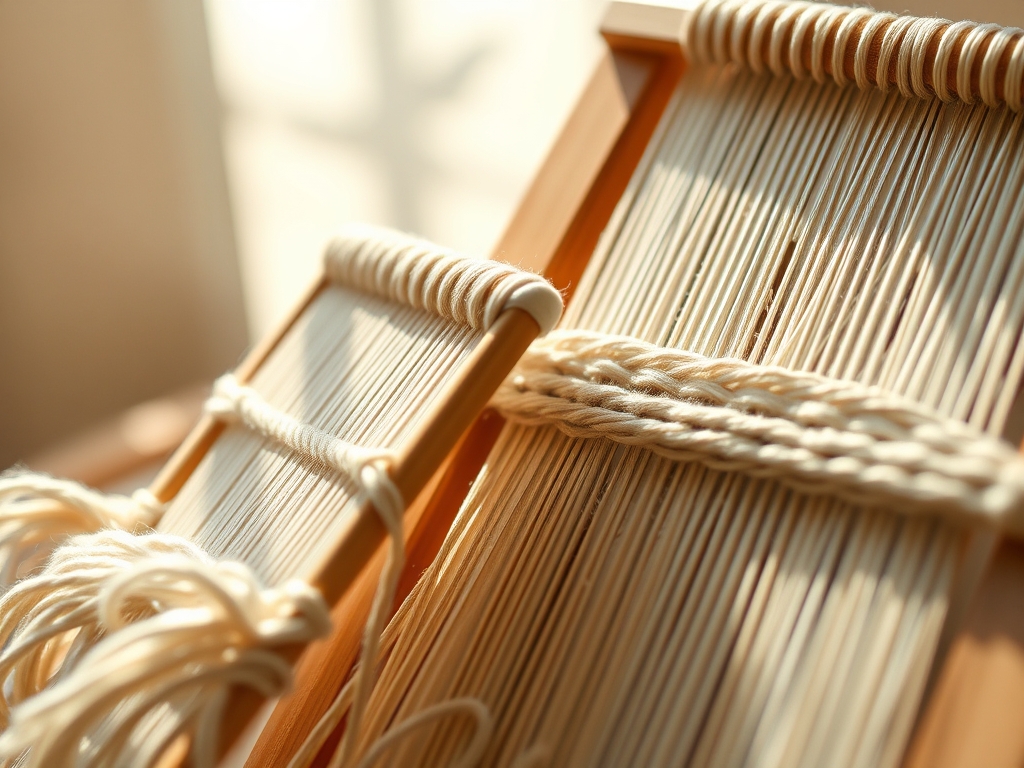
3. THE WARP TENSIONING
Anchor your yarn at the top left notch with a secure knot or a piece of high tack tape on the back. Lead the yarn down to the bottom left notch, around the back of the "tooth," and back up to the next top notch. Maintain a consistent pull force. The yarn should be taut enough to "ping" like a guitar string but not so tight that the cardboard begins to bow.
Mastery Tip: This is an exercise in Hooke's Law. The stress you apply to the yarn creates a proportional strain on the cardboard. By distributing the tension across twenty or thirty notches, you are spreading the load across the entire surface area of the loom.
4. THE SHED CREATION
To make weaving faster, slide a thin strip of cardboard or a ruler under every other warp thread. This creates a "shed," which is the space between the two layers of thread. When you turn the ruler on its side, it lifts the threads, allowing you to slide your weft yarn through in one quick motion.
Mastery Tip: This introduces the concept of mechanical advantage. By using a shed stick, you reduce the number of manual "over under" movements, which significantly lowers the risk of snagging the fibers through repetitive contact.
5. THE WEFT INSERTION
Thread your needle with your decorative yarn. Pass it through the shed, leaving a small tail at the start. When you reach the end of a row, do not pull the yarn tight. Instead, create a small arc or "rainbow" shape before beating the yarn down with a fork or comb. This provides enough "slack" for the yarn to wrap around the warp without pulling the edges of your weaving inward.
Mastery Tip: This technique manages lateral contraction. Without that extra slack, the cumulative tension of each row would pull the outer warp threads toward the center, resulting in an hourglass shape rather than a perfect rectangle.
6. THE BEATING PROCESS
After each pass of the weft, use a common kitchen fork or a professional weaving comb to push the yarn down firmly against the previous row. This determines the pick count or the density of your fabric. A firm beat creates a sturdy, rug like texture; a light touch creates a soft, drapey lace.
Mastery Tip: You are essentially managing compressive force. The tighter you pack the weft, the more the warp threads are forced into a serpentine path, which increases the overall friction and stability of the finished textile.
7. THE TERMINATION AND REMOVAL
Once you have reached the top, carefully flip the loom over and cut the warp threads across the middle of the back. Gently slide the loops out of the notches one by one. Tie the adjacent warp threads together in pairs using a simple overhand knot to secure the weave.
Mastery Tip: This final step relies on friction locking. The knots prevent the weft from sliding off the warp. By tying them in pairs, you maintain the structural integrity of the "selvedge" or the finished edge of your piece.
THE TECHNICAL LEDGER
Maintenance & Longevity: Cardboard looms are remarkably durable if kept dry. Moisture will cause the cellulose fibers to swell and lose their rigidity. Store your looms flat in a cool, dry place. If the notches become worn or "soft" after multiple uses, you can reinforce them with a thin application of cyanoacrylate (super glue) to re harden the edges.
Material Variations:
- Sustainable: Use 100% post consumer recycled shipping boxes.
- Recycled: Repurpose old plastic mailers as "yarn" for a waterproof, industrial look.
- Premium: Use "Black Foam Core" for a sleek, professional studio appearance that provides extra grip.
The Correction:
- The Hourglass Effect: If your weaving is narrowing in the middle, you are pulling the weft too tight. Fix this by using the "bubble" or "arc" method for every row.
- Buckling Frame: If the loom bows, your warp tension is too high for the cardboard's modulus of elasticity. Reinforce the back with a second layer of cardboard glued with the grain running perpendicular.
- Slipping Warp: If the yarn pops out of the notches, they are too shallow. Use a jeweler's saw or a craft knife to deepen the V-cut by two millimeters.
Studio Organization: To prevent degradation, store your Simple Weaving Looms in a vertical file organizer or a dedicated portfolio binder. This prevents the "teeth" of the notches from being crushed by the weight of other supplies.
THE FINAL REVEAL
Look at that! You have successfully navigated the physics of tension and the geometry of textiles. Your finished piece is not just a collection of yarn; it is a testament to the structural properties of cardboard and your own precision. The texture is even, the edges are straight, and the "hand" of the fabric feels professional. There is a specific kind of magic in realizing that a discarded box and some leftover string can produce a piece of art with such high tactile value. You have mastered the loom; now go forth and weave your masterpiece!
STUDIO QUESTIONS
How do I choose the right cardboard?
Select double walled corrugated cardboard with a visible "C-flute" pattern. This provides the highest moment of inertia, preventing the loom from bending under the significant vertical tension required for a clean, professional weave.
What is the best yarn for beginners?
Start with a medium weight, non elastic cotton or wool blend. Avoid "roving" or highly stretchy synthetics for your first warp, as they make it difficult to maintain consistent tension calibration across the frame.
Can I reuse a cardboard loom?
Yes, provided you burnish the notches with a bone folder to prevent fiber breakdown. If the notches become soft, a quick coat of clear nail polish or PVA glue will restore the necessary material hardness.
Why is my weaving getting narrower?
This is caused by excessive lateral tension. Always lay your weft in an arc before "beating" it down. This ensures there is enough slack to wrap around the warp without pulling the sides inward.

