
The scent of toasted cedar hits your nose before the first plume of smoke even curls into the air. There is something deeply primal and satisfying about pressing a glowing metal nib into a raw, pale disc of wood. You are not just drawing; you are physically altering the molecular structure of the cellulose fibers through intense heat. If you are ready to master beginner pyrography art, you have to stop thinking like a sketch artist and start thinking like a thermal engineer. We are working with the lignin in the wood, which acts as a natural plastic that softens and browns under the precise application of heat. It is a tactile dance between the scorching tip of your pen and the porous surface of the coaster. You can feel the resistance of the grain as the nib glides across the earlywood and latewood. This is about more than just making a mark; it is about understanding the thermal conductivity of your material to create something permanent, beautiful, and functional for your coffee table.
THE STUDIO KIT
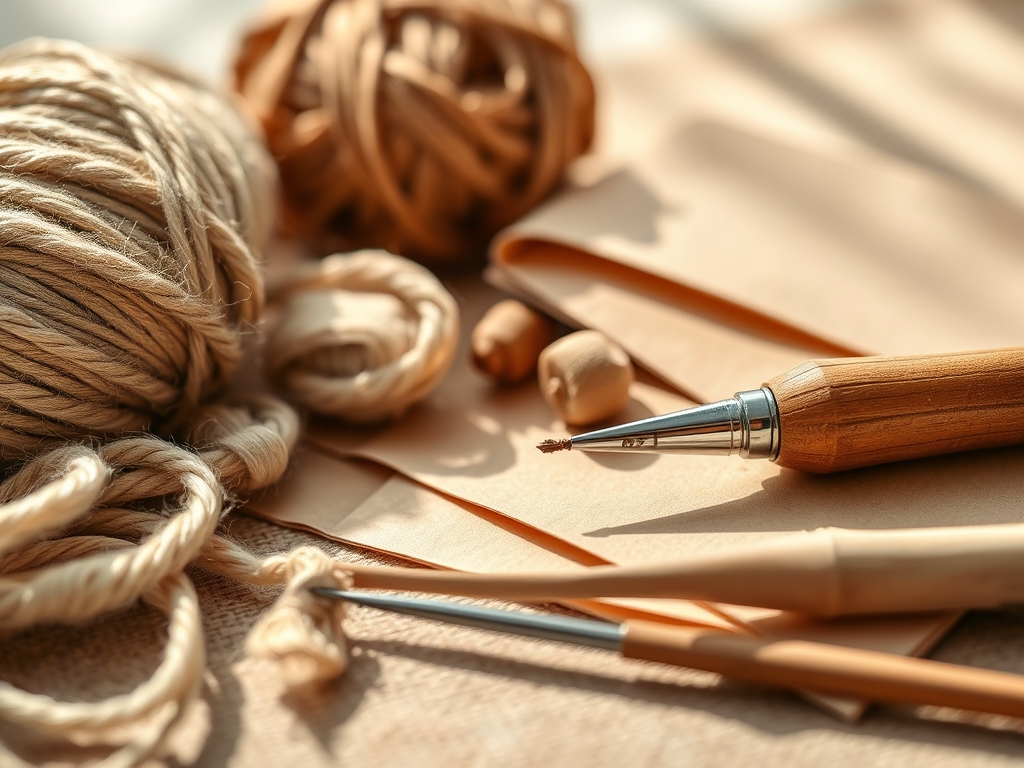
To execute high-level beginner pyrography art, your kit needs to be more than a hobby store wood burner. You need a solid-point burner or a wire-nib station with variable temperature control. A fixed-heat tool is like driving a car with only one speed; you need the ability to adjust the wattage based on the density of the wood. For coasters, Basswood or Birch rounds are the gold standard because they have a tight, consistent grain and low resin content. If you use resinous woods like pine, the sap will boil and create erratic, messy burns.
You will also need a set of calipers to ensure your design is perfectly centered on the circular canvas. A sandpaper progression (120, 220, and 400 grit) is non-negotiable for achieving a glass-like surface that prevents the nib from jumping. For material substitutions, if you cannot find basswood, look for Poplar or even high-density Cork. However, be aware that cork has a much lower scorch point, requiring a lighter touch and faster hand speed. Keep a brass brush nearby to clean carbon buildup off your tips, as carbon acts as an insulator and will ruin your heat consistency.
THE TEMPO
The "Maker's Rhythm" is a state of flow where your hand speed matches the heat output of the tool. For a standard set of four coasters, expect to spend approximately 20 minutes on surface preparation, 15 minutes on design transfer using graphite paper, and 45 to 60 minutes per coaster for the actual burning. The finishing process, including the application of a heat-resistant sealant, requires a 24-hour cure time. Pyrography is a slow-burn hobby. If you rush the stroke, the line will be faint and jagged. If you linger too long, the heat will bleed into the surrounding fibers, creating a "halo" effect that destroys your crisp edges. You must find the cadence where the wood yields to the heat just as you move the pen forward.
THE CORE METHOD
1. Surface Preparation and Leveling
Before the heat ever touches the wood, you must sand the coaster until it feels like satin. Start with a coarse grit and work your way up to 400 grit. This removes the "fuzz" of the grain. After sanding, use a damp cloth to "raise the grain," let it dry, and sand one last time with the highest grit.
Mastery Tip: This process addresses the hygroscopic nature of wood. By raising the grain and sanding it back, you ensure that the fibers do not swell and distort when you apply a finish later, preserving the structural integrity of your fine lines.
2. Transferring the Blueprint
Use a stylus or a dull pencil to trace your design onto the wood through graphite paper. Do not press too hard; you do not want to create physical grooves in the wood, as the burner tip will naturally fall into these ruts like a train on tracks.
Mastery Tip: Wood has a specific tensile strength across the grain. If you dent the surface during transfer, you are compressing the cells, which changes how they react to heat and can cause uneven carbonization.
3. Outlining with the Universal Tip
Hold your burner like a pen but with a lighter grip to maintain ergonomic control. Start with your lightest lines first. Always pull the pen toward you rather than pushing it away to maintain a smooth, steady pressure.
Mastery Tip: This is about managing capillary action. If the wood is too porous, the heat will "wick" along the grain lines. Keeping a light touch prevents the heat from penetrating too deeply into the vascular bundles of the wood.
4. Shading and Gradient Depth
Switch to a spoon shader or a rounded nib. Lower your temperature and use a circular motion to build up layers of brown. Think of it like watercolor painting; you can always add more heat, but you cannot take it away once the wood is charred.
Mastery Tip: This relies on thermal mass. The larger surface area of the shader tip distributes heat more evenly, allowing for a gradual transition of tones without scorching the surface.
5. Texturing and Detail
Use a micro-point nib to add "pop" to your beginner pyrography art. Small dots or short, flicking strokes can simulate fur, stone, or water. This is where you use the gauge of the wire to your advantage to create microscopic contrast.
Mastery Tip: Fine details require high thermal precision. If your tip is too hot, the radiant heat will burn the area around the point before the point even touches the wood.
6. Sealing for Longevity
Since these are coasters, they will face moisture. Use a polyurethane or a food-safe butcher block oil to seal the wood. Apply in thin layers, buffing with a lint-free cloth between coats to maintain the burnished look of the art.
Mastery Tip: The sealant creates a hydrophobic barrier. Without it, the wood would absorb condensation from drinks, causing the fibers to expand and eventually cracking your beautiful artwork.
THE TECHNICAL LEDGER
Maintenance & Longevity: To keep your burner in top shape, never use pliers to change tips while they are hot, as this can strip the threads. Use a honing compound on a leather strop to keep the tips polished. This reduces friction and prevents the wood from "dragging."
Material Variations:
- Sustainable: Bamboo is a great eco-friendly option, though its high silica content will dull your nibs faster.
- Premium: Cherry wood offers a gorgeous reddish hue when burned but requires high heat due to its density.
- Recycled: Slices from fallen orchard branches provide a rustic, "live edge" look.
The Correction:
- The Blob: If you leave a dark spot, do not panic. Use a curved scalpel or a sharp X-Acto blade to gently scrape away the charred fibers until you reach fresh wood.
- The Bleed: If the burn spreads, sand the area with 400 grit sandpaper wrapped around a small dowel for precision.
- The Fade: If your lines look grey instead of black, your temperature is too low. Increase the voltage slightly and slow down your hand speed.
Studio Organization: Store your finished coasters in a cool, dry place. Avoid direct sunlight, as UV rays will cause the wood to "tan" over time, reducing the contrast between the burned art and the natural wood.
THE FINAL REVEAL
Look at that! You have successfully navigated the physics of fire and fiber. Your beginner pyrography art coasters are not just household items; they are a testament to your control over the elements. The way the dark, carbonized lines sit against the creamy grain of the wood is nothing short of sophisticated. You have mastered the Maker's Rhythm, and now you have a functional set of art that is ready to handle the heat of a coffee mug or the condensation of a cold glass. The texture is smooth, the lines are crisp, and the satisfaction is permanent.
STUDIO QUESTIONS
What is the best wood for beginner pyrography art?
Basswood is the premier choice for beginners. It features a tight, inconspicuous grain and a pale color that provides high contrast. Its low resin content ensures a clean burn without excessive smoke or "bleeding" of the design.
How do I prevent my wood burning tips from turning black?
Carbon buildup is inevitable but manageable. Use a brass brush or a specialized cleaning cloth while the tip is warm to gently scrub away residue. Keeping tips polished reduces friction and ensures consistent heat transfer during your project.
Can I use a regular pencil to sketch my design?
Yes, but use a light touch. Standard graphite (HB) is fine, but avoid heavy "B" pencils as the excess graphite can smear and interfere with the burn. Always sand away any remaining pencil marks before applying your final sealant.
Is wood burning smoke dangerous to breathe?
Yes, you should always work in a well-ventilated area. Some woods contain natural oils or sap that can be irritating. Use a small fan to blow smoke away from your face or wear a mask designed for fine particulates.

