
The smell of fresh cedar shavings and the cool, heavy weight of a brass caliper in your hand are more than just sensory perks; they are the fundamental building blocks for nurturing artistic vision. When you press a bone folder against a sheet of high-grammage cotton paper, you are feeling the literal resistance of cellulose fibers interlocking under pressure. This tactile feedback is the heartbeat of the creative process. It is about understanding how a material breathes and bends before you ever apply a drop of ink or a stitch of thread. We are diving deep into the physics of the craft today because your style is not just a vibe; it is a calculated mastery of your medium. By focusing on the structural integrity of your ideas, you transform a fleeting thought into a tangible masterpiece. We are going to treat your artistic growth like a high-end engineering project, where every prompt is a blueprint and every tool is a precision instrument designed to sharpen your unique aesthetic edge.
THE STUDIO KIT
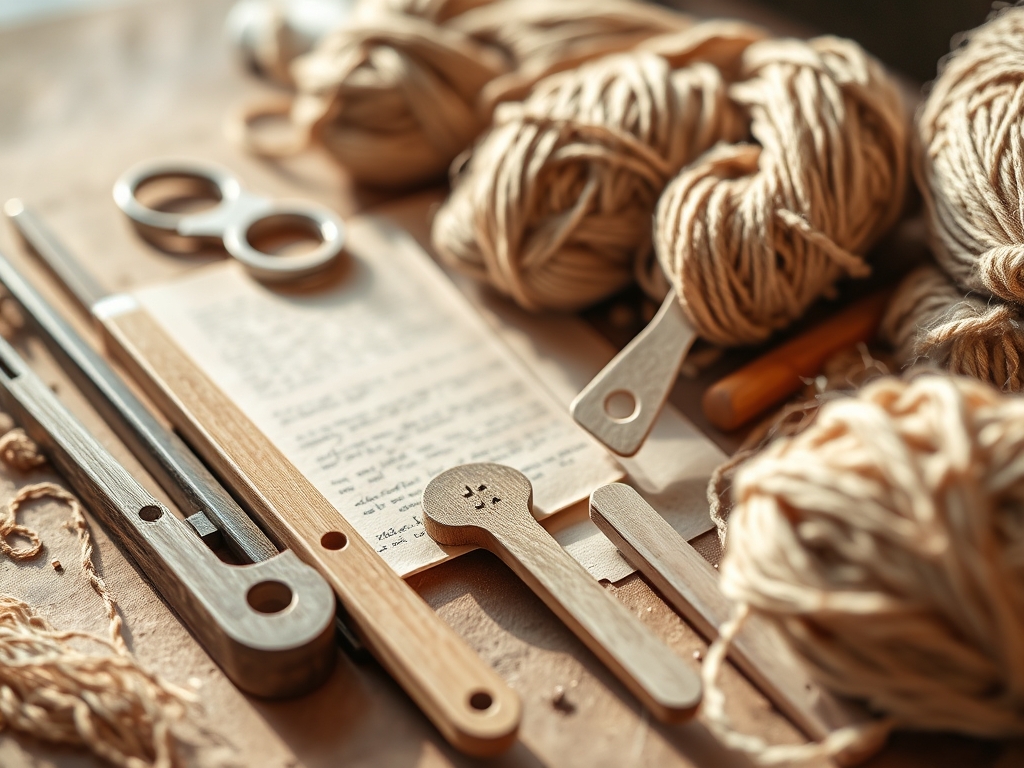
To build a legacy of style, you need a kit that respects the laws of physics. Start with a precision awl for creating pilot holes; this prevents the grain of your material from splintering or tearing under stress. You will also need a rotary cutter with a tungsten carbide blade to ensure clean, molecularly sharp edges on your textiles or papers. For measuring, skip the plastic ruler and grab a stainless steel machinist square. This ensures your angles are true to ninety degrees, which is vital for structural stability in three-dimensional pieces.
Material Substitutions: If you cannot find high-density archival board, you can use pressed birch plywood for a similar rigid substrate. If professional-grade burnishing cream is out of reach, a high-viscosity beeswax compound works beautifully to seal edges and protect the fibers from atmospheric moisture. Always choose materials with a known tensile strength to ensure your work does not degrade over time.
THE TEMPO
The "Maker's Rhythm" is a three-phase cycle that balances cognitive load with physical execution. The first phase is the Incubation Period, which takes roughly forty-eight hours. This is when your brain processes the technical constraints of the project. Next is the Active Construction Phase, a four-to-six-hour window of deep focus where the "flow state" occurs. During this time, your fine motor skills are most acute. Finally, the Curing Phase requires twenty-four hours of stillness. Whether you are waiting for adhesive to polymerize or paint to oxidize, rushing this stage compromises the bond at a microscopic level. Respecting this tempo ensures that your artistic vision is supported by a foundation of technical excellence.
THE CORE METHOD
1. The Tactile Blueprint
Begin by mapping out your vision using a high-gauge graphite pencil on a porous surface. This allows the lead to bond with the tooth of the paper, creating a blueprint that won't smudge during the construction process. Observe the alignment in the step-by-step photos below to see how the initial grid dictates the final form.
Mastery Tip: Understand surface tension. When applying any liquid medium to your blueprint, the way the liquid beads or spreads is determined by the energy of the substrate. Pre-treating your surface can lower this tension for smoother application.
2. Calibrated Cutting
Use your rotary cutter to execute long, continuous strokes. Stopping mid-cut creates "micro-tears" that weaken the edge. By maintaining a constant downward pressure, you ensure the blade shears through the fibers simultaneously rather than dragging them.
Mastery Tip: This is about shear force. A sharp blade requires less pressure, which prevents the material from compressing and distorting your measurements.
3. The Structural Fold
When creating a crease, always use a bone folder to compress the fibers. This creates a permanent "memory" in the material. If you are working with wood or heavy cardstock, you must score the material first to prevent the outer grain from cracking under the tension of the bend.
Mastery Tip: This involves tensile stress. Scoring the material redistributes the stress along a controlled line, ensuring the integrity of the fold remains intact.
4. Adhesive Polymerization
Apply your bonding agent in a thin, even layer. Using too much adhesive introduces excess moisture, which can cause the fibers to swell and warp. Use a brayer to press the two surfaces together, forcing out any microscopic air pockets.
Mastery Tip: This relies on capillary action. The adhesive needs to draw into the pores of the material to create a mechanical bond. Excess glue sits on the surface and creates a weak, brittle joint.
5. Precision Burnishing
Once the bond is set, use a smooth tool to burnish the edges. This friction generates a small amount of heat, which can soften waxes or fibers, allowing them to fuse into a singular, polished surface that resists fraying.
Mastery Tip: This process utilizes friction-induced thermal bonding. It smooths the microscopic "fuzz" of the material, creating a hydrophobic barrier that protects the edge.
6. Grain Alignment
When layering materials, always align the grain direction. If the grains are perpendicular, the materials will fight each other as they expand and contract with humidity, leading to bowing or delamination.
Mastery Tip: This is the science of hygroscopic expansion. Materials grow and shrink along the grain; aligning them ensures they move as a single unit.
7. The Final Calibration
Use your calipers to check the thickness and symmetry of your piece. Even a half-millimeter deviation can throw off the visual balance and structural weight of the finished product.
Mastery Tip: This focuses on dimensional stability. Checking your work at every stage prevents cumulative errors that are impossible to fix later.
8. Atmospheric Sealing
Apply a final fixative or sealant to lock in the moisture content. This prevents the environment from leaching the natural oils out of your materials, which leads to brittleness and yellowing.
Mastery Tip: This creates a vapor barrier. By sealing the pores, you stop the exchange of gases and moisture, significantly increasing the lifespan of the work.
THE TECHNICAL LEDGER
Maintenance & Longevity: To keep your piece in gallery condition, avoid direct UV exposure, which breaks down chemical bonds in pigments and fibers. Dust with a natural hair brush to avoid scratching the burnished surfaces.
Material Variations:
- Sustainable: Use cork or recycled hemp fibers for high durability with a low carbon footprint.
- Premium: Opt for top-grain leathers or heavy-weight vellum for maximum tactile luxury.
The Correction:
- The Warp: If your substrate bows, lightly mist the concave side with distilled water and press under a heavy weight to re-level the fibers.
- The Tear: Use a reversible pH-neutral mending tissue to bridge the gap; this restores tensile strength without adding bulk.
- The Bleed: If ink spreads too far, use a fiberglass eraser to physically lift the pigmented fibers from the surface.
Studio Organization: Store your materials in a climate-controlled environment with a consistent humidity of 40 to 50 percent. Use acid-free sleeves for flat storage to prevent acid migration between different material types.
THE FINAL REVEAL
Look at that! You have successfully navigated the complex physics of creation to produce something that is both structurally sound and aesthetically brilliant. By nurturing artistic vision through the lens of technical mastery, you have moved beyond "crafting" and into the realm of true engineering. Your piece has a professional weight, a clean finish, and the kind of durability that ensures your style will be seen for years to come. The way the light hits those burnished edges is pure magic.
STUDIO QUESTIONS
How do I prevent my paper from warping?
Control the moisture content by using a dry mount adhesive or a high-viscosity glue. Apply pressure with a heavy, flat weight during the drying process to ensure the fibers set in a perfectly flat orientation.
What is the best way to sharpen my tools?
Use a diamond whetstone with a consistent honing guide. Maintaining a precise bevel angle on your blades ensures that they slice through material fibers cleanly rather than crushing them, which preserves the structural integrity of your edges.
Can I mix different types of adhesives?
It is generally discouraged unless the chemical bases are compatible. Mixing a water-based glue with a solvent-based one can lead to "phase separation," resulting in a weak bond that will eventually fail under environmental stress.
Why does grain direction matter so much?
Materials like paper and wood are anisotropic, meaning they have different strengths in different directions. Aligning the grain ensures that any expansion due to humidity happens uniformly, preventing the piece from twisting or cracking over time.
How do I fix a mistake in a finished piece?
Use a "surgical" approach by isolating the error. For surface marks, a precision sander or specialized eraser can remove the top layer of fibers without compromising the entire structure. Always test your fix on a scrap piece first.

