
Imagine the scent of warm, raw botanical wax hitting the air as you stand over your kitchen counter; it is a moment of pure alchemy. Getting into first time candle pouring is not just about melting a block of paraffin and hoping for the best. It is a high stakes game of molecular physics where you are the master of thermal expansion and contraction. You can feel the grainy, tactile texture of the soy flakes between your fingers before they hit the heat. This is the starting line of a craft that demands precision. If you get the temperature wrong by even five degrees, you risk a frosted surface or a sunken center that looks like a crater on the moon. We are going to dive deep into the science of scent throw and crystalline structures. You need to treat your wax like a delicate alloy. We are not just making light; we are engineering an atmospheric experience using heat as our primary tool. Grab your gear, because your studio is about to get very scientific.
THE STUDIO KIT

To execute a professional grade pour, you need more than a pot and a spoon. You need an infrared thermometer for instant surface readings and a long stem digital probe to monitor the core temperature of the melt pool. Your primary material is likely a natural soy or beeswax blend. Soy wax has a lower melting point and a high tensile strength once cured, making it less likely to shatter if dropped. You will also need a heavy gauge seamless pouring pitcher; aluminum is preferred for its rapid thermal conductivity. For the wick, forget cheap string. You need a braided cotton or wood wick that utilizes capillary action to draw the liquid fuel upward at a consistent rate.
If you are looking for material substitutions, you can swap a professional melting pot for a double boiler setup to prevent scorching the wax. Instead of a specialized centering tool, a set of calipers or even a simple clothespin can ensure your wick stays perfectly vertical. Do not forget your scale. We measure everything by weight, not volume, because the density of wax changes significantly as it transitions from a solid to a liquid state.
THE TEMPO
The "Maker's Rhythm" is all about patience and timing. You cannot rush the thermal cooling curve. Expect to spend about twenty minutes on the initial melt, reaching that crucial 185 degree Fahrenheit mark. Once the wax is liquid, you enter the "Holding Phase" for ten minutes to allow the temperature to drop before adding fragrance. The actual pour takes seconds, but the "Setting Phase" requires a full twenty four to forty eight hours. This is where the crystalline lattice of the wax stabilizes. If you move the jar during this window, you disrupt the structural integrity of the candle, leading to internal air pockets and an uneven burn later on.
THE CORE METHOD
1. The Thermal Peak
Heat your wax to exactly 185 degrees Fahrenheit. This is the universal sweet spot where the wax molecules expand enough to fully accept the fragrance oil.
Mastery Tip: At this temperature, the intermolecular spaces in the wax are at their widest. If you add oil when the wax is too cool, the fragrance will not bind chemically and will instead "leak" out of the bottom of your finished candle.
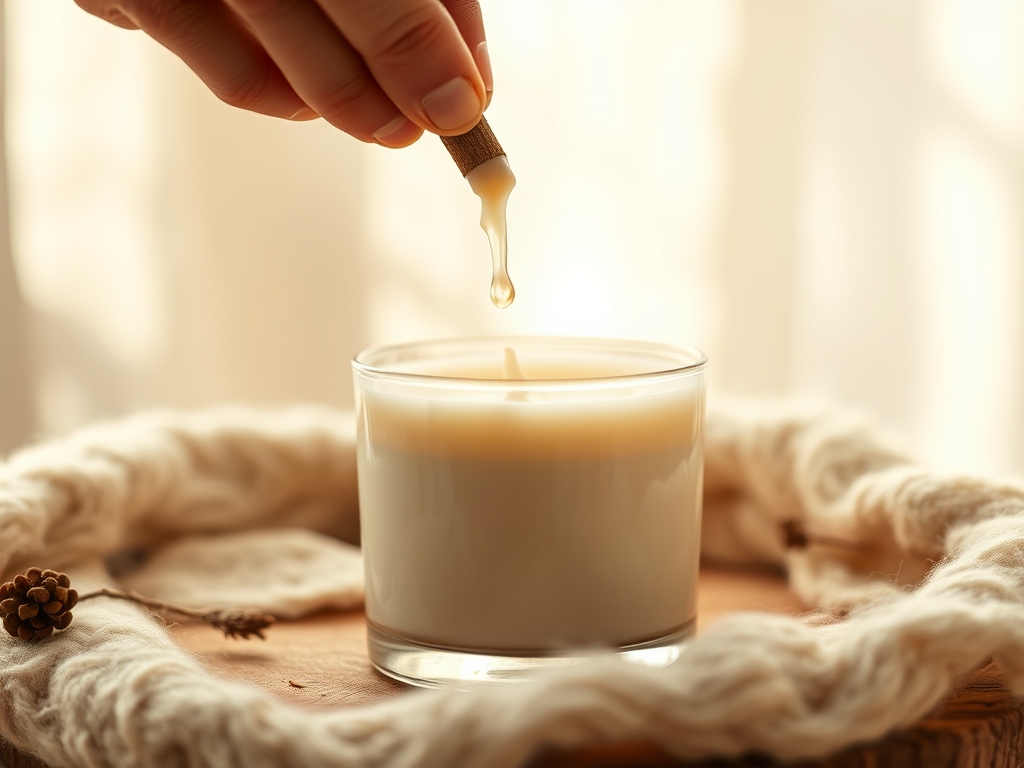
2. The Fragrance Fusion
Add your scent and stir gently but thoroughly for two full minutes. Avoid vigorous whisking which introduces unwanted oxygen and creates bubbles.
Mastery Tip: This process relies on solubility physics. You are creating a homogenous solution. If you do not stir long enough, the denser fragrance oil will settle at the bottom, leading to a "flash point" risk where the candle could flare up.
3. The Cooling Descent
Monitor the wax as it cools to the specific pour temperature recommended for your wax type, usually between 135 and 145 degrees.
Mastery Tip: This stage manages the shrinkage rate. Pouring too hot causes the wax to pull away from the glass as it cools, creating "wet spots" or gaps. Pouring at the right temperature ensures maximum adhesion to the container walls.
4. The Precision Pour
Pour the wax slowly into the center of your preheated glass jar. Preheating the glass to about 100 degrees prevents a "thermal shock" that causes the wax to pull away instantly.
Mastery Tip: This step utilizes fluid dynamics. A slow, steady stream minimizes the entrapment of air. By controlling the flow rate, you ensure that the wax settles in even, horizontal layers without creating a convex surface.
5. The Cure Lock
Secure the wick and let the candle sit in a draft free zone at room temperature. Cover the top with a box to trap a small amount of heat and slow the cooling process even further.
Mastery Tip: Slow cooling encourages uniform crystallization. When wax cools too fast, the outer edges harden while the center remains liquid, leading to "sinkholes" around the wick due to the vacuum created by contracting molecules.
THE TECHNICAL LEDGER
Maintenance of your equipment is vital for longevity. Always wipe your pouring pitcher with a paper towel while it is still warm; once wax hardens, it becomes a porous trap for dust and old scents. For material variations, premium brands often use coconut wax for a superior "cold throw," while sustainable makers opt for recycled tallow or rapeseed wax.
The Correction:
- Sinkholes: If a hole forms near the wick, use a heat gun to melt the top layer. The liquid wax will fill the void and reset the surface.
- Frosting: If white crystals appear on the sides, your room was too cold. Next time, wrap the jars in towels to insulate the cooling process.
- Weak Scent: You likely added fragrance at too low a temperature. Ensure you hit that 185 degree mark to "lock" the scent into the wax structure.
For studio organization, store your bulk wax in a cool, dark, airtight container. UV light and humidity are the enemies of wax; they degrade the ply and chemical stability of the material, leading to a yellowed appearance and a rancid smell over time.
THE FINAL REVEAL
There is nothing quite like the sight of a perfectly smooth, creamy candle top that you engineered yourself. When you strike that first match, you are seeing your mastery of combustion science in action. The flame should be steady, the melt pool should reach the edges of the jar in about two hours, and the scent should fill the room without being cloying. You have successfully navigated the transition from raw materials to a finished, functional piece of art. It is tactile, it is beautiful, and most importantly, it is technically sound.
STUDIO QUESTIONS
What is the best temperature to add fragrance oil?
You should add fragrance oil at 185 degrees Fahrenheit. This ensures the wax molecules are sufficiently expanded to create a permanent chemical bond with the oil, preventing "sweating" and ensuring a consistent scent throw throughout the life of the candle.
Why did my candle pull away from the glass?
This is caused by rapid contraction during cooling. To fix this, preheat your glass containers in a low oven before pouring and ensure your workspace is at least 70 degrees. This slows the cooling rate and improves wax adhesion.
Can I use a microwave to melt my wax?
While possible, it is not recommended for precision work. Microwaves create "hot spots" that can degrade the wax's molecular structure. A double boiler provides the consistent, even heat distribution necessary for maintaining the chemical integrity of the botanical oils.
How long should I wait before lighting my candle?
For soy wax, a cure time of seven to fourteen days is ideal. This allows the fragrance oils to fully "mellow" and integrate into the wax lattice, resulting in a much stronger and more sophisticated scent throw when burned.
What causes a candle to smoke or soot?
Smoking is usually a result of a wick that is too large for the container or not trimmed properly. A long wick creates a flame that consumes more fuel than it can cleanly burn, leading to carbon buildup and soot.

