

Grab your favorite espresso and clear the workbench because we are about to dive into the tactile world of Simple Paper Cutting. There is something profoundly satisfying about the resistance of a heavy cardstock against a fresh blade. You can feel the molecular structure of the cellulose fibers yielding as you glide through a curve. When we talk about Simple Paper Cutting, we are not just talking about elementary shapes; we are discussing the mastery of negative space and the structural integrity of the page. It is a dance between the tensile strength of the paper and the precision of your hand. You can actually hear the crisp snap of a clean cut when your blade is perfectly perpendicular to the cutting mat. That sound is your confirmation that the grain of the paper is cooperating with your design. We are going to transform a flat, two dimensional sheet into a complex masterpiece that plays with shadow and light. It is high science disguised as high art, and I promise you will never look at a blank sheet of paper the same way again.
THE STUDIO KIT
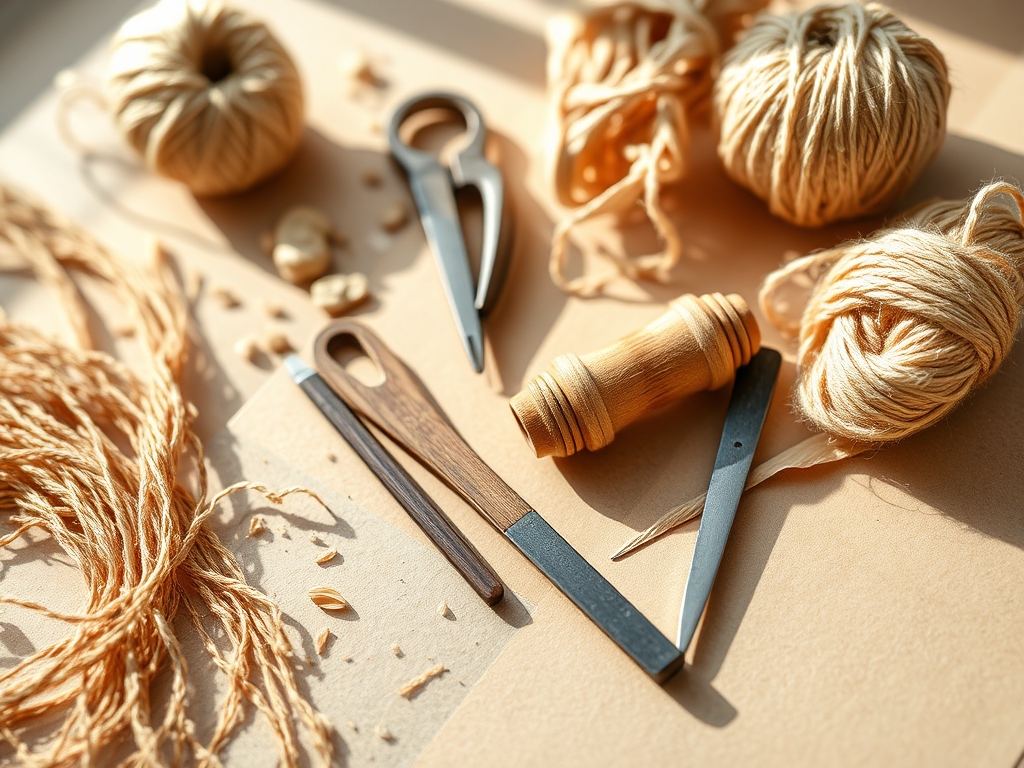
To achieve professional results, you need to curate your toolkit with the precision of a surgeon. Your primary instrument is a high carbon steel hobby knife with a textured, ergonomic grip to prevent hand fatigue during long sessions. For the paper, look for a 160 GSM (grams per square meter) acid free cardstock. This specific weight provides enough tensile strength to hold intricate bridges without sagging, yet it remains thin enough for a single pass cut. You will also need a self healing PVC cutting mat; these mats have a "memory" that allows the surface to close back up after a cut, ensuring your blade does not get caught in old grooves.
A heavy brass ruler is essential for straight lines because its weight prevents lateral slipping. For the finer details, keep a bone folder nearby to burnish any edges that might have lifted. If you want to get really technical, use a pair of digital calipers to ensure your border widths are consistent to the millimeter. For material substitutions, if you cannot find premium cardstock, you can use heavy watercolor paper, though be aware that its high cotton content makes it more porous and prone to fraying. Avoid standard printer paper at all costs; its low density leads to "tearing" rather than "cutting" when you attempt intricate radii.
THE TEMPO
The "Maker's Rhythm" is all about managing your cognitive load and physical stamina. Simple Paper Cutting is a marathon, not a sprint. You should allocate roughly forty five minutes for the conceptual phase where you map out your bridges. The actual cutting phase for a standard eight by ten inch piece usually takes three to five hours of active focus. I recommend working in twenty minute bursts followed by a five minute stretch to reset your ocular focus.
Your tempo will naturally fluctuate. You will find a fast, rhythmic pace for long, sweeping exterior lines, but you must downshift into a slow, deliberate crawl for the internal apertures. This is the viscoelastic nature of your own muscles at work. If you rush the delicate intersections, you risk overshooting the corner, which compromises the structural integrity of the entire lattice. Listen to the paper; if it starts to "drag," it is time to snap off a fresh blade tip.
THE CORE METHOD
1. Mapping the Structural Lattice
Before the first cut, you must identify the "bridges" that will hold your design together. Use a hard 2H pencil to lightly mark the areas of negative space. This stage is about engineering; you are ensuring that no part of the design becomes an "island" that falls out of the frame.
Mastery Tip: Understand grain direction. Just like wood, paper has a grain formed during the manufacturing process. Cutting parallel to the grain requires less force, while cutting perpendicular offers more resistance. Test your scrap paper to find the grain before you begin your final piece.
2. The Interior Aperture Priority
Always start your cuts from the center of the design and work your way outward. This keeps the maximum amount of paper attached to the main sheet for as long as possible, providing the necessary surface tension to keep the paper from shifting or buckling while you work on tiny details.
Mastery Tip: Use a technique called "draw cutting." Instead of pushing the blade, you pull it toward your body using your shoulder and elbow rather than just your wrist. This provides a more stable mechanical advantage and smoother arcs.
3. Executing the Acute Angle
When two lines meet at a sharp point, always cut away from the corner. Start your blade at the very tip of the vertex and pull outward. This prevents the blade from "bunching" the paper fibers at the most delicate point of the design.
Mastery Tip: This method utilizes compressive strength. By starting at the corner, you are not pushing force into a weakened point, which prevents the tip of your design from tearing or lifting during the process.
4. Managing Tangential Curves
For circular elements, do not rotate your wrist; rotate the paper itself. Keep your knife hand steady at a consistent angle and use your non dominant hand to pivot the cutting mat. This ensures the blade maintains a constant shear force against the fibers.
Mastery Tip: This utilizes the physics of centripetal acceleration. By rotating the workpiece, you maintain a consistent friction coefficient between the blade and the mat, resulting in a perfectly smooth, non jagged curve.
5. Burnishing the Bevels
Once the cuts are complete, you might notice slight "burrs" or raised edges on the back of the paper. Use a smooth bone folder to gently burnish these edges flat against a hard surface. This creates a professional, crisp finish that looks polished under glass.
Mastery Tip: Burnishing realigns the displaced cellulose fibers. By applying localized pressure, you are essentially cold welding the frayed edges back into the main body of the paper, increasing the edge's durability.
6. The Suspension Mount
To frame your art, do not glue the entire back. Use tiny dots of pH neutral adhesive or archival tape at the very top of the piece only. This allows the paper to "breathe" and expand or contract with changes in room humidity.
Mastery Tip: This accounts for hygroscopic expansion. Paper is a biological material that absorbs moisture from the air. If you glue it down completely, it will ripple and warp as the humidity fluctuates in your home.
7. Depth and Shadow Boxing
Place your cut paper roughly a quarter inch away from the backing board using foam spacers. This creates a drop shadow that emphasizes the intricate nature of your work. The shadow becomes a second, ephemeral version of your art.
Mastery Tip: This utilizes optical parallax. By creating physical distance between the art and the background, you allow light to wrap around the edges, highlighting the precision of your cuts through high contrast shadows.
THE TECHNICAL LEDGER
Maintenance of your paper art is primarily about environmental control. To prevent yellowing or "acid burn," always use archival, lignin free materials. If you notice a small tear during the process, do not use standard clear tape. Instead, use a tiny sliver of acid free tissue and a microscopic amount of methyl cellulose glue to "bridge" the gap on the reverse side.
The Correction: Technical Fixes
- The Overshoot: If you cut too far into a bridge, apply a tiny drop of archival glue with a needle. Hold the edges together until the bond sets.
- The Fray: If the paper fibers look fuzzy, your blade is dull. Switch blades immediately and lightly sand the frayed edge with a 600 grit sanding stick.
- The Ripple: If the paper warps due to hand oils, place it between two sheets of clean blotting paper and weigh it down with a heavy book for forty eight hours to flatten the moisture gradient.
For studio organization, store your finished pieces in flat, horizontal drawers. Vertical storage can cause the paper to bow under its own weight over time. Use glassine paper between layers to prevent the intricate cutouts from snagging on each other.
THE FINAL REVEAL
Look at that! You have successfully navigated the complexities of Simple Paper Cutting to create a piece that is both structurally sound and visually stunning. The way the light catches those crisp edges is absolutely ethereal. You have taken a humble sheet of cellulose and, through the application of physics and patience, turned it into a gallery worthy installation. The precision of your bridges and the smoothness of your curves are a testament to your mastery of the blade. This is not just paper; it is a calculated arrangement of void and substance.
STUDIO QUESTIONS
What is the best paper weight for cutting?
A weight between 120 and 160 GSM is ideal. It offers enough tensile strength to support intricate designs without being so thick that it requires excessive force, which can lead to slips and injuries.
How often should I change my blade?
Change your blade every thirty to sixty minutes of active cutting. As soon as you feel the paper "pulling" or see microscopic fraying on the edges, the blade's honing has diminished and it must be replaced.
Can I use a laser cutter instead?
While laser cutters are efficient, they often leave "char" marks on the edges due to the thermal degradation of the paper. Hand cutting provides a cleaner, white edge and allows for more organic control over the "vibe" of the piece.
How do I prevent hand cramps?
Maintain an ergonomic grip and do not squeeze the knife too hard. Let the sharpness of the blade do the work. Periodically stretch your carpal tendons to maintain blood flow and prevent repetitive strain during long sessions.
Why is my paper tearing on curves?
Tearing usually happens because the blade is not perpendicular to the mat or the paper density is too low. Ensure you are using a high density cardstock and rotating the paper rather than your wrist to maintain a consistent angle.

