
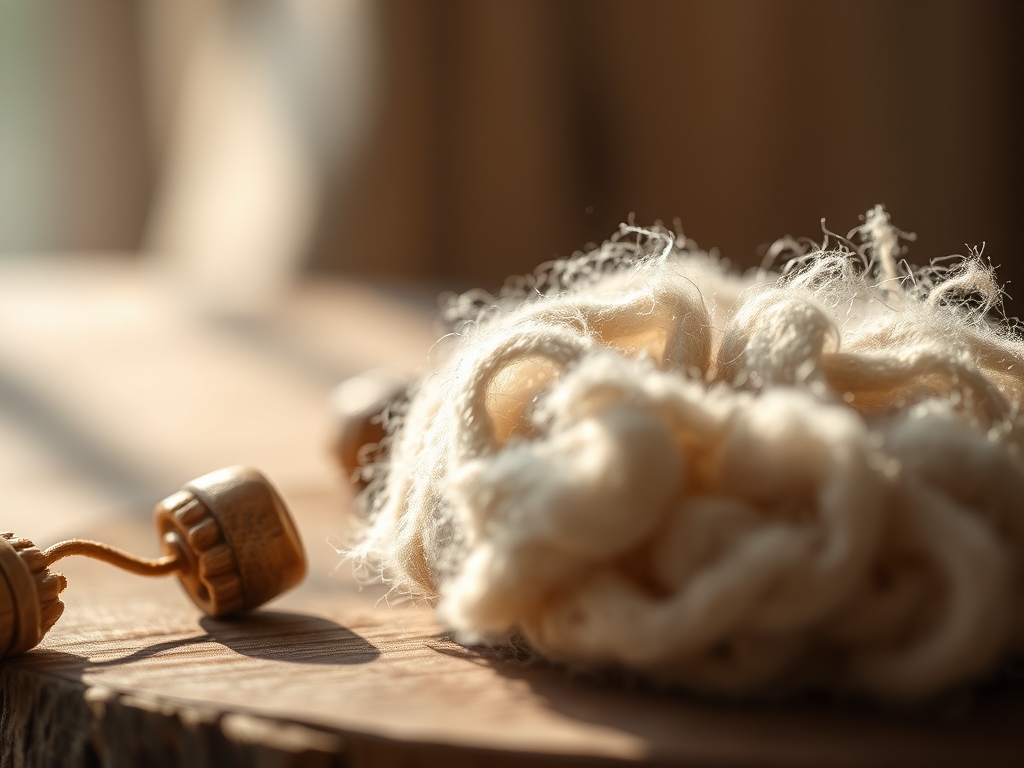
Imagine a cloud that you can actually hold; that is exactly what unspun wool roving feels like against your palms. It is soft, airy, and full of potential energy just waiting for your hands to transform it into something structural. This journey into the world of fiber arts is essentially an exercise in molecular manipulation. When you start your Intro to Felt Making, you are not just playing with fluff; you are engaging in a process of mechanical entanglement. By applying moisture, heat, and friction, you force the microscopic scales on each individual wool fiber to open up and lock together. This creates a non-woven textile that is incredibly durable and water resistant. The tactile feedback of the wool changing from a loose, porous mass into a dense, felted sheet is an addictive sensory experience. It is pure physics masked as cozy crafting. We are going to dive deep into the grit of the fibers today, turning that raw roving into a masterpiece of structural integrity and vibrant color.
THE STUDIO KIT
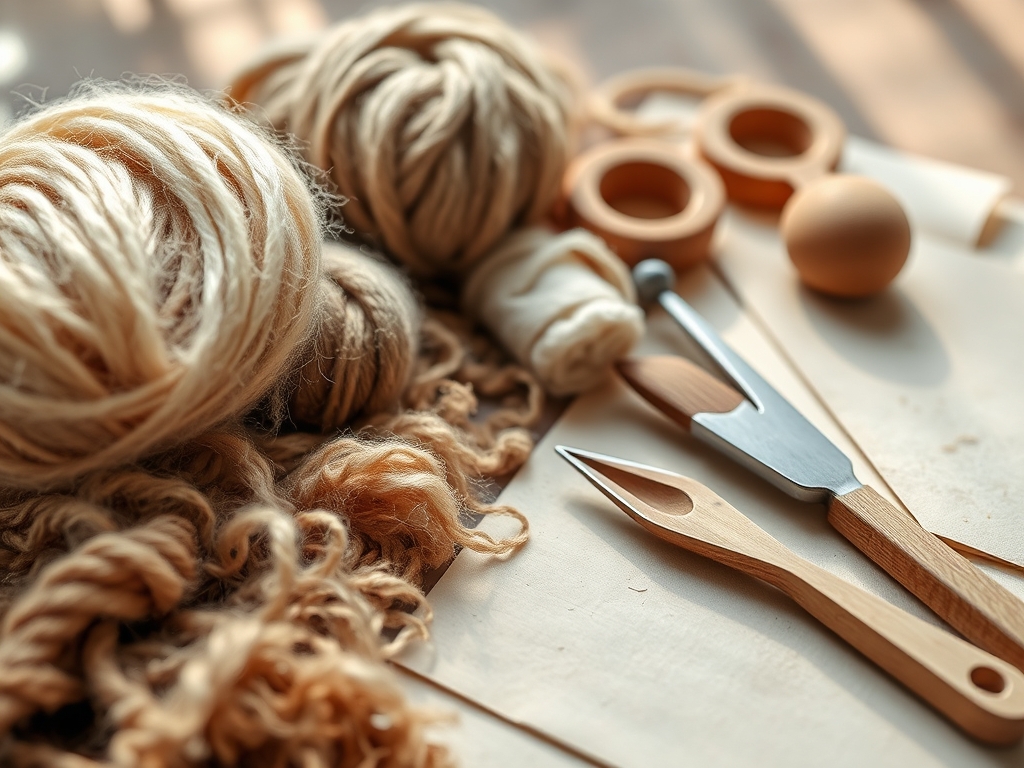
To master this craft, you need a kit that respects the tensile strength of your fibers. Your primary material is high quality wool roving, specifically Merino or Corriedale, which have a high micron count suitable for beginners. You will also need a textured friction surface, such as a heavy duty bubble wrap or a specialized washboard. A spray bottle filled with warm, slightly alkaline soapy water acts as your chemical catalyst to open the fiber cuticles. For precision work, keep a pair of calipers nearby to measure the thickness of your felt layers and a rotary cutter for achieving crisp, professional edges once the piece is dry.
If you cannot find specific roving, look for Material Substitutions like raw fleece or even recycled wool yarn that has been unraveled and brushed out with a carding tool. However, avoid synthetic fibers like acrylic for your first project. Synthetics lack the microscopic scales necessary for natural agitation, meaning they will not felt without a needle punching tool. Always choose a porous work surface that allows excess water to drain away, preventing your project from becoming a soggy, unmanageable mess.
THE TEMPO
The Maker's Rhythm is all about patience and incremental pressure. You cannot rush the entanglement phase. Expect to spend about twenty minutes on the initial layout, ensuring your fiber density is consistent across the entire surface. The wetting and initial rubbing phase takes another thirty minutes of gentle, circular motions. The real workout happens during the fulling stage, where you will spend forty five minutes to an hour aggressively rolling and tossing the felt to shrink it to its final dimensions. This is a high energy process that requires a steady cadence. If you stop halfway through, the fibers may cool and the scales will close prematurely, leading to a weak, "hairy" finish rather than a smooth, professional felt.
THE CORE METHOD
1. The Shingled Layout
Begin by pulling small, tufted lengths of roving and laying them down in a "shingle" pattern. Each row should overlap the previous one by fifty percent to ensure there are no gaps in the final textile.
Mastery Tip: Pay close attention to the grain direction. Lay your first layer horizontally and your second layer vertically. This cross hatching creates a multidimensional web that increases the lateral tensile strength of the felt, preventing it from pulling apart under stress.
2. The Saturation Point
Mist your fiber layers with warm soapy water until they are thoroughly damp but not swimming. Use a piece of fine mesh or netting over the wool to keep the delicate layout from shifting as you apply the liquid.
Mastery Tip: This step utilizes capillary action. The soapy water travels deep into the fiber core, lubricating the scales so they can slide past one another before they eventually lock. Too much water will cause the fibers to float away; too little will prevent the scales from opening.
3. The Initial Agitation
With the netting still in place, use the palms of your hands to rub the surface in light, circular motions. Start with the weight of a feather and gradually increase the pressure as the fibers begin to catch on one another.
Mastery Tip: You are looking for the "pinch test" success. If you can pinch a tiny bit of wool and it stays attached to the mass rather than pulling away, you have achieved basic structural integrity.
4. The Rolling Phase
Wrap your felt tightly around a cylindrical core, like a pool noodle or a heavy PVC pipe, and roll it back and forth a hundred times. Unwrap, rotate the felt ninety degrees, and repeat.
Mastery Tip: Rolling creates directional shrinkage. By rotating the piece regularly, you ensure the felt shrinks evenly in all directions, maintaining the intended geometric proportions of your design.
5. The Fulling Shock
Once the piece has shrunk significantly, remove it from the roller and begin to "throw" it against your work table or knead it like bread dough. Rinse it in cold water, then hot water, and repeat.
Mastery Tip: This is known as thermal shock. The rapid change in temperature causes the fibers to contract violently, locking the scales into a permanent, dense bond that can no longer be reversed.
6. The Final Burnish
After the felt is fully shrunk, use a bone folder or a smooth wooden tool to rub the edges and surface. This flattens any stray fibers and gives the felt a professional, polished sheen.
Mastery Tip: Burnishing increases the surface density of the felt. It creates a smoother "hand" and makes the final product more resistant to pilling over time.
7. The Drying Mandrel
Shape your wet felt over a form or mandrel to dry. If you are making a bowl or a hat, this ensures it retains its three dimensional shape as the moisture evaporates.
Mastery Tip: As water leaves the fibers, the hydrogen bonds strengthen. Drying the felt in a specific position "sets" the molecular memory of the wool, ensuring it stays in that shape forever.
8. Edge Refinement
Use your rotary cutter or a sharp pair of shears to trim away any uneven "fringe" from the edges of your piece. This creates a clean, architectural silhouette.
Mastery Tip: Trimming the edges reveals the internal ply of your felt. If you see layers that are not fully integrated, you may need to return to the fulling phase for more agitation.
9. The Surface Detail
For the final touch, use an awl to poke holes for hardware or a jeweler's saw to cut intricate patterns into thick, industrial grade felt.
Mastery Tip: High quality felt behaves much like soft wood or leather. It can be drilled, sanded, or even carved without unraveling, thanks to the intense mechanical interlocking of the fibers.
THE TECHNICAL LEDGER
Maintenance & Longevity: To keep your felted items pristine, avoid machine washing. If the surface becomes fuzzy, use a sharp razor to gently shave away pills. Store your items with cedar blocks to prevent moth damage, as natural wool is a protein fiber that pests find delicious.
Material Variations: For a sustainable approach, seek out "climate beneficial" wool from regenerative farms. If you want a luxury finish, blend your wool roving with silk or bamboo fibers; these add a lustrous sheen and increase the drape of the finished textile.
The Correction:
- Thin Spots: If you find a hole, lay a small patch of dry roving over the area while the piece is still wet and re-rub vigorously to graft the fibers together.
- Limp Felt: If the felt is too soft, it hasn't been fulled enough. Return it to the hot water and roll it with more pressure.
- Puckering: This happens when layers are uneven. Use a bone folder to aggressively burnish the high spots until they flatten.
Studio Organization: Store your roving in airtight clear bins categorized by micron count and color. Never store wool in damp areas; moisture can lead to mildew which degrades the tensile strength of the fibers before you even begin your project.
THE FINAL REVEAL
Look at that! You have successfully turned a pile of fluff into a dense, structural piece of art. The transition from separate, wispy fibers into a singular, unified textile is nothing short of magic. Your finished piece should feel firm, look smooth, and have a beautiful weight to it. Whether you made a functional vessel or a piece of wearable art, you have mastered the fundamental physics of the Intro to Felt Making. Feel that texture; it is the result of your own kinetic energy and a little bit of woolly science.
STUDIO QUESTIONS
What is the best wool for felt making?
Merino wool is the gold standard for beginners due to its fine micron count and high crimp. It felts quickly and creates a soft, smooth surface that is comfortable against the skin while maintaining excellent structural integrity.
Why is my felt falling apart?
This usually indicates insufficient agitation or a lack of heat and soap. Without these catalysts, the fiber scales remain closed and cannot interlock. Increase your friction and ensure your water is warm and slightly alkaline to successfuly engage the fibers.
Can I use synthetic fibers for wet felting?
Pure synthetics like polyester or acrylic will not wet felt because they lack the microscopic scales found on animal hair. However, you can incorporate them as surface decoration if they are trapped under a thin layer of wool roving.
How much will my wool shrink?
Expect a shrinkage rate of twenty five to forty percent. This depends on the wool type and the intensity of your fulling. Always account for this dimensional change when planning the initial layout of your project.
Do I really need to use soap?
Yes, soap acts as a surfactant. It reduces the surface tension of the water, allowing it to penetrate the wool fibers more deeply. It also helps to open the scales on the fiber shaft so they can lock together.

