
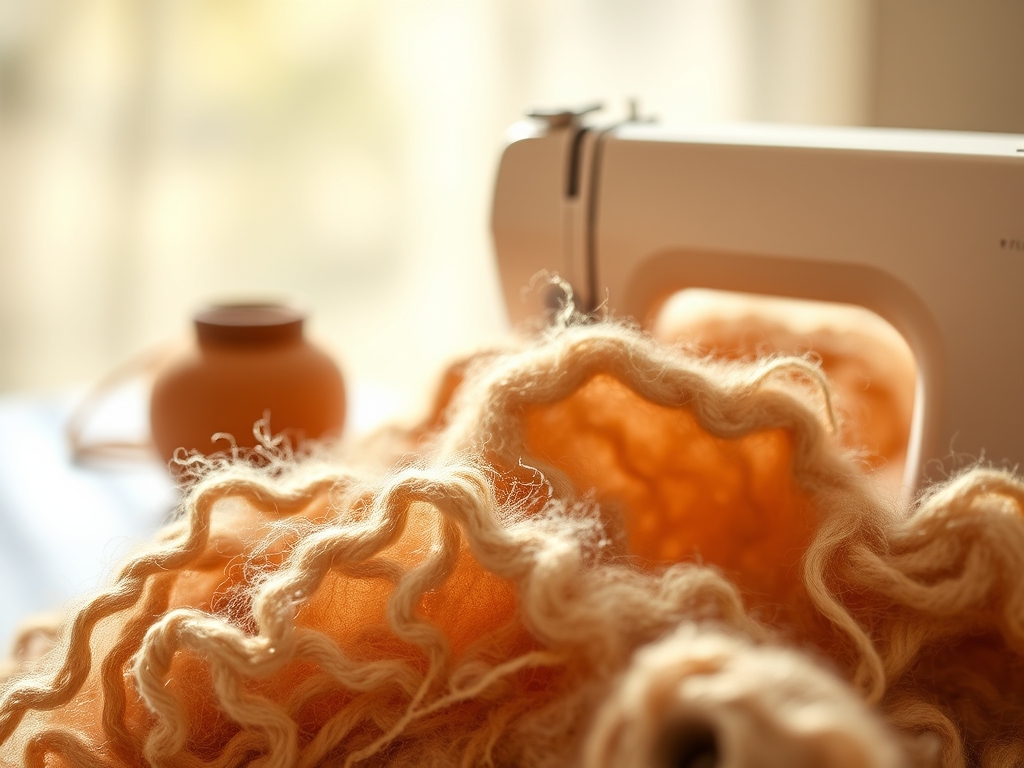
Imagine the scent of crisp cotton and the metallic hum of a machine. Your fingertips trace the weave of a heavy canvas; you can feel the individual warp and weft threads interlocking to provide structural integrity. Teaching Sewing to Beginners is not just about a straight line; it is about mastering the physics of fiber tension and the tactile joy of creation.
The friction of the thread passing through the eye of a needle creates a microscopic heat signature. When you guide a student through their first seam, you are teaching them to negotiate with the tensile strength of the fabric. It is a dance between the presser foot and the feed dogs. We are going to dive into six projects that transform raw yardage into functional art in less than eight hours. This is where the magic of the studio meets the precision of engineering. Grab your shears and clear your workbench. We are about to turn static textiles into dynamic, three dimensional objects.
THE STUDIO KIT
THE STUDIO KIT
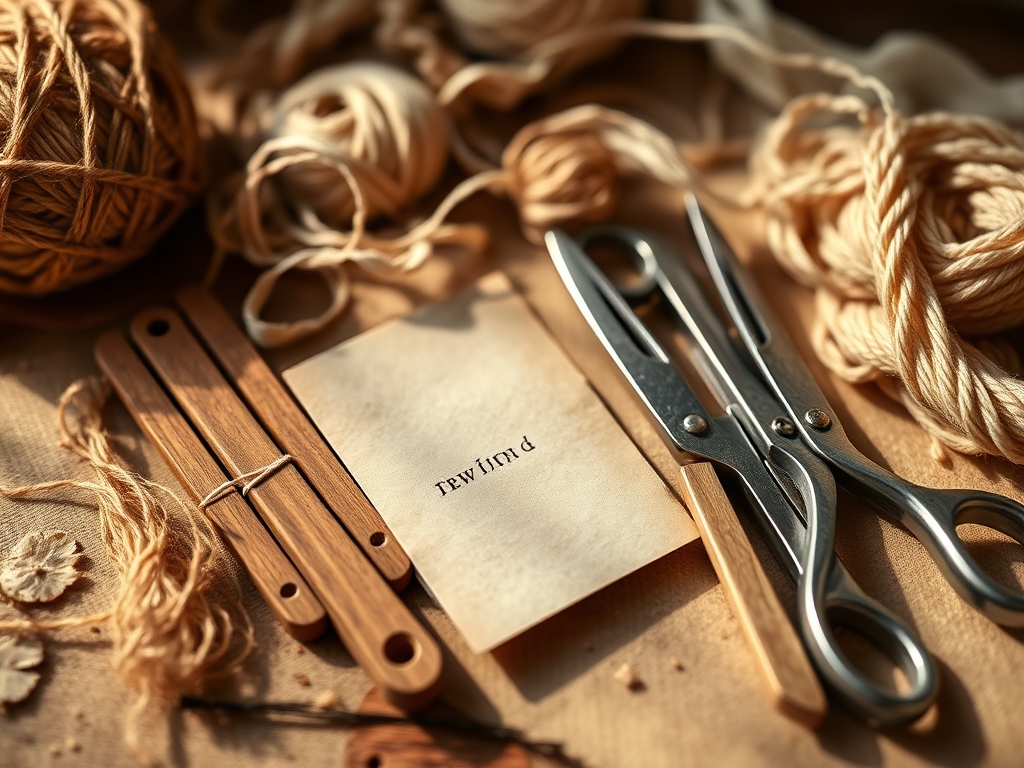
To begin, you need a high precision rotary cutter with a 45mm tungsten steel blade. This tool allows for a clean, perpendicular edge that prevents fraying at the molecular level. You will also require a transparent acrylic ruler for geometric accuracy and a self healing cutting mat to preserve the blade edge. For marking, skip the chalk; use a heat erasable friction pen that disappears when the iron hits the fibers.
Your fabric selection should focus on 100 percent cotton calico. This material has a stable grainline and minimal stretch, making it the perfect substrate for learning. You will also need all purpose polyester thread, which offers superior tensile strength compared to cotton thread. If you cannot find calico, a medium weight linen is an excellent material substitution. Linen has a higher porosity and a beautiful drape, though it requires a slightly higher iron temperature to press the seams flat. Always keep a pair of micro serrated fabric shears nearby for trimming threads without snagging the weave.
THE TEMPO
The "Maker's Rhythm" is the cadence of production. Teaching Sewing to Beginners requires a structured timeline to prevent cognitive fatigue. We allocate sixty minutes for the Material Preparation Phase, where we square the grain and press the fabric to remove any moisture trapped in the fibers. This is followed by three hours of Core Construction, where the actual assembly occurs.
The final two hours are reserved for the Finishing Phase. This involves topstitching and backtacking to ensure the longevity of the garment or accessory. A beginner should expect to spend roughly ninety minutes per project. This tempo allows for the "Flow State," where the repetitive motion of the machine becomes intuitive. By breaking the day into these segments, you maintain high energy and ensure that every student leaves with a completed portfolio of work.
THE CORE METHOD
1. The Envelope Pillow Cover
This project teaches the fundamental concept of seam allowance. You will cut one large rectangle of fabric and fold the ends over to create a pocket. By overlapping the fabric, you eliminate the need for complex closures like zippers or buttons.
Mastery Tip: Always backstitch at the start and end of every seam. This locks the threads together, preventing the kinetic energy of the pillow insert from pulling the stitches apart over time.
2. The Reusable Tote Bag
Here, we focus on structural integrity. Beginners learn to create "boxed corners" by pinching the fabric at the base and sewing a perpendicular line. This transforms a flat 2D shape into a 3D vessel capable of carrying weight.
Mastery Tip: Use a heavy duty needle (90/14 gauge) for the handles. The increased needle thickness prevents deflection when piercing through multiple layers of dense webbing or canvas.
3. The Drawstring Pouch
This introduces the casing, which is a hollow channel for a cord to pass through. It requires precision folding and a steady hand to ensure the channel remains uniform throughout the circumference of the bag.
Mastery Tip: Use a safety pin or bodkin to thread the drawstring. This utilizes the principle of mechanical advantage to pull the cord through a tight space without bunching the fabric.
4. The Fabric Coaster
Coasters are the perfect canvas for practicing topstitching. You will sew two squares right sides together, leave a gap, and turn them inside out. The final step is a decorative stitch 1/8th of an inch from the edge.
Mastery Tip: Press your seams open with a tailor's ham. The curved surface of the ham allows the steam to penetrate the fibers evenly, ensuring the edges are crisp and professional.
5. The Simple Elastic Waist Skirt
This project introduces the concept of ease. You will measure the hip circumference and add several inches to allow for movement. It teaches the student how to create a waistband casing and insert elastic.
Mastery Tip: Secure your elastic with a zigzag stitch. The wide gait of the zigzag allows the thread to stretch with the elastic without snapping under tension.
6. The Infinity Scarf
The infinity scarf focuses on the blind stitch or a very clean straight seam. It is a long loop of fabric that requires the student to align the grainline perfectly to avoid twisting or "torquing" when worn.
Mastery Tip: Check the grainline alignment by pulling a single thread from the edge. This ensures the fabric hangs straight and maintains its shape after multiple washes.
THE TECHNICAL LEDGER
Maintenance & Longevity: To keep these projects in peak condition, always wash them in cold water to prevent fiber contraction. Use a pH neutral detergent to preserve the dye molecules within the fabric structure.
Material Variations: For a sustainable approach, use recycled hemp or organic bamboo fleece. These materials have a high absorbency rate and a lower carbon footprint. For a premium feel, transition to silk shantung, though be warned that the slippery surface requires a walking foot attachment for your machine.
The Correction:
- Bird's Nesting: This occurs when the bobbin is threaded incorrectly. Fix it by rethreading the machine with the presser foot in the "up" position to clear the tension discs.
- Skipped Stitches: Usually caused by a dull needle. Replace the needle every eight hours of sewing to maintain a sharp point.
- Puckered Seams: This is a sign of incorrect thread tension. Loosen the top tension dial slightly until the stitches lay flat on both sides of the fabric.
Studio Organization: Store your fabric in acid free bins away from direct UV light. Sunlight causes photodegradation, which weakens the tensile strength of the fibers and fades the pigment.
THE FINAL REVEAL
Look at that! You have successfully navigated the complex world of textile engineering. From the structural boxed corners of your tote to the precise casing of your drawstring pouch, you have mastered the basics of Teaching Sewing to Beginners. There is a profound sense of empowerment that comes from understanding how things are built. You are no longer just a consumer; you are a maker. Your studio is now a place of innovation where raw materials are transformed by your own hands. Keep that energy high and your needles sharp!
STUDIO QUESTIONS
How do I choose the right needle size?
Match the needle gauge to the fabric weight. Use a fine 70/10 needle for lightweight silks and a heavy 90/14 or 100/16 needle for denim or canvas to prevent needle breakage and ensure proper penetration.
What is the best way to prevent fraying?
Use a zigzag stitch or a serger on the raw edges of your fabric. This encapsulates the loose threads and prevents the weave from unraveling during use or through repeated laundry cycles.
Why is my sewing machine jamming?
Jamming is often caused by lint buildup in the bobbin race or incorrect threading. Clean the shuttle race with a small brush and ensure the thread is properly seated in the take up lever and tension discs.
Can I sew without a sewing machine?
Yes, you can use a backstitch for strength or a running stitch for basic assembly. Hand sewing requires a thimble to protect your finger and a high quality needle to maintain consistent stitch length and tension.

