
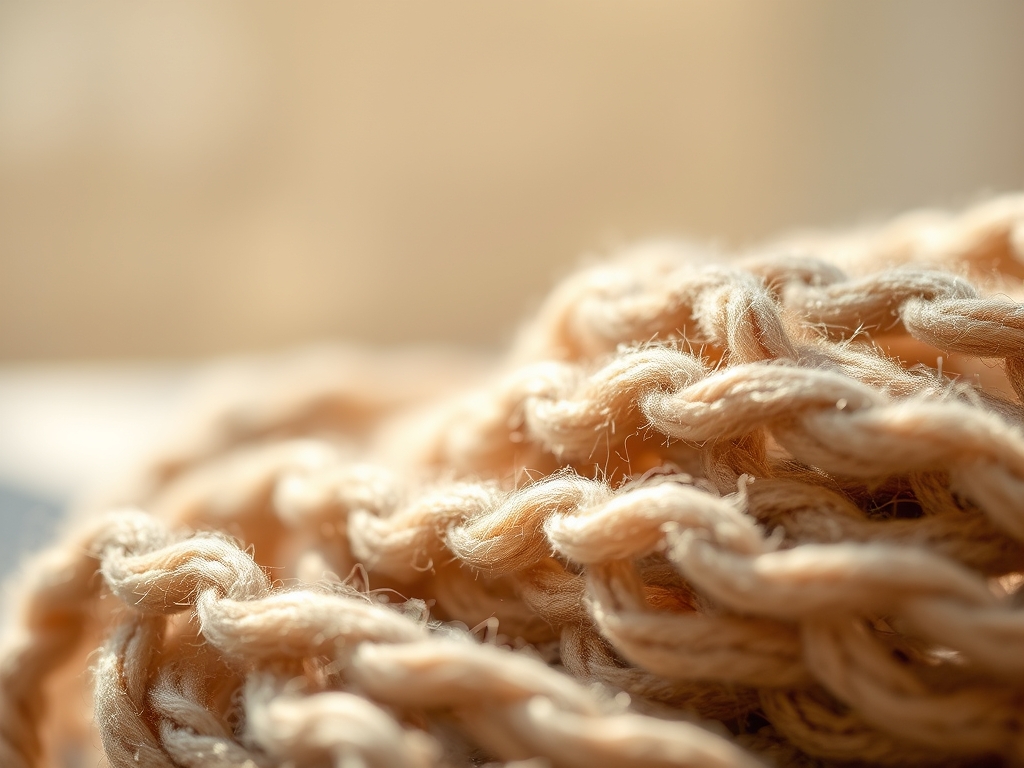
The scent of freshly sheared wool and the sharp, metallic tang of cold-pressed steel are better than morning coffee. When you press your thumb against a piece of vegetable-tanned leather, you are feeling the dense fibrous network of collagen that gives the material its incredible tensile strength. Nurturing a Craft Habit is not just about making things; it is about synchronizing your pulse with the physical properties of the world around you. Every time you pick up a tool, you are engaging in a tactile dialogue with physics. Whether you are feeling the grain direction of a walnut plank or testing the surface tension of a fresh ink well, your hands are learning a language that your brain cannot yet articulate. We are going to build a routine that feels as natural as breathing. This is about transforming your kitchen table into a high-octane laboratory where curiosity meets structural integrity. Grab your favorite mug and clear some space. We are diving deep into the mechanics of creation and the sheer joy of getting your hands dirty.
THE STUDIO KIT
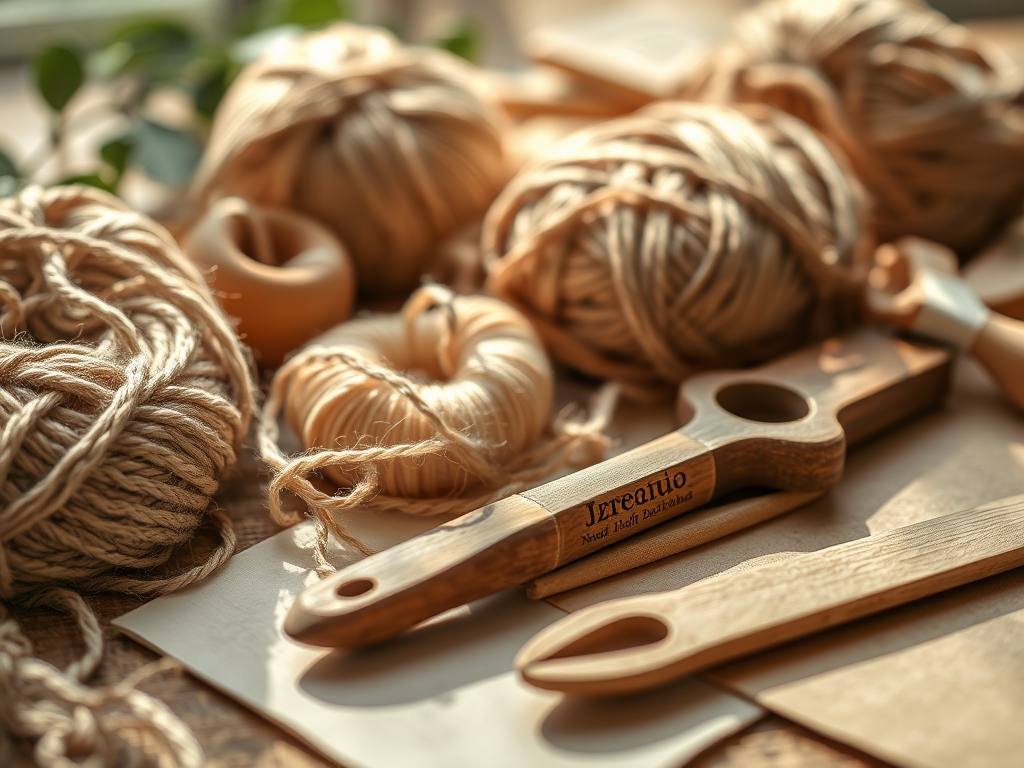
To sustain a daily practice, your toolkit must be an extension of your biomechanics. You need a precision hobby knife with a high-carbon steel blade for clean shear force. A bone folder is essential for manipulating paper fibers without crushing the cellulose structure. For measurement, skip the plastic ruler and grab a pair of stainless steel calipers to ensure accuracy down to the millimeter. You will also need a self-healing cutting mat, which utilizes a specialized polymer that closes back up after every incision to maintain a level working surface.
For materials, start with 300gsm cold-pressed watercolor paper because its high tooth allows for superior pigment adhesion. If you are working with textiles, look for long-staple cotton thread which offers higher tensile strength and less lint buildup in your machine.
Material Substitutions: If you cannot find specialized bookbinding glue, a high-quality pH-neutral PVA works perfectly because it remains flexible after curing. Instead of a professional burnisher, the back of a heavy silver spoon can apply the necessary pressure to smooth out leather edges or paper creases.
THE TEMPO
The Maker's Rhythm is a three-phase cycle: Preparation, Execution, and Integration. The Preparation phase takes exactly fifteen minutes. This is when you calibrate your tools and organize your substrate. The Execution phase is your "Deep Work" window, typically lasting forty-five to ninety minutes. This is where the flow state occurs, and your heart rate actually stabilizes as you focus on repetitive, precise movements. Finally, the Integration phase is a ten-minute cooldown where you clean your brushes or wipe down your jeweler's saw to prevent oxidation. By sticking to this ninety-minute block, you respect the limits of your fine motor skills and prevent the muscle fatigue that leads to technical errors.
THE CORE METHOD
1. Establish Your Workspace Geometry
Before you touch a single material, you must align your body. Your work surface should be at a height that allows your elbows to rest at a ninety-degree angle, reducing strain on the ulnar nerve. This ergonomic setup ensures that your movements are coming from your core rather than just your wrists.
Mastery Tip: Utilize a plumb line or a small spirit level to ensure your table is perfectly horizontal. Even a two-degree tilt can cause liquid media to pool unevenly due to gravity, ruining the saturation of your wash.
2. Calibrate Material Tension
Whether you are stringing a loom or stretching a canvas, tension is the foundation of structural integrity. You want the material to be taut enough to resist deformation but not so tight that you exceed its elastic limit, which causes permanent warping.
Mastery Tip: The science of Hooke's Law applies here. The force needed to extend a material is proportional to that extension. Use your calipers to check for uniform thickness across the material before applying tension to ensure an even distribution of stress.
3. Master the Initial Incision
When cutting, the angle of your blade is everything. A thirty-degree angle provides the best balance between precision and blade longevity. Always cut away from your body, using a steady, continuous motion to avoid "stutter marks" on the edge of your material.
Mastery Tip: This is about friction coefficients. If your blade feels like it is dragging, the friction is generating heat that can microscopically melt synthetic fibers or tear organic ones. A drop of mineral oil on the blade reduces this resistance instantly.
4. Execute the Bonding Process
When joining two surfaces, the goal is to create a molecular bond. Apply your adhesive in a thin, even layer to avoid "squeeze-out." Use a brayer or a heavy weight to ensure the two surfaces are in full contact while the solvent evaporates or the chemical reaction occurs.
Mastery Tip: Understanding capillary action is vital. If your adhesive is too thin, it will be sucked into the pores of the material, leaving the surface dry. If it is too thick, it creates a brittle layer that will snap under stress. Aim for a "tacky" consistency before joining.
5. Refine and Burnish
The final step is finishing the edges. Use a fine-grit sandpaper or a burnishing tool to compress the outer fibers of your project. This creates a seal that protects the piece from moisture and atmospheric oils.
Mastery Tip: Burnishing works through frictional heating. As you rub the edge, the heat softens the natural waxes or lignins in the material, allowing them to fuse into a smooth, hydrophobic barrier.
6. Document the Delta
Every day, take a photo of your work. This creates a visual record of your technical evolution. Note the temperature and humidity of your studio, as these variables significantly affect how glues set and how wood expands.
Mastery Tip: This is the scientific method in action. By tracking variables, you can troubleshoot why a specific technique worked on Tuesday but failed on Friday. It turns "accidents" into repeatable "results."
7. Perform Tool Maintenance
A dull tool is a dangerous tool. At the end of every session, inspect your edges. Use a honing strobe to realign the microscopic teeth on your blades. This ensures that tomorrow's session begins with maximum efficiency.
Mastery Tip: Oxidation is the enemy. Steel tools react with oxygen to form iron oxide. A light coating of camellia oil creates a barrier that prevents this chemical reaction, preserving the Vickers hardness of your tools.
8. Reset the Stage
Clear your surface entirely. A cluttered desk creates cognitive load, which makes it harder to start the next day. Organize your scraps by size and material type so they are ready for future "small-scale" experiments.
Mastery Tip: This is about neuroplasticity. By ending your session with a clean space, you are "priming" your brain to associate the studio with clarity and readiness, making the habit easier to maintain.
THE TECHNICAL LEDGER
Maintenance & Longevity: To keep your projects pristine, store them in a climate-controlled environment. Organic materials like paper and wood are hygroscopic, meaning they absorb moisture from the air, which can lead to mold or warping.
Material Variations:
- Sustainable: Use cork or recycled felt for high-durability, low-impact bases.
- Premium: Invest in archival-grade pigments that have a high lightfastness rating to prevent fading over decades.
The Correction:
- The Mistake: Glue seeping through paper. The Fix: Use a "dry" adhesive like double-sided archival tape or apply the liquid glue to a scrap piece first to let it off-gas.
- The Mistake: Ragged edges on fabric. The Fix: Use pinking shears to create a zigzag edge that interrupts the weave and prevents fraying.
- The Mistake: Wood splitting during nailing. The Fix: Always drill a pilot hole slightly smaller than the diameter of your nail to relieve the internal pressure.
Studio Organization: Use transparent, airtight bins for small components like beads or screws. Label them by gauge and material type to minimize the time spent hunting for supplies.
THE FINAL REVEAL
Look at what you have built! There is a profound sense of power in knowing exactly how the molecules of your project are holding together. By Nurturing a Craft Habit, you have turned a simple hobby into a sophisticated mastery of the physical world. Your finished piece is not just an object; it is a testament to your discipline, your technical knowledge, and your willingness to experiment. Every burnished edge and perfectly tensioned stitch tells the story of a maker who understands the "why" behind the "how." Keep that momentum going; your studio is waiting for its next breakthrough.
STUDIO QUESTIONS
How do I prevent my hands from cramping?
Maintain an ergonomic grip and take "micro-breaks" every twenty minutes. Stretching your extensor muscles prevents the buildup of lactic acid and reduces the risk of repetitive strain injuries in your wrists and phalanges.
What is the best way to store leather?
Store leather hides rolled, not folded, to prevent permanent creasing of the grain. Keep them in a cool, dark place with moderate humidity to ensure the natural oils do not evaporate, which causes the fibers to become brittle.
Why does my glue keep failing?
Check the expiration date and the "open time" of your adhesive. If the substrate is too oily or dusty, the bond will be mechanical rather than chemical. Always clean your surfaces with a tack cloth before applying glue.
Can I mix different types of metal?
Be cautious of galvanic corrosion. When two dissimilar metals touch in the presence of moisture, one will corrode the other. Use a protective coating or ensure the metals have similar electrode potentials to maintain structural integrity.

