
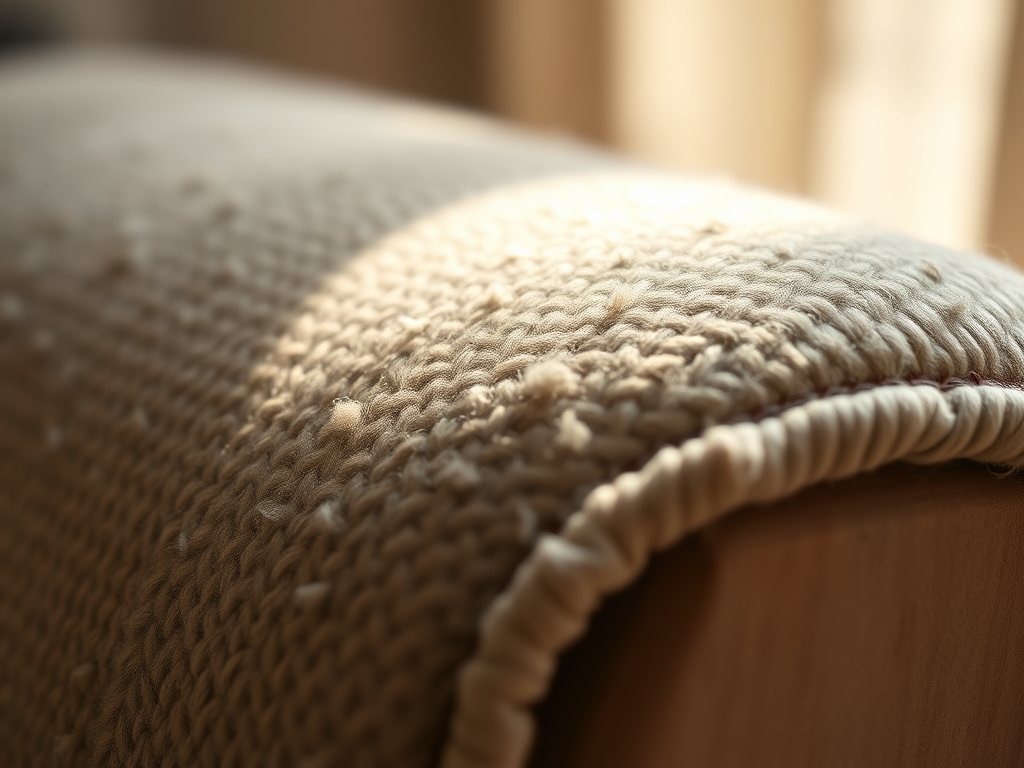
Imagine the sharp, metallic snap of a staple gun echoing against the hollow resonance of a solid oak frame. There is a specific, electric thrill in peeling back decades of dusty, tired fabric to reveal the skeletal integrity of a chair. To master Beginner Upholstery Skills, you must first fall in love with the physics of tension. You are not just covering a seat; you are engineering a structural layer that must withstand hundreds of pounds of pressure while remaining visually flawless. The tactile contrast between the rough, fibrous burlap and the buttery smooth grain of a high quality textile is where the magic lives. As we dive into this project, remember that every pull of the fabric affects the tensile strength of the weave. If you pull too hard, you distort the pattern; too loose, and the seat will sag within months. We are aiming for that perfect, drum like resonance that signals a professional finish. Let us get your hands dirty and your studio humming with the energy of a true maker.
THE STUDIO KIT
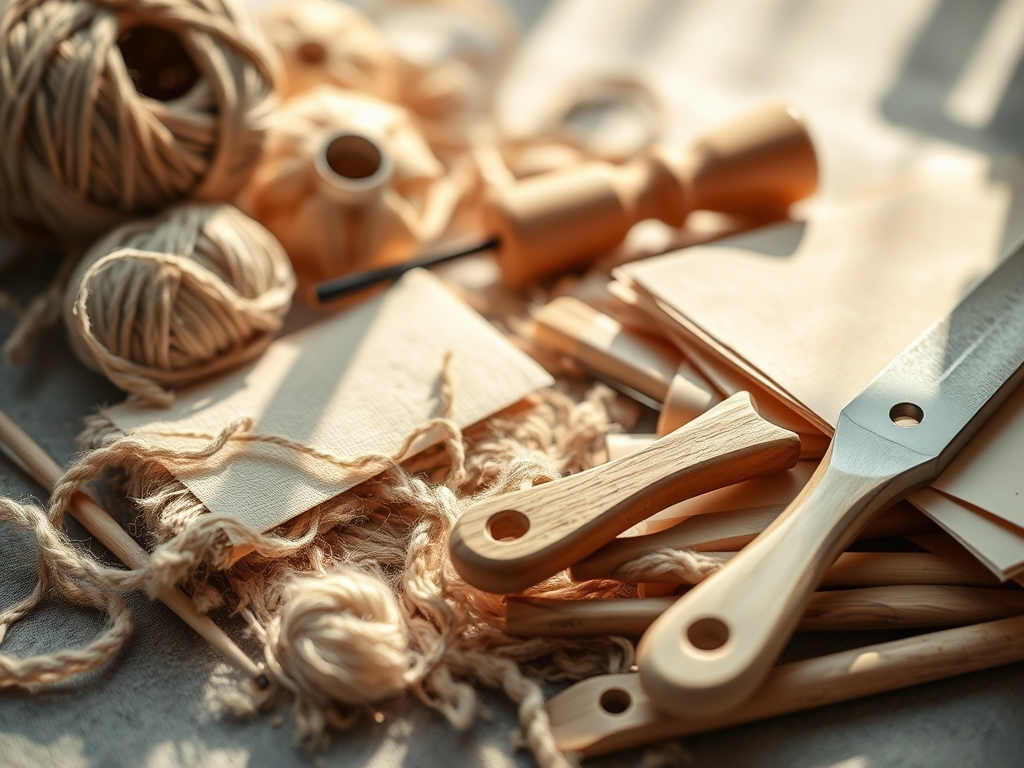
Before we even touch the fabric, we need to calibrate our toolkit. Upholstery is a game of leverage and precision. You will need a magnetic upholstery hammer, which features a split head designed to hold tiny tacks, allowing you to maintain a free hand for stretching. Next is the staple remover or stripping tool; do not use a flathead screwdriver, as it lacks the ergonomic curve needed to pry staples without gouging the wood. You also need fabric shears with a high carbon steel blade to ensure a clean cut through heavy denier materials. A webbing stretcher is non negotiable for creating the foundational grid. For measuring, skip the flimsy tape and use a steel rule or calipers to check foam thickness. Finally, a marking chalk or a specialized fabric pen will help you map out your relief cuts.
If you cannot find professional grade webbing, a heavy duty polyester cargo strap can act as a material substitution, though it lacks the slight "give" of traditional jute. For padding, if high density foam is unavailable, you can layer cotton batting or even recycled wool felt, provided you calculate the compression rate to ensure the seat does not bottom out.
THE TEMPO
The "Maker's Rhythm" is about respecting the drying times and the physical fatigue of your hands. For a standard dining chair, expect a four to six hour journey. The Deconstruction Phase takes about an hour; this is the most tedious part where you remove every single legacy fastener. The Foundation Phase, involving webbing and foam, requires ninety minutes of intense physical leverage. The Tailoring Phase is the slowest, taking two hours to ensure the fabric grain is perfectly squared to the frame. Finally, the Finishing Phase takes thirty minutes to apply the dust cover and trim. Do not rush the stretching; fabric has a "memory," and rushing the tensioning process will result in ripples once the material settles.
THE CORE METHOD
1. Stripping the Chassis
Remove the old fabric and foam using your stripping tool. Use an awl to pick out stubborn staples hidden in the grain. Mastery Tip: Always pull fasteners at the same angle they were driven. This prevents the wood fibers from splintering, which maintains the structural integrity of the seat rail for the new staples.
2. The Webbing Grid
Apply jute webbing in a basket weave pattern across the seat frame. Use the webbing stretcher to pull each strip until it sounds like a low tuned drum when tapped. Mastery Tip: The science here is load distribution. By weaving the strips, you create a mechanical interlock that shares the weight across the entire frame rather than stressing individual screw joints.
3. Foam Calibrations
Cut your high density foam to the exact dimensions of the seat frame, then add a half inch overhang on all sides. Secure it with a light mist of spray adhesive. Mastery Tip: This overhang accounts for compression set. When the fabric is tightened, it rounds the edges of the foam, creating a soft, ergonomic "waterfall" edge rather than a sharp, uncomfortable corner.
4. The Batting Wrap
Layer polyester or cotton batting over the foam. This acts as a friction reducer between the foam and the top fabric. Mastery Tip: Batting utilizes capillary action to wick away microscopic amounts of moisture that can trapped between the foam and fabric, preventing premature degradation of the synthetic layers.
5. Primary Tensioning
Lay your fabric over the seat, ensuring the grain is straight. Drive one "temporary" staple in the center of each of the four sides. Mastery Tip: This establishes the axis of tension. By starting in the center and working toward the corners, you prevent the fabric from "walking" or skewing diagonally across the seat.
6. Corner Engineering
Fold the corners using a "butterfly pleat" or a mitered fold. This is where your bone folder comes in handy to crisp the edges. Mastery Tip: Minimize bulk by trimming excess fabric inside the fold. High bulk density in the corners prevents the seat from sitting flush against the chair frame, creating a wobbling effect.
THE TECHNICAL LEDGER
Maintenance & Longevity: To keep your newly upholstered chairs pristine, vacuum them weekly with a brush attachment to remove abrasive dust particles that saw through fabric fibers. Treat the wood frame with a carnauba based wax to maintain moisture balance.
Material Variations: For a Sustainable approach, use coconut coir (husk) instead of petroleum based foam. Premium builds often utilize mohair velvet, which has an incredibly high rub count but requires a delicate touch to avoid crushing the pile. Recycled options include using vintage grain sacks, which offer high tensile strength and a unique aesthetic.
The Correction:
- The Ripple: If the fabric looks wavy, your tension is uneven. Remove staples and pull from the center again.
- The "Smile": If the front rail looks curved, you over tightened the webbing. You must loosen the grid to flatten the profile.
- The Bleed: If the old wood stain marks your new fabric, you forgot a barrier. Always apply a thin plastic or heavy muslin layer over old frames.
Studio Organization: Store your fabric rolls horizontally on a rack to prevent "pressure shading" on the bottom layers. Keep your foam in a dark, climate controlled area, as UV light and humidity will cause the polymers to oxidize and crumble.
THE FINAL REVEAL
Look at that! The transformation is absolute. You have taken a piece of furniture headed for the landfill and turned it into a masterclass of Beginner Upholstery Skills. The fabric is taut, the corners are sharp enough to cut glass, and the seat has that satisfying, firm rebound. There is a profound sense of authority that comes from knowing exactly how the layers beneath you are working together to provide support. Your dining room just got a massive technical upgrade, and you have the calluses to prove your maker status.
STUDIO QUESTIONS
What is the best fabric for a beginner?
Choose a medium weight jacquard or a flat weave synthetic. These materials have a stable ply and do not stretch excessively, making it much easier to maintain a straight grain while you are learning to balance tension.
How do I know if my webbing is tight enough?
The webbing should have zero visible sag. When struck with your palm, it should produce a clear, resonant "thump." If it feels soft or spongy, the tensile load is too low to support long term use.
Can I use a standard office stapler?
No, an office stapler lacks the gauge and drive power to penetrate hardwood. You need a manual, electric, or pneumatic upholstery stapler that fires 20 gauge fine wire staples to ensure they grip the wood fibers securely.
How do I calculate how much fabric I need?
Measure the widest and longest points of the seat, then add five inches to every side for "pull room." This extra allowance ensures you have enough leverage to grip the fabric while tensioning it over the frame.

