
Grab your safety glasses and clear some bench space because we are about to dive into the most satisfying sensory experience in the maker world. Imagine the cool, slick surface of a 36 gauge copper sheet resting under your palm; it is remarkably responsive, almost like heavy fabric but with the memory of a structural solid. When you press a stylus into that shimmering surface, you are not just drawing; you are permanently displacing molecules to create a three-dimensional relief. This journey into an Intro to Copper Tooling is where physics meets fine art. We are working with the ductility of the metal, which is its ability to be deformed without losing its tensile strength. You will feel the resistance of the grain as you push, and that slight friction is exactly what makes this medium so addictive. It is tactile, it is shiny, and it is surprisingly forgiving once you understand how the metal flows. Let us get those hands dirty and turn some flat foil into a sculptural masterpiece.
THE STUDIO KIT
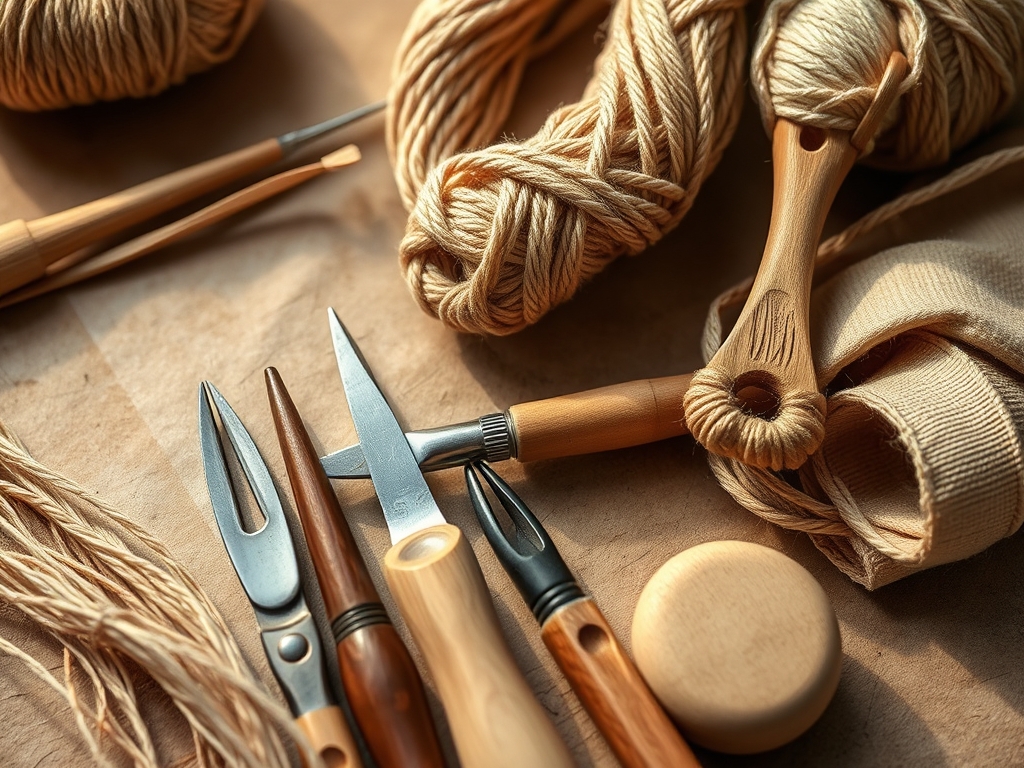
To master this craft, you need a kit that respects the molecular structure of the metal. Your primary surface is a 36 gauge copper roll; this thickness is thin enough to manipulate with hand pressure but thick enough to hold a crisp edge. You will need a teflon-tipped stylus or a set of wooden modeling tools to prevent scratching the surface while you work. A rubber work mat is essential; it provides the necessary "give" or displacement volume for the metal to stretch into. For fine details, an awl or a dead ballpoint pen works wonders. To flatten areas or refine the background, a bone folder or a plastic burnisher will be your best friend.
If you are looking for Material Substitutions, you can use heavy duty aluminum foil or even the side of a clean soda can if you are in a pinch. However, aluminum lacks the thermal conductivity and the specific malleability that makes copper so unique. For cleaning, keep a bottle of 99 percent isopropyl alcohol nearby to strip away finger oils that could cause uneven oxidation later. Finally, a pair of ergonomic metal snips will ensure you get clean, burr-free edges without straining your wrists.
THE TEMPO
The Maker's Rhythm in copper tooling is a three-act play. Phase one is the Transfer, which usually takes about 20 minutes; this is a slow, methodical trace where you establish your primary boundaries. Phase two is the Relief Work, the heart of the project. Depending on the complexity of your design, expect to spend two to four hours here. This is where you enter a "flow state," alternating between the front and back of the metal to build volume. Phase three is the Finishing and Patina, which takes about 45 minutes of active work plus drying time. You cannot rush the metal; if you apply too much pressure too quickly, you risk work hardening, where the copper becomes brittle and snaps. Patience is your most important tool.
THE CORE METHOD
1. The Design Transfer
Place your printed template over the copper sheet and tape it down. Using a fine-point stylus, trace the lines with moderate pressure. You are not trying to emboss yet; you are creating a "map" on the surface.
Mastery Tip: This step relies on surface tension. By using a thin, consistent line, you create a guide that prevents the metal from warping unevenly during the more aggressive tooling phases later.
2. High Relief Embossing
Flip the copper over so the back (the "verso") is facing up. Work on your soft mat and use a large ball-end tool to push the metal out. This creates the rounded, volumetric shapes that will pop out from the front.
Mastery Tip: This is all about malleability. The copper stretches as you push; if you work one area too long, the metal thins out. Always move in circular motions to distribute the displacement evenly across the surface.
3. Defining the Contours
Flip the metal back to the front. Use your fine stylus to trace around the edges of the shapes you just pushed out. This "tucks" the metal back down, making the raised areas look crisp and intentional.
Mastery Tip: You are utilizing structural integrity here. By compressing the metal around the base of a raised area, you are effectively "locking" the shape into place so it does not collapse when handled.
4. Background Burnishing
Using a flat burnisher or bone folder, rub the flat areas of your design on a hard surface (like a glass mat or smooth table). This creates a high-contrast texture against the raised relief.
Mastery Tip: Burnishing increases the specular reflection of the copper. It flattens the microscopic peaks and valleys on the metal surface, resulting in a mirror-like finish that catches the light beautifully.
5. Applying the Patina
Brush on a thin layer of liver of sulfur or a specialized darkening solution. Watch as the copper reacts with the chemical to turn dark brown or black. Rinse with water to stop the reaction, then gently buff the high spots with steel wool.
Mastery Tip: This is a controlled oxidation process. The chemical reaction adds a layer of copper sulfide; by buffing the high points, you create a "faux-age" that highlights the three-dimensional depth of your tooling.
THE TECHNICAL LEDGER
Maintenance & Longevity: To keep your copper from turning green (verdigris) over time, you must seal it. A high-quality acrylic spray lacquer or a thin coat of microcrystalline wax will create an airtight barrier, preventing moisture from reacting with the metal.
Material Variations:
- Sustainable: Use recycled copper flashing from construction sites; just ensure it is annealed (softened with heat) before you start.
- Premium: 24-ounce copper sheet is much thicker and requires a jeweler's saw and heavier hammers for a "repousse" style.
The Correction:
- The Piercing: If you push too hard and poke a hole, flip the metal and burnish the edges of the hole flat. Use a tiny piece of copper tape on the back to "patch" the light leak.
- The Over-Stretch: If a section becomes too "bubbly" or thin, move to a hard surface and gently burnish from the front to compress the molecules back into the plane.
- The Smudge: If your patina is blotchy, it is likely due to finger oils. Scrub the metal with a pumice paste or fine steel wool and start the chemical application again.
Studio Organization: Store your finished plates between sheets of acid-free glassine paper. This prevents scratches and stops any residual chemicals from migrating. Never store copper in high-humidity areas like basements, as this accelerates corrosion.
THE FINAL REVEAL
There is nothing quite like the moment you hold your finished piece up to the studio lights. The way the light dances across the burnished flats and settles into the dark, oxidized recesses is pure magic. You have taken a cold, industrial material and breathed life into it using nothing but pressure and physics. Your piece should feel heavy, substantial, and incredibly detailed. Whether you frame it or incorporate it into a larger mixed-media project, you have officially mastered the basics of copper flow. You are no longer just a crafter; you are a metal manipulator.
STUDIO QUESTIONS
What is the best gauge for copper tooling?
The industry standard for beginners is 36 gauge. It offers the perfect balance between ductility and structural stability; it is thin enough to emboss with hand tools but thick enough to maintain its shape without tearing under pressure.
Can I use a regular pen for tooling?
Yes, a "dead" ballpoint pen is a fantastic tool for fine lines. The metal ball provides a smooth, low-friction glide across the copper surface, preventing the tip from catching or piercing the delicate metal foil during the transfer phase.
How do I stop the copper from hardening?
Copper undergoes work hardening as you manipulate it. To keep it soft, avoid over-working the same area repeatedly. If it becomes too stiff, professional makers use a torch to anneal the metal, though this is rarely necessary for 36 gauge foil.
Why did my patina turn out gray?
A gray or dull patina usually indicates the chemical solution was too cold or the metal was not properly degreased. Ensure your copper is cleaned with isopropyl alcohol and that your patina solution is slightly warm to trigger a rich reaction.
Is copper tooling safe for kids?
Yes, provided you use safety gloves when cutting the metal. The edges of copper foil can be as sharp as a razor. Once the edges are sanded or folded over, the process is a safe and engaging way to teach material science.

