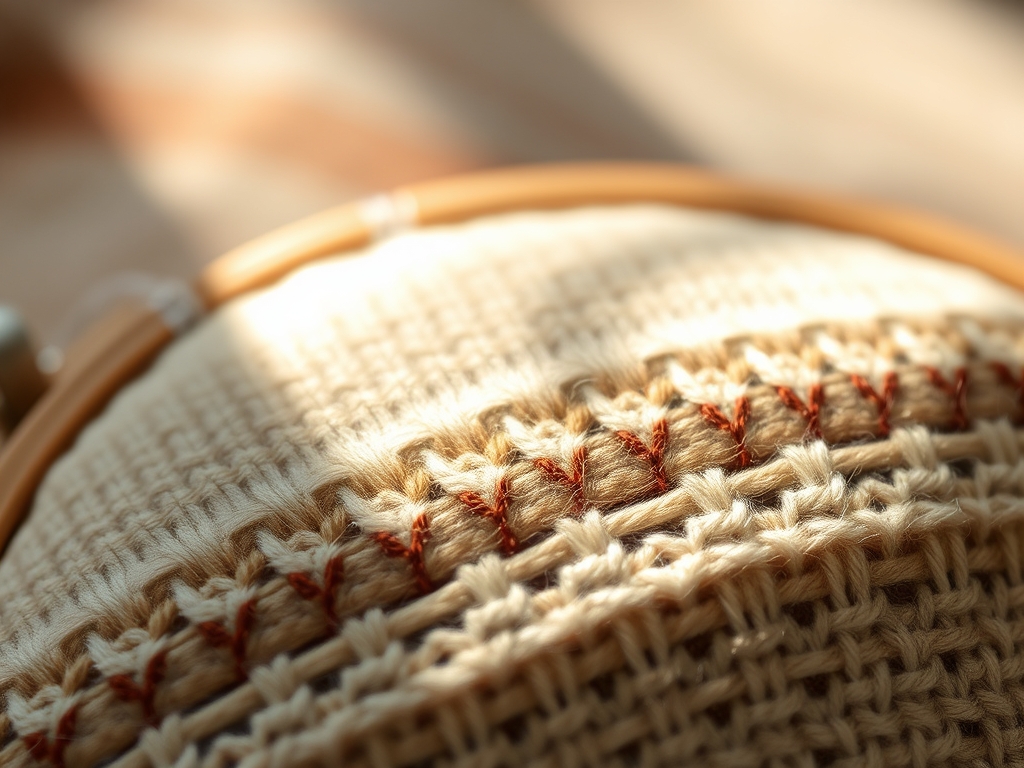
Grab your hoop and take a deep breath because the scent of fresh, unbleached cotton is about to become your new favorite perfume. There is something profoundly grounding about the tactile resistance of a taut fabric surface. When you learn these Beginner Embroidery Stitches, you are not just decorating a piece of cloth; you are manipulating fiber tension and structural integrity to create art. Your needle acts as a precision lever, piercing the weave to interlock high-tensile thread with the porous matrix of the textile. It is a dance of physics and aesthetics. Feel the weight of the wooden hoop in your hands. It provides the necessary ergonomic stability to ensure your stitches do not pucker the fabric. We are going to master the mechanics of the needle and the physics of the thread. This is about more than just a hobby; it is about the visceral satisfaction of creating something permanent and beautiful with your own two hands. Let us dive into the grain of the fabric and start stitching.
THE STUDIO KIT

Before we pierce the veil, we need to curate your workstation. High-quality tools are non-negotiable for a clean finish. You will need a six-inch wooden or bamboo hoop; the screw mechanism must be tightened until the fabric emits a sharp, drum-like pitch when tapped. This indicates optimal tensile strength across the surface. For your substrate, choose a mid-weight linen or cotton calico. These fabrics have a consistent thread count that supports the weight of the embroidery without sagging.
Your needles are your primary conductors. Use a size 7 or 9 embroidery needle, which features an elongated eye to accommodate multiple plies of thread while maintaining a slender shaft to minimize hole diameter. Speaking of thread, we are using six-strand cotton embroidery floss. This material is mercerized, a chemical process that increases its luster and affinity for dye while strengthening the fibers.
Material Substitutions: If you cannot find linen, a high-quality cotton bedsheet with a high thread count works in a pinch. If you lack a traditional needle threader, a small loop of thin wire or even a piece of dental floss can act as a makeshift tool to pull the thread through the eye. For marking your patterns, a water-soluble pen is ideal, but a sharp graphite pencil works if you stay strictly on the lines to hide the carbon.
THE TEMPO
The Maker's Rhythm is a psychological state of flow where your motor skills align with the material's properties. For a beginner, expect to spend about 15 minutes on the "Setup Phase," which includes tensioning the fabric and transferring your design. Each individual stitch style will take approximately 10 to 20 minutes to master as you calibrate your hand-eye coordination.
The "Production Phase" for a full hoop generally spans four to six hours. Do not rush the process. The beauty of embroidery lies in the consistency of the gauge. If you move too fast, you risk uneven tension, which leads to "thread creep" or fabric distortion. Listen to the sound of the needle passing through the fabric; a clean "pop" indicates you are maintaining the correct perpendicular angle.
THE CORE METHOD
1. The Running Stitch
The most fundamental of all Beginner Embroidery Stitches, the running stitch is a simple over-under motion. It defines the basic geometry of your design.
Mastery Tip: This stitch relies on linear consistency. To keep your lines straight, follow the grain of the fabric (the warp and weft threads) to act as a natural grid.
2. The Backstitch
This is the workhorse of embroidery, creating a solid, continuous line that is perfect for text or outlines. You move backward into the previous hole to close the gap.
Mastery Tip: To avoid "stair-stepping," ensure your needle enters the exact same hole as the previous stitch. This maintains structural continuity and prevents the thread from unraveling.
3. The Stem Stitch
This creates a rope-like texture by slightly overlapping each stitch. It is perfect for organic curves and floral stems.
Mastery Tip: Always keep your thread on the same side of the needle for every stitch. This utilizes torsional force to create that iconic twisted look.
4. The Split Stitch
By piercing the thread itself as you come up from the back, you create a braided appearance. This is excellent for thick, textured lines.
Mastery Tip: Use an even number of thread plies (like 2 or 4) so your needle splits the fibers symmetrically, maintaining axial balance.
5. The French Knot
A decorative "bead" created by wrapping the thread around the needle before plunging it back into the fabric.
Mastery Tip: Surface tension is key here. Keep the wraps tight against the needle as you pull through to prevent the knot from becoming a "floppy" loop.
6. The Satin Stitch
This involves laying long, parallel stitches close together to fill a shape with a smooth, glossy finish.
Mastery Tip: Avoid using a hoop that is too loose. High lateral tension is required to keep the long threads from sagging over time.
7. The Chain Stitch
A series of looped stitches that look like a linked chain. It adds significant dimension and weight to a design.
Mastery Tip: This stitch demonstrates loop integrity. Do not pull too hard, or you will collapse the circle into a straight line; the loop should sit comfortably on the surface.
8. The Lazy Daisy
A variation of the chain stitch used to create individual flower petals or leaves.
Mastery Tip: The "anchor" stitch at the top of the loop should be tiny. This utilizes friction to hold the petal shape without distracting from the curve.
9. The Seed Stitch
Tiny, random straight stitches used to create a speckled texture or "filling" effect.
Mastery Tip: Focus on spatial distribution. Vary the angles of the stitches to mimic natural randomness, which prevents the eye from spotting unintended patterns.
THE TECHNICAL LEDGER
Maintenance & Longevity: To preserve your work, avoid touching the thread with oily hands, as skin oils can degrade natural fibers over decades. If the piece becomes dusty, use a soft-bristled brush or a vacuum with a mesh screen to gently lift debris without snagging the delicate plies.
Material Variations: For a sustainable approach, use organic hemp fabric or recycled silk thread. Premium options include gold-plated needles which glide through fabric with zero resistance, or 100% silk floss for an unmatched refractive index (shine).
The Correction:
- The Pucker: If the fabric bunches, your tension is too high. Remove the stitches, re-tension the hoop, and use a "lighter touch" with the thread.
- The Bird's Nest: If thread tangles on the back, you are likely using a piece of floss that is too long (over 18 inches). Cut shorter lengths to reduce static friction.
- The Ghost Hole: If you pull out a mistake and a hole remains, use the blunt end of your needle to gently "massage" the fabric fibers back into place.
Studio Organization: Store your embroidery projects in acid-free tissue paper within a cool, dry environment. Avoid plastic bins which can trap moisture and lead to mildew. Use a thread organizer or bobbins to prevent the floss from knotting.
THE FINAL REVEAL
Look at that hoop! You have successfully navigated the complexities of fiber physics and manual precision. Those nine Beginner Embroidery Stitches have transformed a flat, lifeless piece of cloth into a three-dimensional landscape of texture and color. Notice how the light catches the mercerized thread and how the different stitch heights create shadows and depth. You have moved from a novice to a maker, possessing the technical literacy to "read" a piece of fabric and manipulate it to your will. This is just the beginning of your textile journey.
STUDIO QUESTIONS
Which needle is best for beginners?
A size 7 embroidery needle is the gold standard. Its elongated eye makes threading efficient, while the sharp point easily penetrates medium-weight fabrics without causing structural damage or excessive fiber displacement during the stitching process.
How do I stop my thread from knotting?
Keep your thread lengths under 18 inches to minimize static electricity and friction. Periodically let your needle hang freely to allow the thread to untwist, which neutralizes the torsional stress built up during repetitive stitching motions.
Can I wash my embroidery?
Yes, but use cool water and a mild detergent. Avoid agitation, which can cause "pilling" of the thread fibers. Lay the piece flat on a towel to dry to prevent gravity from stretching the wet, heavy fibers out of shape.
How do I finish the back of the hoop?
Trim the excess fabric to one inch, then use a running stitch to "cinch" the edges toward the center. Cover the back with a circle of archival felt to protect the stitches from abrasion and environmental degradation.