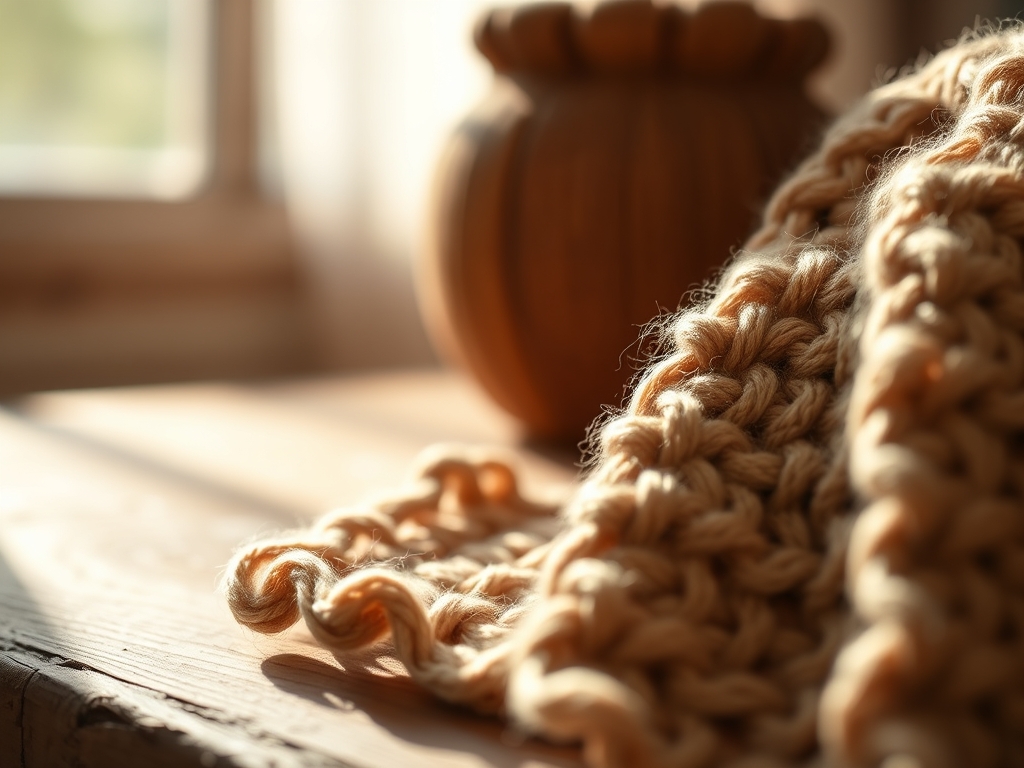
Close your eyes and listen to the high pitched chime of sterling silver striking a steel bench block. It is a crisp, crystalline sound that signals the beginning of your creative journey. When you grip your first pair of pliers, you are not just holding a tool; you are engaging with the laws of physics. You are about to manipulate the molecular structure of metal through cold working. To start this obsession, you need a curated First Jewelry Making Kit that balances ergonomic comfort with high performance. Feel the weight of the metal in your palm. Notice the cool, non-porous surface of the wire. Jewelry making is a tactile conversation between your hands and the material. Whether you are aiming for delicate filigree or bold, structural cuffs, the physics of tensile strength and grain direction will dictate your success. We are diving into the grit and the glamour of the bench, where every millimeter matters and every bend is a lesson in structural integrity.
THE STUDIO KIT
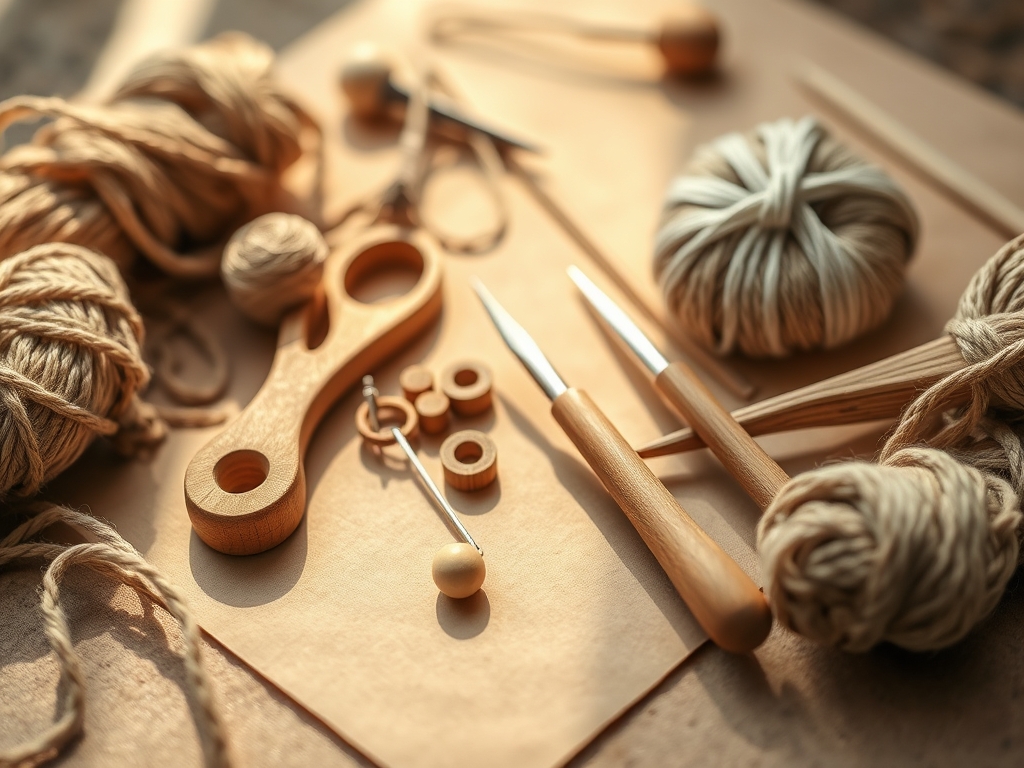
The foundation of your studio begins with precision instruments designed to act as extensions of your fingers. Your First Jewelry Making Kit must include these six pillars: chain nose pliers, round nose pliers, side cutters, a nylon jaw plier, a steel ruler, and a brass gauge. Each tool serves a specific mechanical purpose. Chain nose pliers feature a flat interior surface to provide maximum friction without marring the metal. Round nose pliers are conical, allowing you to create graduated loops by shifting the wire along the mandrel. Side cutters utilize a flush cut mechanism to ensure the metal ends are perfectly perpendicular, which is vital for seamless soldering or cold joins.
Material substitutions are a reality for the budding maker. If you lack a professional steel bench block, a flat-head sledgehammer secured in a vise can provide the necessary rebound for hardening wire. Instead of expensive polishing cloths, a scrap of high density denim can burnish soft metals like copper or fine silver. However, never substitute your cutters. Using household scissors on 18-gauge wire will ruin the blades and create jagged, dangerous burrs on your workpiece. Focus on the Mohs scale of hardness when selecting your starter wires; copper is forgiving and perfect for practicing your "Maker's Rhythm" before moving to precious alloys.
THE TEMPO
The "Maker's Rhythm" is the internal metronome that governs your studio time. Jewelry making is not a sprint; it is a sequence of controlled, rhythmic movements. The initial design and measurement phase should take approximately fifteen minutes. This is where you calculate the mean circumference of your piece using calipers to ensure a perfect fit. The shaping phase is the most intensive, often requiring thirty to forty-five minutes of focused manipulation.
During this time, you must account for work hardening. As you bend the metal, the crystal grains within the wire compress and lock together, making the material stiffer and more brittle. If you work too fast, you risk fracturing the metal. The finishing phase, including filing and polishing, takes another twenty minutes. This cadence ensures that you are not fighting the material, but rather guiding it through its natural physical transitions. Respecting the tempo prevents hand fatigue and ensures the longevity of your tools.
THE CORE METHOD
1. Measuring the Gauge and Length
Precision is the heartbeat of the bench. Use your brass gauge to verify the thickness of your wire. A 20-gauge wire is standard for ear wires because it balances structural integrity with a diameter that fits comfortably through a piercing. Measure your required length against a steel ruler, adding a three millimeter margin for the "take-up" that occurs during bending.
Mastery Tip: Always account for the bend allowance. When metal curves, the exterior stretches while the interior compresses. Measuring from the center line of the wire ensures your final dimensions remain accurate to your original technical drawing.
2. Executing the Flush Cut
Position your side cutters so the flat side of the blade faces the part of the wire you intend to keep. Squeeze with a firm, singular motion. A clean, flush cut is essential for creating a professional "butt joint" where two ends meet perfectly without a gap.
Mastery Tip: Capillary action is your best friend during soldering. If your cut is perfectly flush, the liquid solder will be drawn into the microscopic space between the metal ends by surface tension, creating a bond that is stronger than the parent metal itself.
3. Forming the Perfect Loop
Grasp the wire with your round nose pliers. Instead of twisting your wrist in a jagged motion, rotate the pliers in a smooth, circular arc. Keep the wire perpendicular to the pliers to prevent a spiral or "corkscrew" effect.
Mastery Tip: Leverage the tapered geometry of the tool. Marking your pliers with a fine-tip permanent marker ensures that every loop in a pair of earrings is identical in diameter, maintaining visual symmetry and mechanical balance.
4. Hardening the Structure
Once your shape is formed, place it on the bench block and strike it lightly with a nylon or rawhide mallet. This process, known as planishing, compresses the molecular structure without thinning the metal. It transforms a soft, flimsy shape into a rigid, wearable piece of art.
Mastery Tip: Work hardening increases the yield strength of the metal. By strategically hammering the curves of a design, you lock the atoms into a grid that resists deformation, ensuring the jewelry maintains its shape even under the stress of daily wear.
THE TECHNICAL LEDGER
Maintenance & Longevity
Tools are an investment in your future mastery. Every month, wipe your pliers with a light coat of machine oil to prevent oxidation. Check the joints for "play" or wobbling; a loose rivet in your pliers will lead to inconsistent pressure and marred metal. Keep your files clean using a wire brush to remove "pins," which are tiny shards of metal stuck in the teeth that can scratch your work.
Material Variations
As you progress beyond your First Jewelry Making Kit, explore sustainable options. Recycled Argentium silver offers superior tarnish resistance compared to traditional sterling. For a premium feel, 14k gold-filled wire provides the look of solid gold with a thick mechanical bond that will not flake off like electroplated alternatives. Always verify the temper of your wire; "dead soft" is best for intricate wrapping, while "half-hard" is ideal for structural components.
The Correction
- The Scored Surface: If your pliers leave marks, you are gripping too hard. Fix this by dipping your tool tips in a liquid rubber coating or wrapping them in painters tape to provide a protective cushion.
- The Brittle Snap: If your wire snaps, it has been over-worked. To fix this, you must anneal the metal by heating it with a torch until it reaches a dull red glow, which resets the grain structure and restores ductility.
- The Gapping Loop: If your loops do not close, use two pairs of pliers to "past-center" the wire. Bend the ends slightly past each other so they spring back into a perfectly tensioned, closed circle.
Studio Organization
Store your wire in airtight poly bags with anti-tarnish strips to prevent atmospheric moisture from causing premature oxidation. Organize your pliers on a vertical rack so the tips do not touch; this prevents the hardened steel of one tool from scratching the polished surface of another.
THE FINAL REVEAL
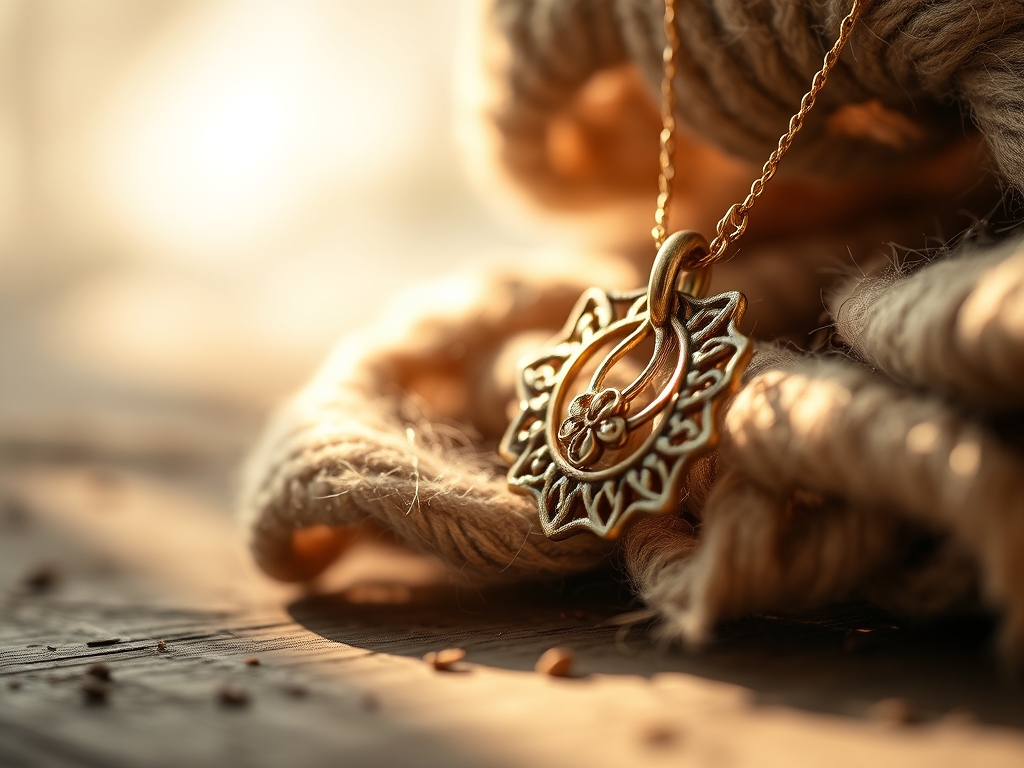
Look at that! You have successfully navigated the transition from raw wire to a finished, structurally sound piece of jewelry. The way the light catches the burnished edges and the satisfying "click" of a well-tensioned clasp are the hallmarks of a maker who understands her craft. You have moved beyond mere assembly into the realm of engineering. Your First Jewelry Making Kit is no longer just a box of tools; it is your gateway to a world where you dictate the form and function of the objects around you. Wear your creation with the pride of someone who knows exactly why it holds together.
STUDIO QUESTIONS
What is the best wire gauge for beginners?
An 18 or 20-gauge copper wire is ideal. It is thick enough to hold its shape while remaining soft enough for manual manipulation, allowing beginners to learn the physics of work hardening without excessive hand fatigue.
How do I prevent my pliers from scratching the metal?
Use nylon-jaw pliers for straightening or apply a layer of Tool Dip to steel tips. Ensuring your grip is firm but not crushing prevents the serrated or hard edges of the tool from marring the wire surface.
Why does my jewelry feel flimsy?
The metal likely needs to be work-hardened. By hammering the piece on a steel block or repeatedly flexing the wire, you compress the grain structure, significantly increasing the material's tensile strength and rigidity.
Can I use hardware store pliers for jewelry?
Standard pliers often have serrated jaws that permanently damage precious metals. Professional jewelry pliers are precision-ground with smooth interiors and ergonomic handles, ensuring a mar-free finish and better mechanical leverage for delicate tasks.
How do I clean my tools?
Wipe steel tools with a microfiber cloth and a drop of mineral oil to prevent rust. Avoid storing them in humid environments, and use a file card to remove any metal debris from your files to maintain their abrasive efficiency.