

Imagine your hands gripping a bundle of sun-dried seagrass; it feels like holding a piece of the earth that is just waiting to be bent to your will. We are diving into the world of beginner basketry methods today because your home decor deserves that raw, organic texture that only natural fibers can provide. It is all about the friction between the strands and the tension you hold in your fingertips.
The tactile experience of weaving is more than just a hobby; it is a masterclass in material physics. When you manipulate a reed or a vine, you are working against its natural lignin structure to create a form that is both lightweight and incredibly strong. Whether you are aiming for a rustic wall hanging or a sturdy floor basket, understanding the tensile strength of your chosen fiber is the secret to a professional finish. We are going to explore six incredible natural materials that are forgiving for novices but yield results that look like they came straight from a high-end boutique. Grab your coffee and clear some floor space; it is time to get our hands a little dirty and our homes a lot more beautiful.
THE STUDIO KIT
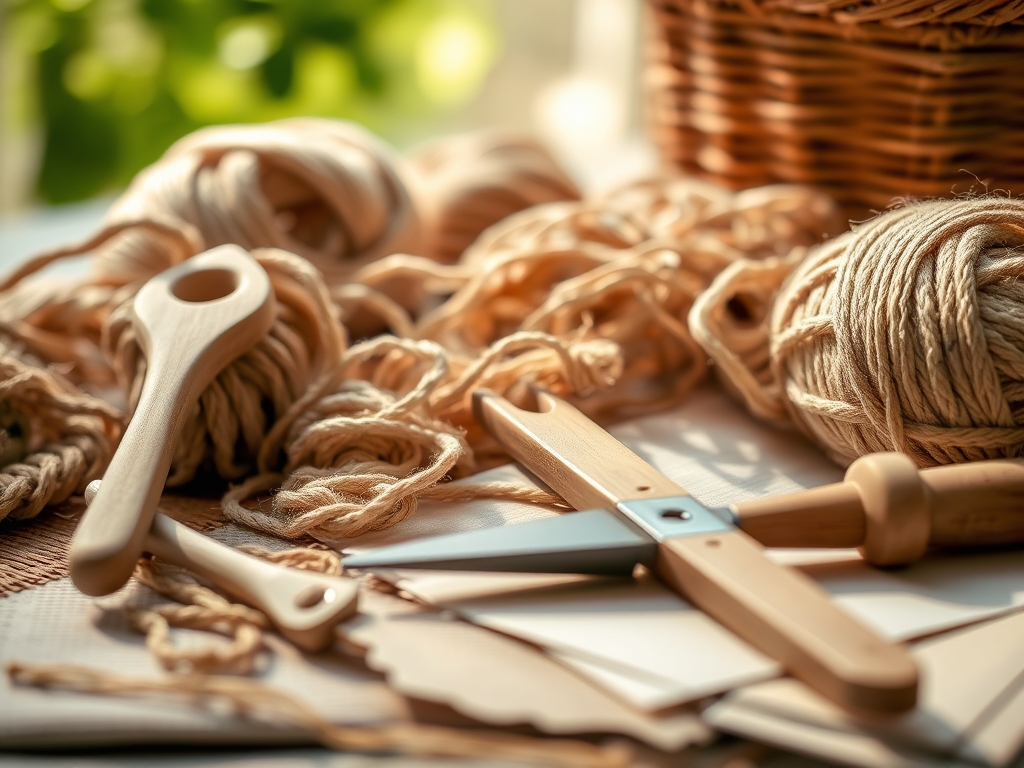
To master beginner basketry methods, your toolkit needs to be a blend of precision and brute force. You will need a high-quality steel awl for creating space between tight weaves and a pair of heavy-duty spring-loaded shears to cut through thick fibers without crushing the vascular bundles. A bone folder is essential for burnishing flat reeds, while a digital caliper helps you maintain a consistent gauge across your spokes.
For materials, we are looking at the heavy hitters of the fiber world. Rattan reed is the gold standard for its uniform porosity and flexibility when soaked. Seagrass offers a beautiful twisted texture with high silica content, making it rot-resistant. Willow provides incredible structural integrity but requires a bit more muscle. Honeysuckle vines are fantastic for free-form, organic shapes. Pine needles allow for delicate, coiled precision, and raffia acts as the perfect binding agent with its high wax content.
If you cannot find these, use Material Substitutions. Heavy jute twine can mimic the look of seagrass. Brown paper grocery bags, sliced into strips and twisted, serve as a surprisingly durable stand-in for reed. Even flexible garden prunings from dogwood or birch can work if you harvest them while the sap is still flowing, ensuring the fibers remain pliable rather than brittle.
THE TEMPO
The "Maker's Rhythm" is a real psychological state where your heart rate syncs with the repetitive motion of the weave. For a standard medium-sized basket, expect a three-phase timeline. Phase one is the hydration stage, which takes thirty to sixty minutes depending on the fiber density. You must saturate the material to reach its maximum elastic limit without over-soaking, which can lead to fiber degradation.
Phase two is the structural foundation, usually taking two hours. This is where you set your base and "turn the corner" to create the walls. Phase three is the weaving and finishing, which can take four to six hours. Do not rush the drying process. A slow, natural evaporation of moisture allows the fibers to shrink uniformly around the internal skeleton, locking the tension in place. If you force-dry it with heat, you risk warping the symmetry of your piece.
THE CORE METHOD
1. Preparing the Warp and Weft
Start by cutting your "spoke" materials, which form the vertical skeleton of your basket. These should be a heavier gauge than your weaving material to ensure the base does not collapse under its own weight. Soak these in lukewarm water; the warmth helps the water molecules penetrate the porous cell walls faster.
Mastery Tip: Use a shallow basin so the fibers stay submerged. The science here is capillary action, where the water travels up the internal tubes of the plant material. If the fiber is not fully hydrated, the cellular walls will snap under the stress of a ninety-degree bend.
2. Creating the Slotted Base
Cross your primary spokes in a grid pattern, often called a "gods eye" or a simple over-under layout. Secure the center with a tight twining stitch using a thinner, more flexible weaver. This creates the initial structural integrity that prevents the base from wobbling.
Mastery Tip: Keep your tension consistent. If one side is tighter, the basket will develop a "lean." This is due to uneven torque being applied to the central axis. Use your awl to nudge the fibers into perfect alignment before proceeding.
3. Upsettling the Walls
Once your base reaches the desired diameter, it is time to "upsettle." This involves bending the spokes upward to form the vertical ribs of the basket. This transition is the most vulnerable point in the process. You may need to use a bone folder to pre-crease the fibers at the bend point to prevent splintering.
Mastery Tip: This step relies on the plasticity of the material. By compressing the inner fibers and stretching the outer fibers of the bend, you are permanently reorienting the grain. Ensure the material is at peak hydration during this move.
4. Continuous Weaving
Begin weaving your "weft" material in a continuous spiral or a start-and-stop row method. As you work, use your fingers to "pack" the rows down tightly against each other. This eliminates gaps and ensures the basket is load-bearing.
Mastery Tip: Observe the friction coefficient. Natural fibers have tiny microscopic hooks or scales. When you pack them tightly, these scales interlock, creating a composite structure that is significantly stronger than the individual strands.
5. Tapering and Splicing
When you reach the end of a weaver, you must splice in a new one. Overlap the old and new strands for at least three spokes. Hide the ends on the interior of the basket to maintain a clean aesthetic on the exterior.
Mastery Tip: Taper the ends of your weavers with a rotary cutter or sharp knife. By thinning the material at the overlap, you maintain a consistent thickness across the row, preventing "bulges" that disrupt the geometric flow.
6. The Rim and Border
Finish the top edge by folding the remaining spoke ends back into the weave or creating a braided rim. This "locks" the entire structure. A double-wrapped rim provides the most durability for baskets that will be handled frequently.
Mastery Tip: The rim acts as a tension ring. Much like a hoop on a barrel, it holds the outward pressure of the walls in check. If the rim is loose, the entire basket will eventually lose its shape due to the natural expansion and contraction of the fibers.
THE TECHNICAL LEDGER
Maintenance & Longevity: Natural fiber baskets are hygroscopic, meaning they absorb moisture from the air. To prevent mold, never store them in a damp basement. If they become dusty, a light vacuuming with a brush attachment is better than wiping with a wet cloth, which can push grit deeper into the weave.
Material Variations: For a premium look, use smoked rattan, which has a deep mahogany hue. For sustainability, look for recycled seagrass or locally foraged willow. These materials offer different flexural moduli, affecting how much weight the finished basket can hold.
The Correction:
- The Gap: If you see daylight between rows, your tension is too low. Fix it by using an awl to "down-pack" the rows and adding a filler strand.
- The Spiral Warp: If the basket looks twisted, you are pulling too hard in one direction. Fix it by counter-rotating the piece while it is still damp and pinning it into place.
- Fiber Splitting: This happens when the material is too dry. Stop immediately and re-mist the area with a spray bottle to restore pliability.
Studio Organization: Store your raw materials in a cool, dry place away from direct sunlight, which can cause UV degradation and make fibers brittle. Use vertical racks to prevent long reeds from developing a permanent "set" or curve.
THE FINAL REVEAL
There is nothing quite like the moment you trim the last stray fiber and stand back to look at your creation. Your new basket is not just a container; it is a testament to your understanding of structural engineering and organic beauty. The way the light catches the variegated tones of the seagrass and the shadows fall into the deep recesses of the weave adds a sophisticated, architectural element to any room. It feels sturdy, smells faintly of dried fields, and carries the energy of your own two hands. You have officially mastered the basics of beginner basketry methods!
STUDIO QUESTIONS
What is the best fiber for a first-time weaver?
Rattan reed is ideal because its uniform shape and high porosity make it predictable. It softens quickly in water, allowing beginners to focus on tension rather than fighting the material's natural rigidity.
How do I prevent my basket from molding?
Ensure the basket is completely dry before use. Provide airflow during the drying stage and avoid high-humidity environments. If mold appears, a light solution of white vinegar and water can kill spores without damaging the lignin.
Why did my basket spokes snap during the bend?
This is usually caused by insufficient hydration. The fibers reached their breaking point before becoming plastic. Next time, soak your spokes longer or use warmer water to increase the rate of moisture absorption into the vascular tissue.
Can I use garden weeds for basketry?
Yes, many "weeds" like English Ivy or Virginia Creeper have excellent tensile strength. Ensure you strip the leaves and check for sap sensitivity. Foraging adds a unique, local provenance to your home decor projects.

