
Listen to that sound. It is the crisp, high frequency snap of a score line traveling through a sheet of cathedral glass. If you are diving into First Time Stained Glass art at home, you are about to fall in love with the physics of controlled fracturing. There is something deeply visceral about holding a sheet of hand blown glass; it feels cold, heavy, and surprisingly alive. You can feel the internal tension of the material under your fingertips. We are not just making a pretty window decoration; we are manipulating light and structural integrity. To get this right, you need to understand that glass is technically an amorphous solid. It does not have a tidy crystalline structure, which means it wants to break in every direction at once. Our job is to use specific tools to convince it to follow our rules. We are going to harness thermal dynamics and surface tension to turn sharp, dangerous shards into a shimmering masterpiece that will last for decades. Let us get your workbench ready for some serious making.
THE STUDIO KIT
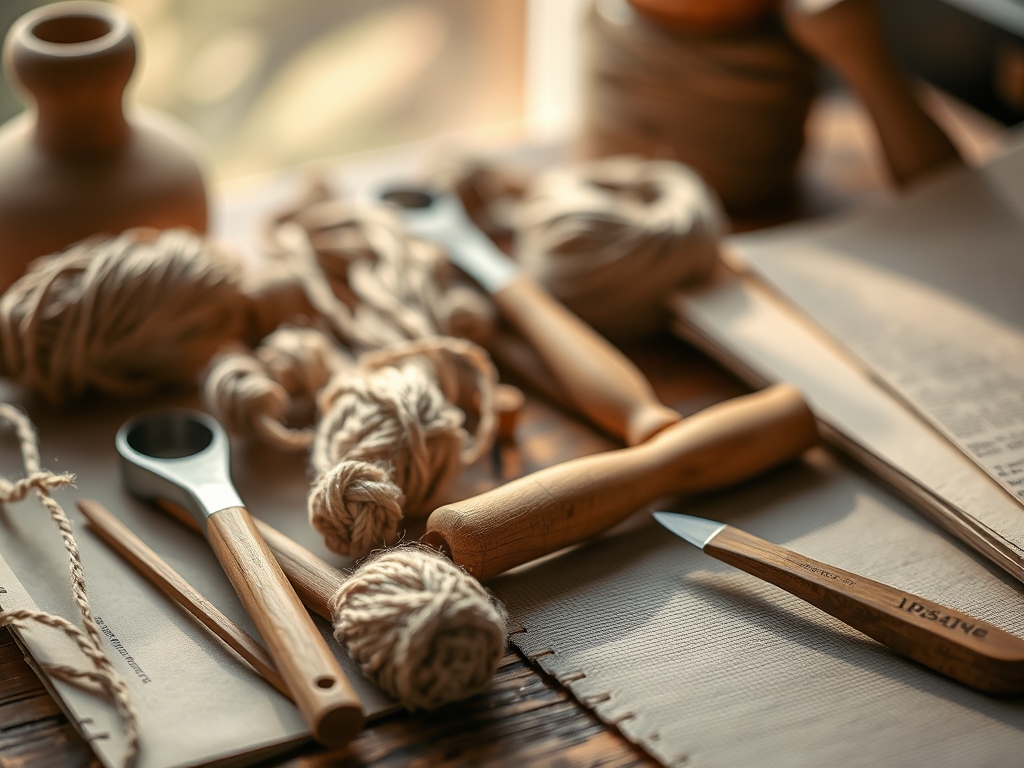
To master First Time Stained Glass, your kit must prioritize precision and safety. Your primary weapon is the pistol grip oil feed glass cutter. Unlike a standard pencil grip, the pistol grip uses the ergonomics of your entire arm to apply consistent downward pressure, which is vital for a clean score. You will also need running pliers, which feature a curved jaw designed to apply even pressure on both sides of a score line, triggering a clean break. For the edges, grozing pliers act as your refining tool; they have a serrated surface to nibble away excess glass bits.
Next is the copper foil, usually a 7/32 inch gauge. This adhesive backed tape wraps around the perimeter of each piece to provide a metallic surface for the solder to bond with. Speaking of bonding, you need a 60/40 tin lead solder and a high temperature soldering iron (aim for 80 to 100 watts). Do not forget the flux, a chemical cleaning agent that removes oxidation so your liquid metal flows like butter.
Material Substitutions: If you cannot find a professional grinder, you can use a carborundum stone to manually smooth edges, though it takes significantly more elbow grease. Instead of a professional light box, a clear glass tabletop with a lamp positioned underneath works perfectly for tracing your patterns.
THE TEMPO
The "Maker's Rhythm" in stained glass is a balance of frantic precision and meditative patience. For a beginner project of about ten pieces, expect to spend roughly five to seven hours from start to finish. The Patterning Phase takes thirty minutes; this is where you ensure your geometry is sound. The Cutting and Grozing Phase is the longest, usually two hours, as you respect the grain and texture of the glass. Foiling is your meditative midpoint, taking about an hour of repetitive, rhythmic burnishing. Finally, the Soldering Phase takes ninety minutes. This is the high stakes moment where thermal expansion meets chemistry. You cannot rush the cooling process; if you move a piece too quickly before the solder solidifies, you risk a "cold joint," which is structurally weak and aesthetically dull.
THE CORE METHOD
1. Scoring and Breaking the Glass
Place your glass on a flat, firm surface. Hold your cutter at a ninety degree angle and pull it toward you with steady, firm pressure. You should hear a consistent "zip" sound. This creates a microscopic fissure in the surface. Mastery Tip: This is all about tensile strength. By creating a score, you are intentionally weakening the surface tension of the glass so that when you apply pressure with your running pliers, the fracture follows the path of least resistance.
2. Grinding for Precision
Once your pieces are cut, the edges will be sharp and slightly uneven. Use your grinder to smooth the perimeter of each piece until it fits perfectly within your pattern lines. Mastery Tip: Always keep your grinder bit wet. The water acts as a coolant and a dust suppressant, preventing thermal shock from shattering the glass and keeping hazardous glass particulates out of the air.
3. The Art of Foiling
Wrap the edge of each glass piece with copper foil, ensuring it is perfectly centered. Use a bone folder or a plastic fid to press the foil flat against the glass. Mastery Tip: This process is called burnishing. You are creating a mechanical bond between the adhesive and the porous surface of the glass edge. If there are gaps or wrinkles, the solder will not flow evenly, compromising the piece's structural integrity.
4. Soldering the Joints
Apply flux to the foiled edges, then melt your solder over the seams to create a "bead." You want a slightly raised, rounded line of metal. Mastery Tip: This relies on capillary action. The liquid solder is drawn into the tiny spaces between the foiled glass pieces. The flux reduces the surface tension of the molten metal, allowing it to "wet" the copper and create a permanent, conductive bond.
THE TECHNICAL LEDGER
Maintenance and Longevity
To keep your tools in peak condition, always wipe your soldering iron tip on a damp sponge to prevent carbon buildup. Store your copper foil in a sealed bag; if the adhesive oxidizes, it loses its tackiness and will peel off during soldering. Your glass cutter reservoir should always be filled with cutting oil to lubricate the carbide wheel and keep the score "cool."
Material Variations
For a sustainable approach, look for recycled cullet or architectural scrap glass. Premium options include dichroic glass, which has thin layers of metal oxides that create shifting colors, or opalescent glass, which has a milky, semi opaque quality that catches light beautifully.
The Correction: 3 Common Mistakes
- The Heat Crack: If you hold your iron in one spot too long, the glass will crack from localized thermal expansion. Fix: Keep the iron moving and work in different sections to allow the glass to dissipate heat.
- Pitting in Solder: This happens when there is too much flux or the iron is too hot. Fix: Clean the area with a brass brush and re-solder with a lower heat setting.
- Gaps in Foiling: If the foil is not centered, the solder bead will look wonky. Fix: Peel it off, clean the glass with alcohol to remove residue, and re-apply fresh foil.
Studio Organization
Store your glass sheets vertically in a slotted rack. Never stack them horizontally, as the weight of the pile can cause the bottom sheets to develop stress fractures. Keep your patterns in a dry, flat portfolio to prevent the paper from warping, which would throw off your measurements.
THE FINAL REVEAL
Look at that! When you hold your finished piece up to the sun, the light transforms. Those rigid, technical steps have culminated in something ethereal. The heavy lead lines provide a bold, graphic contrast to the delicate, translucent glass. You have successfully navigated the physics of breakable things to create something permanent. Your solder lines should be smooth, silver, and strong, holding the entire composition in a metallic embrace. It is heavy, it is bright, and it is entirely yours.
STUDIO QUESTIONS
What is the best glass for beginners?
Start with cathedral glass. It is transparent and has a consistent thickness, making it much easier to score and break than textured or opaque varieties. It allows you to see your pattern clearly through the material for easier alignment.
Why is my solder not sticking?
This is usually due to oxidation or lack of flux. If the copper foil is old or dirty, the solder will bead up and roll off. Always apply a fresh layer of flux immediately before soldering to ensure a clean chemical bond.
Do I really need a glass grinder?
While not strictly mandatory, a grinder is essential for a professional finish. It ensures pieces fit together tightly, which reduces the amount of solder needed and significantly improves the structural integrity of the final First Time Stained Glass project.
Is soldering fumes dangerous?
Yes, you must work in a well ventilated area. The flux and lead solder release smoke that can irritate the lungs. Use a fume extractor or a fan blowing air away from your face to maintain a safe studio environment.

