
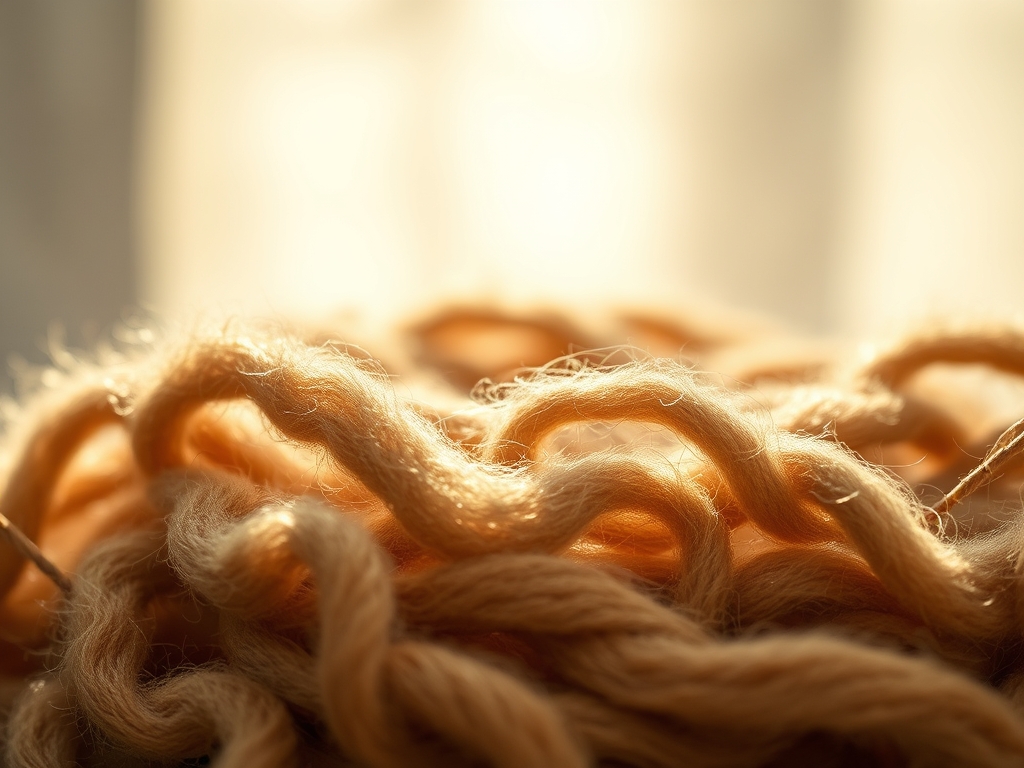
Imagine standing in your kitchen; the air is thick with the scent of simmering earth and sharp citrus. You are holding a piece of raw, cream colored silk. It feels cool and slippery against your palms; its tensile strength is high but its surface is hungry for pigment. This is your first Intro to Natural Dyeing. We are not just boiling garbage; we are extracting complex molecular compounds to transform porous fibers into wearable art. Your kitchen is no longer a place for snacks; it is a high energy laboratory where chemistry meets craft. We are going to harness the hidden brilliance of food waste to create a palette that is as sustainable as it is stunning.
THE STUDIO KIT
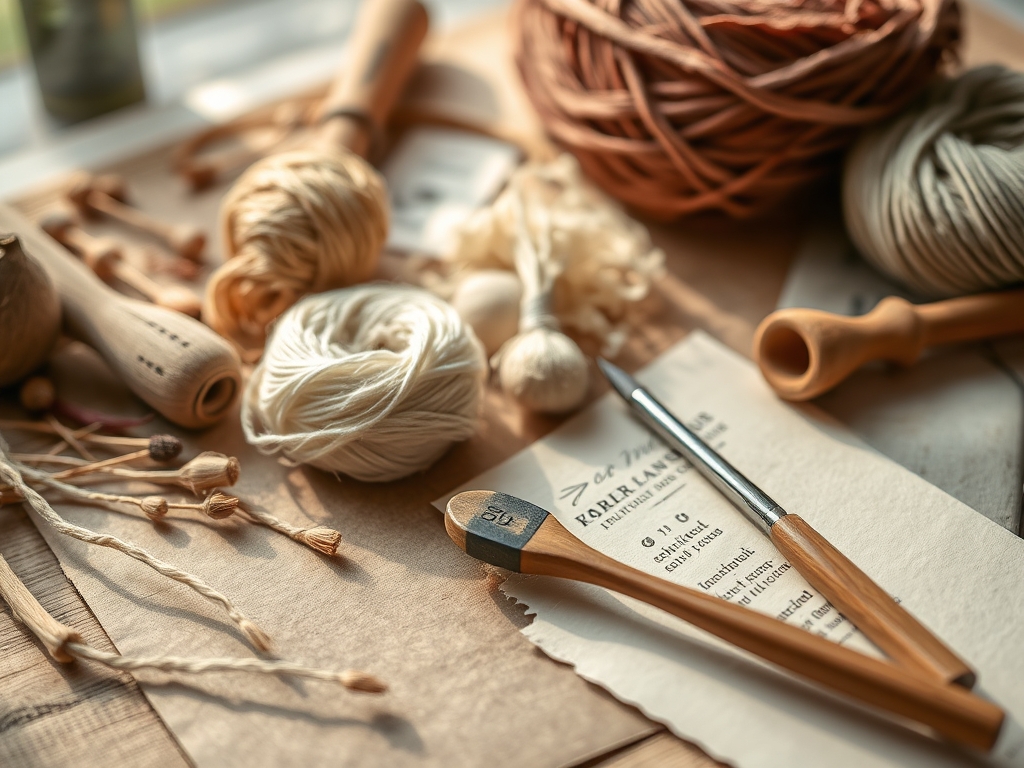
To master this craft, you need more than just a pot. You need a dedicated stainless steel vat because aluminum or copper can act as unintended mordants, shifting your colors chemically. You will need a digital scale to measure your dry fiber weight; this is the gauge for your dye-to-cloth ratio. Grab a thermometer to monitor heat; high temperatures can degrade the protein chains in wool or silk, making them brittle.
For material substitutions, if you lack a proper stirring rod, a heavy glass stirring rod or a high density silicone spatula works best to prevent snagging the ply of your fabric. You will also need pH strips. The acidity of your water can flip a soft pink avocado dye into a deep coral. If you are working with heavy canvas, keep a rotary cutter and a self healing mat nearby to trim away frayed edges before the fibers enter the bath.
THE TEMPO
The "Maker's Rhythm" is not a sprint; it is a slow, deliberate pulse. You should allocate a full weekend for your first project. The Scouring Phase takes about two hours of active simmering to strip away oils. The Mordanting Phase requires another two hours plus an overnight soak to ensure the metallic salts fully bond with the intercellular spaces of the fiber. Finally, the Dyeing Phase involves an hour of heat followed by a cooling period that can last up to twenty four hours. This slow cooling allows the capillary action of the fibers to pull the pigment deep into the core of the thread.
THE CORE METHOD
1. Scouring the Substrate
Before the pigment can land, the surface must be pristine. Boil your textiles in a solution of soda ash and neutral detergent. This removes the "size" or industrial waxes that block absorption. Mastery Tip: The science here is all about surface tension. By removing hydrophobic oils, you allow the water based dye to penetrate the fiber evenly rather than beading on the surface.
2. The Mordant Application
Apply a mineral salt like Alum (Potassium Aluminum Sulfate) to your damp fabric. This acts as a chemical bridge between the fiber and the dye molecule. Mastery Tip: This creates a coordinate covalent bond. Without this bridge, your colors will simply wash away because the dye molecules are often too large or too chemically indifferent to stick to the fiber on their own.
3. Extracting the Kitchen Pigment
Simmer your scraps (like onion skins or avocado pits) in a separate pot for an hour. Strain the liquid through a fine mesh or cheesecloth to remove any solids. Mastery Tip: Heat facilitates thermal agitation, breaking the cellular walls of the plant material to release tannins and flavonoids into the solvent.
4. Submerging for Saturation
Lower your mordanted, wet fabric into the strained dye bath. Keep the temperature just below a simmer. Move the fabric constantly for the first ten minutes to prevent "hot spots" of color. Mastery Tip: Constant movement prevents sedimentation, ensuring that pigment particles do not settle in the folds of the fabric, which would cause streaking.
5. The Cold Cure
Turn off the heat and let the fabric sit in the bath until it is completely cold. This is where the magic happens. Mastery Tip: As the temperature drops, the molecular vibration slows down, allowing the dye molecules to "lock" into the mordant sites. Rushing this step results in a much paler final shade.
THE TECHNICAL LEDGER
Maintenance & Longevity: Natural dyes are living colors. To prevent premature fading, always wash your finished textiles in pH neutral soap and dry them out of direct sunlight. UV rays act as a catalyst for photodegradation, breaking the chemical bonds of the pigment.
Material Variations:
- Sustainable: Onion skins (yellow/orange) and avocado pits (pink) are high in tannins and require less mordant.
- Recycled: Old rusty nails can be soaked in vinegar to create an "iron liquor" that "saddens" or darkens any color.
- Premium: Pomegranate rinds provide a rich, buttery yellow and act as a natural mordant due to their high tannic acid content.
The Correction:
- Mistake: Blotchy color. Fix: You didn't scour properly or the pot was too small. Re-scour and over-dye in a larger vat to even out the tone.
- Mistake: Color washes out immediately. Fix: Your mordant concentration was too low. Re-mordant the fabric and return it to the dye bath.
- Mistake: Fabric feels "crunchy." Fix: You overheated the protein fibers. A diluted vinegar rinse can help restore the tactile softness by rebalancing the pH.
Studio Organization: Store your dried, dyed samples in acid free tissue paper inside an opaque bin. Label each sample with a "recipe card" detailing the fiber weight, dye weight, and mordant type. This creates a physical database for future replication.
THE FINAL REVEAL
Look at that! You have successfully turned a pile of compost into a spectrum of sophisticated color. The fabric now has a burnished quality; it looks intentional and rich. The way the light hits the uneven, organic tones of the natural pigment creates a depth that synthetic dyes can never replicate. You have mastered the ergonomic flow of the studio and the rigid physics of the dye vat. This piece isn't just a scrap of cloth; it is a record of a chemical transformation. Go ahead, drape it, stitch it, or wear it. You are officially a maker.
STUDIO QUESTIONS
What is the best fabric for an Intro to Natural Dyeing?
Natural protein fibers like silk or wool yield the most vibrant results. Their molecular structure has more "anchor points" for dye to attach. Cellulose fibers like cotton or linen are porous but require extra tannins to achieve deep saturation.
Can I use any pot for dyeing?
No; use stainless steel or unchipped enamel. Reactive metals like aluminum or iron will chemically alter the dye color. A stainless steel vat ensures the pigment remains "true" to the source material without unintended metallic interference.
Why do I need to weigh my fabric?
Weight determines the "Depth of Shade." By calculating the dry weight of the fiber, you can precisely measure the percentage of dye material needed. This gauge ensures consistency and allows you to replicate specific colors in future batches.
How do I make my colors lightfast?
The secret is a proper mordant and a long "cure" time. Using a mineral bridge like Alum creates a permanent bond. Additionally, rinsing with a pH neutral soap prevents the color from shifting when exposed to water or sweat.
Are all kitchen scraps suitable for dyeing?
Not all scraps contain "fast" pigments. Beets and berries look bright but are fugitive, meaning they fade quickly. Stick to high tannin scraps like onion skins, avocado pits, and walnut husks for professional, long lasting results.

