
Imagine the tactile sensation of raw, unspun wool sliding through your fingers; it is a mixture of lanolin oils and high-tensile protein fibers waiting to be anchored. When you dive into First Time Latch Hooking, you are not just making a rug; you are engineering a vertical tapestry using a grid-based structural system. The canvas feels stiff, almost industrial, coated in a starch-based sizing that provides the necessary rigidity to support thousands of individual yarn knots. As you pull that first precut strand through the woven mesh, you feel the resistance of the canvas warp and weft. It is a satisfying, rhythmic click-clack of the metal tool against the plastic-coated grid. This hobby is the ultimate retro revival, blending the groovy aesthetics of the seventies with the modern precision of fiber science. We are going to transform a pile of colorful acrylic or wool plies into a dense, plush masterpiece that defies gravity when hung on your studio wall. Grab your coffee and clear your workbench; we are about to master the physics of the shag.
THE STUDIO KIT
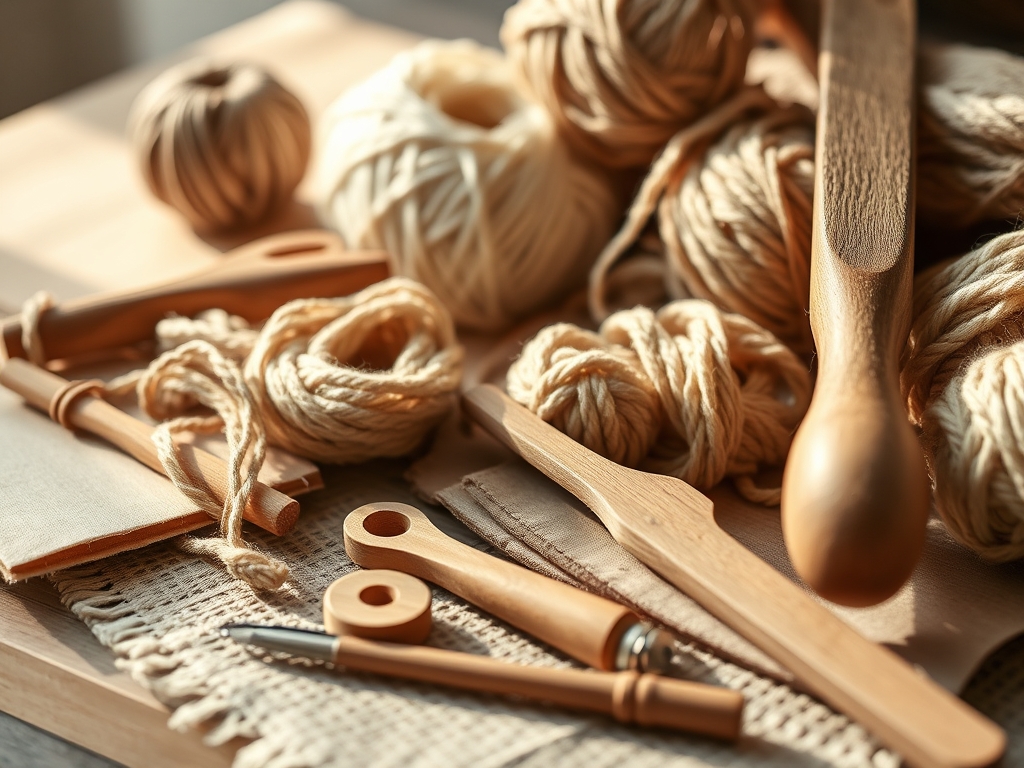
To execute a professional-grade wall hanging, your inventory must go beyond the basic hobby store bag. The foundation is the rug canvas, typically a 3.75-mesh or 5-mesh grid. This numerical value represents the holes per linear inch; a lower gauge results in a shaggier, less dense pile, while a higher gauge requires finer yarn and offers incredible detail. Your primary instrument is the latch hook tool, an ergonomic device featuring a hinged lever. This lever acts as a mechanical gate, trapping the yarn as you pull it through the mesh. You will also need a rotary cutter and a self-healing mat to trim any stray fibers that disrupt the uniform surface tension of your finished piece.
Material substitutions can elevate a project from craft-grade to gallery-quality. While most kits provide 100% acrylic yarn due to its high tensile strength and colorfastness, you can substitute with merino wool for a matte, luxurious texture or recycled silk strips for an avant-garde, variegated look. If you find the canvas edges too abrasive, use a bone folder to crisp the edges of your binding tape before sewing. Always keep a pair of precision calipers nearby if you are cutting your own yarn lengths; even a two-millimeter deviation in strand length can create an uneven topographical map across your design.
THE TEMPO
The "Maker's Rhythm" is a psychological state of flow backed by the physical repetition of the knotting process. For a standard 12 by 12 inch retro design, expect a total production time of approximately ten to fifteen hours. The Preparation Phase takes about one hour; this involves gridding your canvas with a waterproof marker and sorting your yarn by denier and hue. The Execution Phase is the bulk of your time, where you will develop a cadence of roughly four knots per minute.
As you progress, your muscle memory will optimize the ergonomic pivot of your wrist, reducing fatigue. The Finishing Phase requires two hours of meticulous work, including whip-stitching the edges and steam-setting the fibers. Do not rush the steam-setting; the heat allows the twisted plies to bloom, filling the microscopic gaps between knots and increasing the overall structural integrity of the wall art.
THE CORE METHOD
1. Mapping the Grid
Before the first knot is tied, you must transfer your retro pattern onto the canvas. Use a permanent, non-bleeding marker to outline the geometric shapes. Because the canvas is a porous substrate, ink can migrate if the humidity is high.
Mastery Tip: Understand the grid orientation. Always work from the bottom up to prevent the finished pile from obscuring the empty holes above. This maintains a clear line of sight and prevents "ghosting" where the canvas shows through the yarn.
2. The Loop and Thread
Fold a single strand of yarn exactly in half over the metal shank of the tool, below the latch. Insert the hook under one horizontal thread of the canvas grid. The coefficient of friction between the tool and the canvas should be minimal; if it snags, check for burrs on the metal.
Mastery Tip: Maintain consistent downward pressure. By keeping the hook angled at thirty degrees, you minimize the stress on the canvas warp threads, preventing the grid from warping over time.
3. Engaging the Latch
Place the two loose ends of the yarn into the open eye of the hook. As you pull the tool back toward you, the hinged latch will automatically flip up, trapping the yarn ends against the hook. This is a simple lever-and-fulcrum mechanic that ensures the knot is self-contained.
Mastery Tip: Watch the ply twist. If you pull too fast, you can untwist the yarn, weakening the strand. A controlled, steady pull preserves the yarn's structural twist and ensures maximum fluff.
4. Sealing the Knot
Pull the ends completely through the loop that was formed around the canvas thread. Tug gently on the two tails to seat the knot firmly against the intersection of the mesh. This creates a girth hitch knot, which is exceptionally stable under the vertical tension of wall mounting.
Mastery Tip: Use capillary action to your advantage when cleaning. If you must spot-treat a knot, the yarn fibers will draw liquid upward. Always blot, never scrub, to avoid disturbing the fiber alignment.
THE TECHNICAL LEDGER
Maintenance & Longevity: To ensure your retro wall art survives for decades, avoid hanging it in direct UV light. Ultraviolet radiation breaks down the polymer chains in acrylic and fades organic dyes in wool. Vacuum your piece once a month using a low-suction upholstery attachment to remove dust that can settle deep into the pile.
Material Variations:
- Sustainable: Use organic cotton cord for a heavy, architectural drape.
- Premium: Incorporate alpaca blends for a high-luster finish.
- Industrial: Use nylon-reinforced yarns for pieces intended for high-touch areas.
The Correction:
- The Dropped Loop: If a knot feels loose, the yarn was likely not centered on the tool. Remove with a seam ripper and re-knot using a slightly longer strand to compensate for the stretch.
- The Grid Shift: If the pattern looks skewed, you may have skipped a row. Use an awl to gently spread the existing knots and verify the grid count.
- The Fiber Fray: If the yarn ends look "fuzzy" or unraveled, your latch hook might have a sharp edge. Use a fine-grit emery cloth to smooth the tool's throat.
Studio Organization: Store your yarn in airtight bins categorized by dye lot. Even a slight chemical variance in the dye bath can cause a visible "line" across a solid color block. Keep your canvas rolled around a cardboard tube, never folded, to prevent permanent creasing of the plastic stiffener.
THE FINAL REVEAL
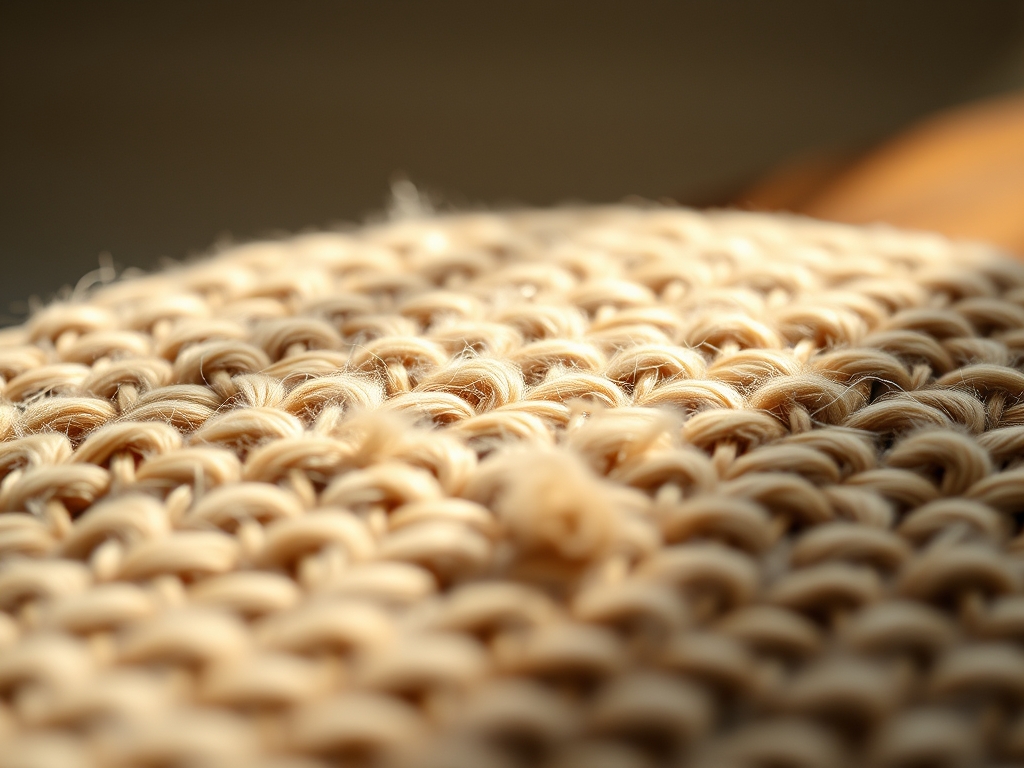
Once the final knot is pulled and the edges are bound, step back and witness the transformation. Your retro design is no longer just a collection of strings; it is a monolithic textile with incredible depth and shadow. The way the light hits the varying heights of the yarn creates a dynamic visual experience that flat prints simply cannot replicate. The weight of the piece feels substantial in your hands, a testament to the thousands of mechanical connections you just engineered. It is bold, it is fuzzy, and it is a total vibe. Hang it with pride using a sturdy wooden dowel to distribute the weight evenly across the top row of the mesh.
STUDIO QUESTIONS
What is the best yarn for a first project?
High-bulk acrylic is superior for beginners due to its elastic recovery and resistance to fraying. It holds its shape perfectly when cut into short lengths, ensuring your retro pattern remains crisp and defined against the canvas backdrop.
How do I stop the edges from fraying?
Apply a thin bead of textile adhesive or use iron-on binding tape to the raw edges of the canvas. This seals the woven grid and prevents the vertical and horizontal threads from unraveling under the weight of the yarn.
Can I wash my latch hook wall art?
Hand-wash only in cold water with a pH-neutral detergent. Avoid agitation, as this can cause the fibers to felt or the knots to migrate. Air dry flat on a ventilated rack to maintain the rectangular dimensions.
Why does my pattern look blurry?
Blurring occurs when the yarn gauge is too small for the canvas mesh. If there is too much space in the hole, the yarn flops over. Use a thicker ply or double up the strands to increase the density.

