
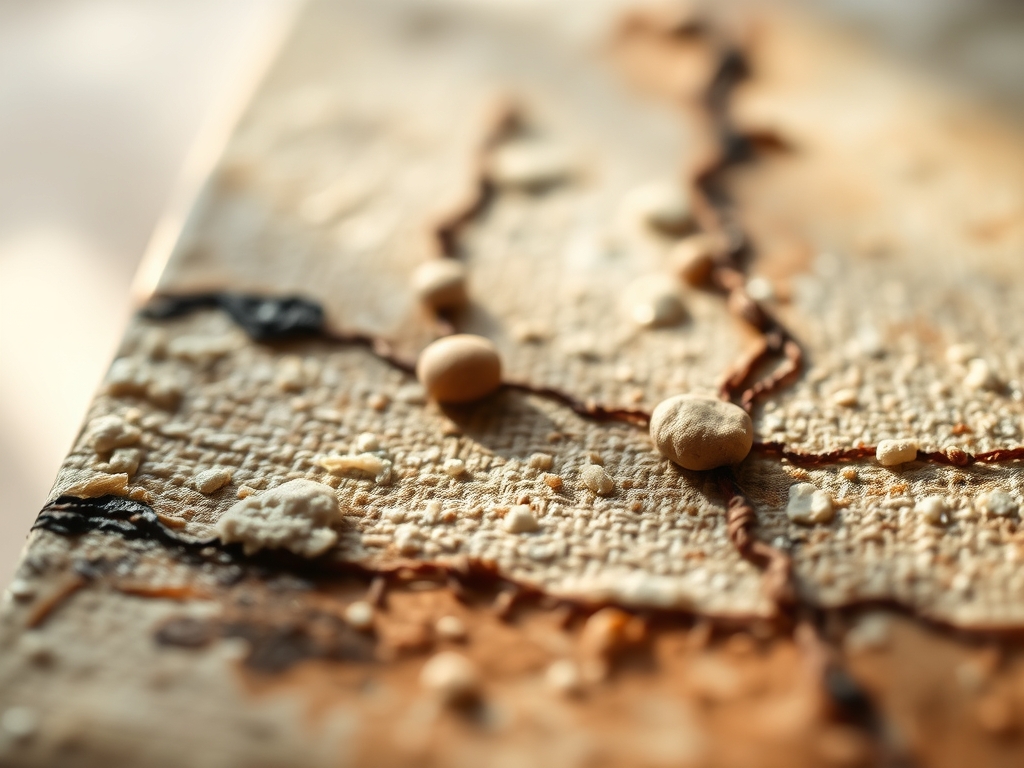
Imagine standing before a vast, blank expanse of heavy-gauge cotton duck canvas; it is a silent invitation to chaos and control. Your journey into an intro to abstract painting begins not with a vision, but with the tactile resistance of the surface under your fingertips. You can feel the weave, a grid of interlocking fibers designed to hold the weight of heavy-body acrylics without sagging under the tension. The air in the studio smells of linseed oil and damp earth. This is where physics meets feeling. We are not just slapping color onto a board; we are manipulating the surface tension of liquids and the structural integrity of pigments. Grab your apron and clear your mind. We are about to turn raw materials into a visual symphony that defies traditional logic but follows the strict laws of fluid dynamics.
THE STUDIO KIT
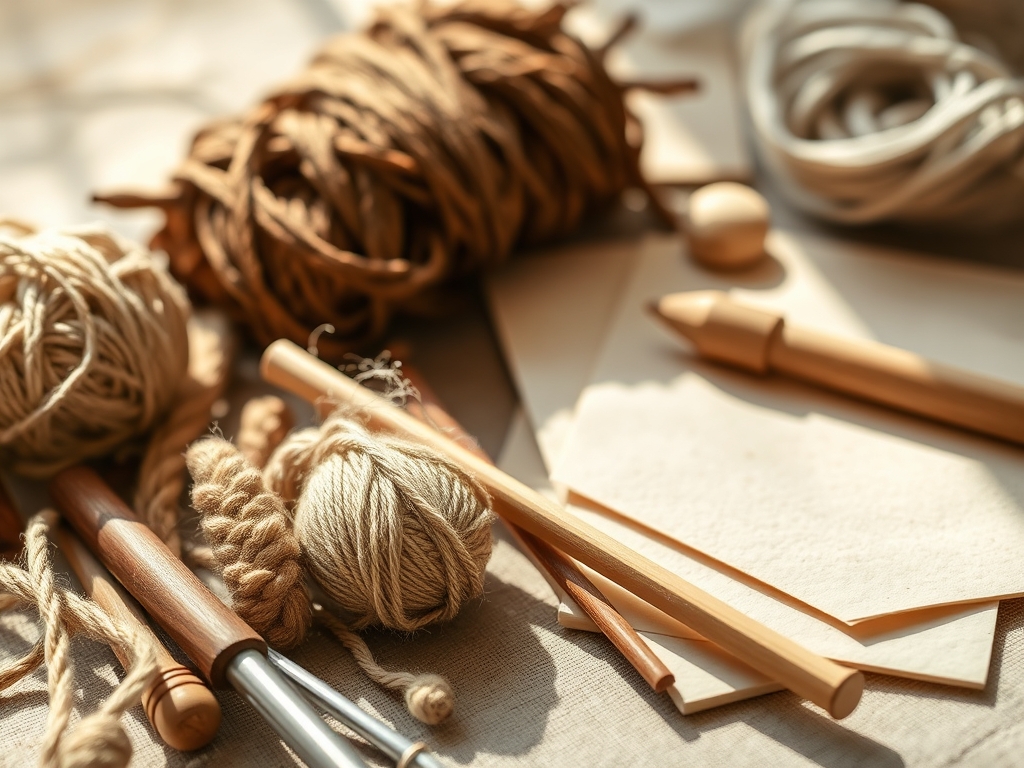
To master this craft, you need more than just a brush; you need instruments that can move, scrape, and gouge. Your primary kit includes heavy-body acrylics, which possess a high viscosity that allows for peaks and textures that hold their shape as the polymer chains cross-link during drying. You will need a set of stainless steel palette knives; these are your primary structural tools, offering the flexibility of a spring-steel blade to spread "butter" across the porous substrate.
Next, gather a silicone catalyst wedge. This tool is ergonomic and heat-resistant, perfect for moving large volumes of paint while maintaining a smooth, non-porous contact point. You also need gesso, a primer made of calcium carbonate and an acrylic binder that provides the "tooth" necessary for pigment adhesion. For fine details, a liner brush with high-quality synthetic bristles will offer the necessary tensile strength to snap back into place after every stroke.
Material Substitutions: If you lack a professional palette knife, a stiff plastic putty knife from the hardware store works wonders. Instead of expensive texture pastes, you can mix clean play sand or marble dust into your paint to alter its density and light-refraction properties. Even an old credit card can serve as a makeshift scraper for creating sharp, geometric edges.
THE TEMPO
The "Maker's Rhythm" is a delicate balance between the fast-paced evaporation of water and the slow, deliberate layering of color. Abstract painting is not a sprint; it is a series of choreographed movements. The Initial Grounding Phase takes about thirty minutes; this is when you prime your surface and establish your base values.
The Structural Build is the meat of the process, lasting anywhere from two to four hours. Here, you are working with the "open time" of your paints. Acrylics dry quickly, so you must work with a sense of urgency unless you employ a retarder medium to slow the molecular evaporation. Finally, the Curing Phase requires patience. While the paint may feel dry to the touch within an hour, the full chemical bond takes twenty-four to forty-eight hours to achieve maximum durability and lightfastness.
THE CORE METHOD
1. Preparing the Substrate
Start by applying a thin, even layer of gesso using a wide flat brush. Ensure you work in a cross-hatch pattern to fill every microscopic valley in the canvas weave. This creates a consistent capillary action, preventing the paint from soaking unevenly into the fibers.
Mastery Tip: Use a bone folder to press down any stray threads or knots in the canvas before priming. This ensures a perfectly level surface, preventing unwanted "islands" of paint where the pigment might pool and crack due to uneven drying rates.
2. Establishing the Value Map
Before diving into vibrant hues, use a diluted charcoal or a neutral wash to map out your composition. Focus on the weight of the shapes. You are looking for a balance of mass that feels grounded.
Mastery Tip: Physics dictates that darker pigments often have a higher specific gravity because they contain heavier minerals like iron oxide. Place these "heavy" colors lower in your composition to create a natural sense of visual gravity and structural stability.
3. Layering with the Palette Knife
Load the underside of your palette knife with a generous amount of paint. Swipe it across the surface at a low angle, roughly fifteen degrees. This action utilizes shear thinning, where the viscosity of the paint decreases under the pressure of the blade, allowing it to glide before it sets.
Mastery Tip: To create "chatter" marks, increase the angle of your knife and apply rhythmic, downward pressure. This breaks the surface tension of the paint, leaving behind a series of staccato ridges that catch the light and add three-dimensional depth.
4. Introducing Fluid Dynamics
Drip a high-flow acrylic or a mixture of paint and water onto a dry layer. Tilt the canvas to let gravity do the work. Watch as the liquid finds the path of least resistance, creating organic, vein-like structures known as dendritic patterns.
Mastery Tip: This is a lesson in viscous fingering. When a less viscous fluid (watery paint) is injected into a more viscous one (thick paint), it creates complex, fractal-like boundaries. Control the speed of the flow by adjusting the incline of your easel.
5. Scraping and Sgraffito
Use the edge of a rotary cutter (with the blade retracted) or a specialized awl to scratch through wet layers of paint to reveal the colors beneath. This technique, known as sgraffito, adds a sense of history and archeology to the piece.
Mastery Tip: Timing is critical here. You must strike when the top layer is "tacky" but the bottom layer is "set." This utilizes the difference in adhesion versus cohesion, allowing you to remove the top skin without disturbing the foundation.
THE TECHNICAL LEDGER
Maintenance & Longevity: To ensure your masterpiece survives the ages, always apply a UV-resistant varnish once the paint has fully cured. This protects the polymer chains from breaking down under ultraviolet light. Clean your tools immediately with a pH-neutral soap; once acrylic resin hardens on a brush, it becomes a permanent plastic bond that is nearly impossible to reverse without harsh solvents.
Material Variations:
- Sustainable: Use Earth-based pigments and recycled wood panels as your substrate.
- Premium: Invest in cadmium-free professional paints for maximum opacity and archival quality.
- Experimental: Incorporate mica flakes or metallic powders to change the refractive index of specific sections.
The Correction:
- The Muddy Mess: If colors blend into a grey sludge, stop immediately. Allow the area to dry, then use a jeweler's saw or fine sandpaper to lightly abrade the surface before repainting.
- The Cracking (Crazing): This happens when the top layer dries faster than the bottom. Fix this by filling the cracks with a gloss medium to act as a structural bridge.
- The Sagging Canvas: If your canvas loses tension, spray the back with distilled water. As the fibers dry, they will contract, restoring the tensile strength of the surface.
Studio Organization: Store your finished, cured paintings vertically in a climate-controlled environment. Use acid-free glassine paper between canvases to prevent "blocking," which is the tendency of acrylic films to stick together under pressure.
THE FINAL REVEAL
Look at that! You have successfully navigated the complex world of an intro to abstract painting. What started as a raw roll of fabric is now a multidimensional exploration of color and force. The way the light hits those palette knife ridges creates a dynamic shadow play that changes as you move through the room. Your piece has "heft," both physically and emotionally. You did not just paint; you engineered a visual experience using the very laws of the universe. It is bold, it is textured, and it is uniquely yours.
STUDIO QUESTIONS
What is the best surface for a beginner?
A pre-stretched, triple-primed cotton canvas is ideal. It offers consistent tensile strength and a predictable surface "tooth," which helps beginners manage paint adhesion and prevents the substrate from warping during the drying process.
How do I prevent my colors from looking muddy?
Avoid over-mixing on the canvas. Muddy colors occur when too many pigments are physically blended, leading to subtractive color mixing. Let layers dry or use clean tools to maintain the chromatic integrity of each hue.
Can I use house paint for abstract art?
While possible, house paint lacks the pigment density and lightfastness of artist-grade acrylics. It is also more prone to "crazing" or cracking over time because it is not formulated for the flexible nature of artist canvas.
What does "open time" mean in painting?
Open time refers to the duration the paint remains workable before the evaporation of the solvent (water) causes the acrylic resin to skin over. Using a stay-wet palette can significantly extend this window for better blending.

