

Imagine the scent of fresh cellulose and the gritty, cool touch of unrefined clay beneath your fingertips. There is a specific, electric friction that occurs when a high-quality graphite core meets the tooth of cold-pressed paper. This is the sensory gateway to Nurturing Creative Kids, where we move beyond simple finger painting and into the realm of true material science. When we provide children with tools that possess genuine tactile feedback, we are not just making art; we are training their fine motor neural pathways to understand tensile strength and structural integrity. Every crinkle of parchment and every resistance of a heavy-gauge wire teaches a lesson in physics. We are building a foundation where curiosity meets the physical world in a glorious, messy collision of innovation.
THE STUDIO KIT
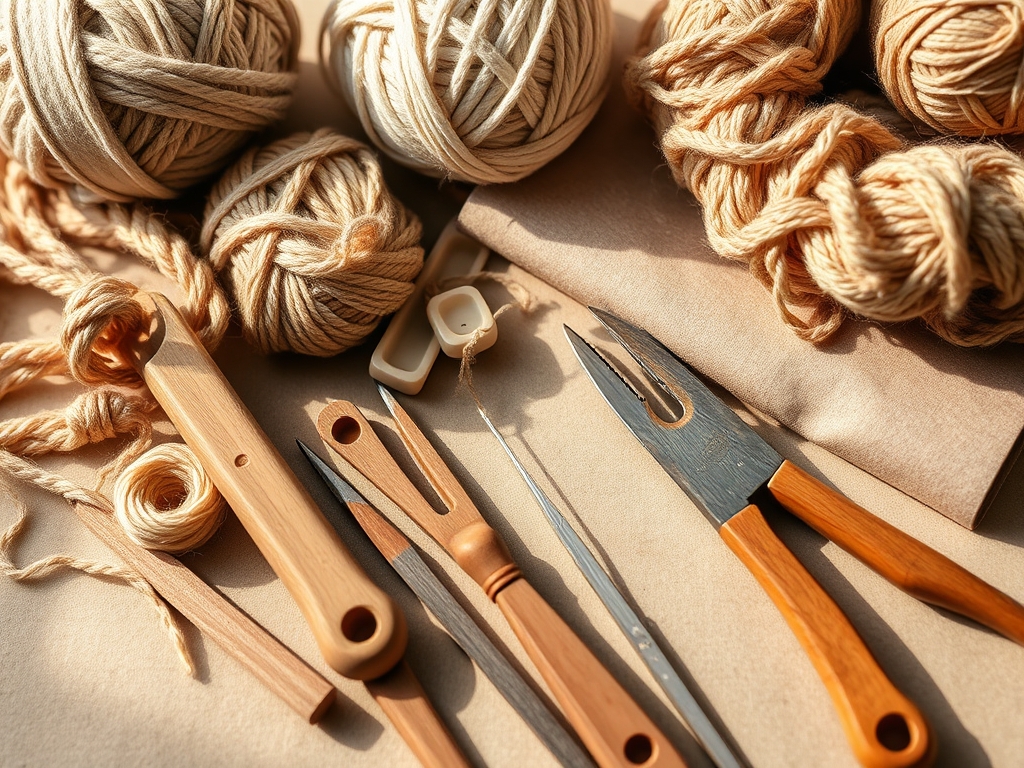
To build a professional-grade creative environment, you need more than just washable markers. Start with a bone folder for achieving crisp, geometric creases in paper; this tool utilizes smooth friction to compress cellulose fibers without tearing the surface. You will also need a set of precision calipers to help your young maker understand scale and ratio. For the base materials, stock up on acid-free 300gsm watercolor paper, which offers a high absorbency rate and a robust internal sizing that prevents warping when saturated.
Material Substitutions: If you lack professional linoleum blocks, use high-density pink erasers for carving. If a jeweler's saw is too advanced for your current age group, substitute with a rotary cutter featuring a safety guard to explore the physics of clean, tangential lines. Instead of expensive polymer clays, you can utilize a salt-dough mixture, provided you calculate the evaporation rate during the curing process to prevent structural cracking.
THE TEMPO
Every masterpiece follows a specific Maker's Rhythm, a cadence of creation that balances frantic energy with calculated patience. The first phase is the Ideation Sprint, lasting roughly twenty minutes, where the brain engages in rapid-fire synaptic firing. Next is the Technical Execution, which requires sixty to ninety minutes of deep focus. This is where the flow state occurs, as the child learns to synchronize their breathing with the steady pressure of an awl or the rhythmic stroke of a brush. Finally, there is the Curing Period. Whether it is waiting for pigment suspension to dry or for adhesive polymers to bond, this phase teaches the most difficult lesson of all: the physics of time. Respecting the evaporation cycle is just as important as the initial sketch.
THE CORE METHOD
1. The Architectural Blueprint
Start by having the child map out their concept using a mechanical pencil with 0.5mm lead for high-precision lines. This step focuses on spatial awareness. By drawing a 2D representation of a 3D object, they are learning to translate dimensions. Mastery Tip: Explain the concept of structural load. If they are designing a sculpture, the base must have a wider surface area than the apex to maintain a low center of gravity and prevent a mechanical collapse.
2. Manipulating the Grain
When working with paper or wood, identifying the grain direction is vital. Have your maker gently bend the material to feel the resistance. Mastery Tip: This resistance is caused by the alignment of long-chain fibers. Folding with the grain results in a smooth finish; folding against it creates a jagged fracture. This teaches children that materials have an inherent "will" that must be respected for structural integrity.
3. The Science of Adhesion
Instead of globbing on glue, use a stiff-bristled brush to apply a thin, even layer of polyvinyl acetate (PVA). This ensures that the moisture does not oversaturate the porous fibers of the substrate. Mastery Tip: This process relies on capillary action. The glue travels into the microscopic valleys of the material, creating a mechanical lock once the solvent evaporates. Less is often more when aiming for a professional bond strength.
4. Pigment Saturation and Fluid Dynamics
Introduce high-pigment watercolors and observe how they travel across a pre-dampened surface. This is the "wet-on-wet" technique. Mastery Tip: This is a live demonstration of surface tension. The water acts as a transport medium for the mineral pigments. By tilting the paper, the child uses gravity to manipulate the viscosity of the liquid, creating gradients that mimic the natural world.
5. Subtractive Sculpting
Give the child a soft block and a small u-gouge tool. They will remove material to find the form within. Mastery Tip: This teaches displacement. Unlike additive processes, subtractive work is permanent. It requires the maker to calculate their force distribution so they do not shear off more than intended. It is a lesson in the irreversibility of kinetic energy.
6. Wire Armatures and Tension
Use copper or aluminum wire to create a skeleton for a sculpture. Use needle-nose pliers to create loops and hooks. Mastery Tip: Explain work hardening. As you bend the metal, the atomic structure becomes more disordered and rigid. If they bend the wire back and forth too many times, it will undergo fatigue failure and snap.
7. Burnishing for Surface Finish
Once a piece is assembled, use a smooth stone or the back of a spoon to burnish the edges. This compresses the surface and creates a slight sheen. Mastery Tip: Burnishing reduces the surface porosity, making the object more resistant to environmental moisture. It is the final step in ensuring the longevity of the tactile experience.
8. The Iterative Review
The final step is not the finished product, but the analysis. Use a magnifying loupe to inspect the joins and the edges. Mastery Tip: This is the Quality Assurance phase. By identifying where a seam is weak or where the pigment distribution is uneven, the child learns to troubleshoot using the scientific method. Every "failure" is just a data point for the next build.
THE TECHNICAL LEDGER
Maintenance & Longevity: To ensure these creations survive the decades, keep them away from direct UV light, which triggers photodegradation in organic pigments. Use a fixative spray on charcoal or pastel works to lock the particles in place via a light resin coating.
Material Variations:
- Sustainable: Use recycled corrugated cardboard for large-scale builds; its internal fluting provides incredible compressive strength.
- Premium: Upgrade to heavyweight vellum or hand-forged steel tools to provide a more significant ergonomic weight.
The Correction:
- The Warp: If paper curls after painting, it is due to uneven fiber expansion. Fix it by lightly misting the back and pressing it under a heavy weight to reset the hydrogen bonds.
- The Snap: If a clay limb falls off, the join was too dry. Use slip (liquid clay) to create a chemical bridge between the two pieces.
- The Bleed: If ink spreads too far, the paper is too absorbent. Apply a thin coat of gesso to create a non-porous barrier before restarting.
Studio Organization: Store paper flat in archival-safe portfolios to prevent warping. Keep metal tools lightly oiled with a silicone-based lubricant to prevent oxidation. Organize small components like beads or fasteners by gauge and weight in clear, modular bins.
THE FINAL REVEAL
There is nothing quite like the moment a child realizes they have transitioned from "playing" to "engineering." The finished piece sits on the workbench, a testament to their mastery over material physics and their own creative intuition. It is sturdy, intentional, and technically sound. By Nurturing Creative Kids through this high-density, tool-focused approach, we are giving them the vocabulary to speak to the physical world. They aren't just making art; they are mastering the very fabric of reality, one burnished edge at a time. Go ahead, celebrate that win; you have just mentored a future innovator.
STUDIO QUESTIONS
How do I choose the right paper for my child?
Look for the grammage or weight. For heavy media like paint, choose at least 300gsm. This ensures the tensile strength can handle moisture without the fibers disintegrating or the surface pilling during the creative process.
Why is my child's glue not holding?
It is likely a matter of surface energy. Some plastics or coated papers repel water-based adhesives. Try lightly sanding the surface with fine-grit sandpaper to increase the surface area and create a mechanical grip for the bond.
What is the best way to introduce sharp tools?
Start with a safety briefing on force vectors. Teach the child to always move the blade away from their body. Providing ergonomic tools designed for smaller hands ensures they maintain a secure grip and better control.
How can I make art projects more sustainable?
Focus on biodegradable substrates like bamboo paper or recycled pulp. Use natural binders like starch paste. This teaches children about the lifecycle of materials and how to minimize their environmental footprint while still creating high-quality work.

