
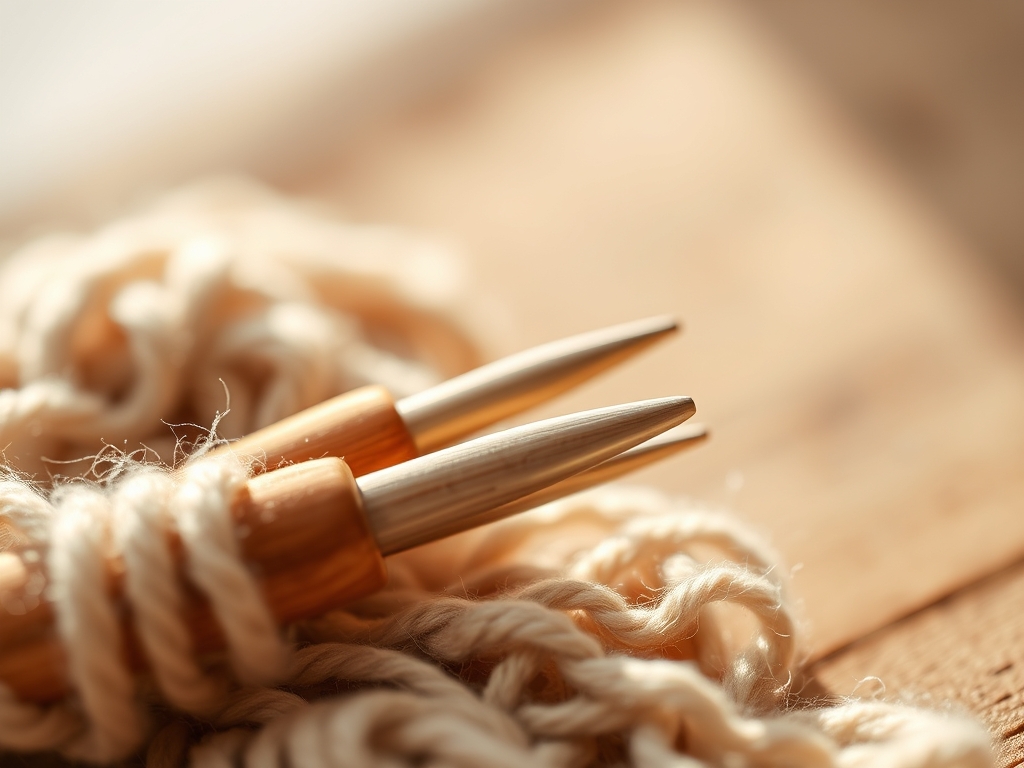
Imagine the tactile thrill of a fresh skein hitting your palm. It is not just wool; it is a complex architecture of interlocking fibers waiting for a catalyst. To transform this raw material, you need the ultimate lever: Beginner Crochet Hooks. These tools are your mechanical advantage in a world of soft tension. Whether you are gripping a cold, sleek aluminum shaft or the warm, organic grain of bamboo, the hook is the bridge between your kinetic energy and the yarn's potential. We are talking about the physics of loops. Every stitch is a lesson in tensile strength and friction coefficients. If the hook is too small, the yarn shreds under the stress of the metal throat. If it is too large, the structure collapses into a shapeless, porous mess. We are here to master the math of the craft. We are going to find your perfect gauge and turn that chaotic pile of string into a structural masterpiece. Grab your calipers and let's dive into the studio.
THE STUDIO KIT
THE STUDIO KIT
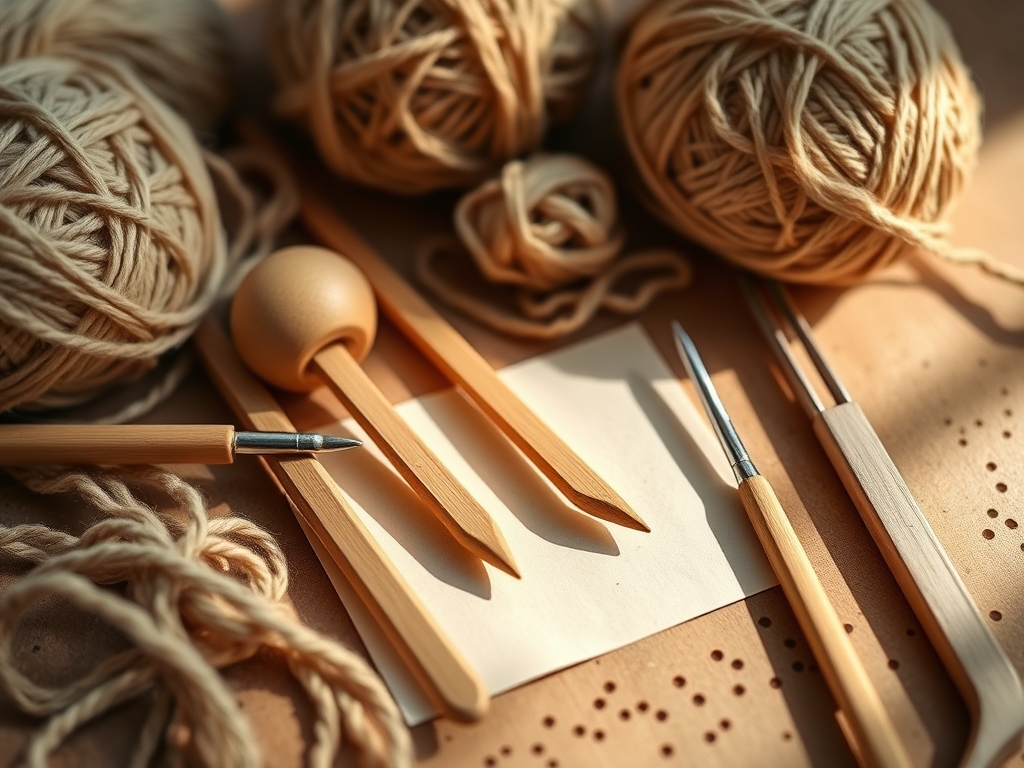
Building a high-performance crochet station requires more than just a ball of yarn. You need a curated selection of Beginner Crochet Hooks that offer ergonomic support to prevent repetitive strain during long sessions. Look for hooks with a soft-touch grip; these are designed to redistribute the pressure across your palm, allowing for a more fluid range of motion. You will also need a digital caliper to verify the diameter of your hook shafts, as manufacturing tolerances can vary between brands.
For your textile base, start with a medium-weight (worsted) cotton or acrylic blend. Cotton offers low elasticity, which provides excellent structural integrity for beginners. Acrylic, however, has a higher tensile memory, meaning it snaps back into shape after being stretched. You will also need a pair of high-carbon steel rotary cutters or precision embroidery scissors for clean, non-frayed ends.
Material Substitutions: If you cannot find high-end ergonomic hooks, you can modify standard aluminum hooks by adding a polymer clay grip. If premium wool is unavailable, recycled cotton cord serves as a fantastic high-friction alternative that helps beginners maintain consistent loop tension.
THE TEMPO
The "Maker's Rhythm" is a physiological state where your heart rate aligns with the repetitive motion of the hook. For a standard 6×6 inch swatch, expect a forty-minute investment. The Preparation Phase (10 minutes) involves winding your yarn into a center-pull cake to eliminate "yarn drag." The Execution Phase (25 minutes) is the core labor where you establish your gauge. Finally, the Finishing Phase (5 minutes) involves weaving in ends and steam-blocking the piece to set the fibers. Respecting this tempo prevents hand fatigue and ensures your stitch density remains uniform from the first row to the last.
THE CORE METHOD
1. The Foundation Chain and Slip Knot
Every project begins with a secure anchor. Create a loop and pull the working yarn through to form a slip knot. Insert your hook and tighten it until it fits snugly against the shaft but still slides with minimal friction. This is your zero-point. When creating your foundation chain, maintain a consistent pull-force.
Mastery Tip: This stage is all about surface tension. If your foundation chain is too tight, the bottom edge of your fabric will curl because the yarn has no room to expand. Aim for a "Goldilocks" tension where the hook glides through the loop like a hot knife through butter.
2. Yarn Over and Insertion
Hold the hook like a pencil or a knife; whichever feels more natural for your wrist's biomechanics. Wrap the yarn over the hook from back to front. This is the "Yarn Over" (YO). Insert the head of the hook into the center of the previous stitch.
Mastery Tip: Observe the ply of your yarn. If you insert the hook too aggressively, you might split the fibers. This reduces the structural integrity of the stitch and creates a weak point in the fabric. Always aim for the "V" shape at the top of the stitch to ensure you are catching all fiber strands.
3. Drawing Up a Loop
With the yarn wrapped around the hook, pull it back through the stitch. You should now have two loops on your hook. This movement requires a slight rotation of the wrist to ensure the "beard" of the hook catches the yarn without snagging the surrounding fabric.
Mastery Tip: This is where capillary action comes into play if you are using natural fibers like wool. The way you pull the loop determines how much air is trapped between the fibers. More air means better insulation; tighter loops mean a denser, more wind-resistant fabric.
4. The Final Pull-Through
Yarn over once more and pull through both loops on the hook. You have just completed a single crochet. This creates a stable, interlocking knot that resists unraveling. Repeat this across your row, maintaining a steady visual check on your stitch count.
Mastery Tip: Consistency is the hallmark of a master. Use your thumb and middle finger to pinch the base of the stitch as you pull through. This stabilizes the geometric alignment of the loop, ensuring every stitch is a perfect clone of the one before it.
THE TECHNICAL LEDGER
Maintenance & Longevity: Aluminum hooks can develop microscopic burrs over time. Use a fine-grit burnishing cloth or a jeweler's file to smooth the surface. Bamboo hooks should be treated with a light coat of beeswax to prevent the wood from becoming porous and snagging the yarn.
Material Variations:
- Sustainable: Hemp yarn offers incredible tensile strength but requires a high-friction steel hook.
- Recycled: T-shirt yarn is bulky and requires a 10mm or larger hook to manage the weight.
- Premium: Alpaca wool has zero lanolin and a high "drape" factor, making it perfect for wearable tech.
The Correction:
- The Tapering Edge: Usually caused by dropping the last stitch. Fix: Use a stitch marker in the very first and last loop of every row.
- The Wave: Caused by inconsistent tension. Fix: Practice "tensioning" the yarn through your fingers to create a consistent brake system.
- The Split Fiber: Caused by a sharp hook head. Fix: Switch to a "tapered" hook style rather than an "inline" style to navigate the yarn plies more gently.
Studio Organization: Store your Beginner Crochet Hooks in a rigid roll-up case. Storing them loosely in a bag can lead to "hook scarring," where the metal surfaces scratch each other, creating snags that will ruin delicate silk or mohair yarns. Keep your yarn in airtight bins to prevent dust from settling into the interstices of the fibers.
THE FINAL REVEAL
Look at that! You have successfully navigated the complex physics of fiber manipulation. Your finished swatch is more than just a square; it is a testament to controlled tension and precise tool selection. The edges are crisp, the stitches are uniform, and the tactile feedback of the fabric is incredibly satisfying. By choosing the right Beginner Crochet Hooks, you have bypassed the frustration of the learning curve and jumped straight into high-level making. This is the foundation of everything from high-fashion garments to structural amigurumi. You are no longer just a hobbyist; you are a fiber architect.
STUDIO QUESTIONS
What size crochet hook is best for beginners?
A 5.0mm (H-8) hook is the industry standard for beginners. It pairs perfectly with worsted weight yarn, providing enough surface area to see your stitches clearly while maintaining a comfortable ergonomic grip for developing hand muscles.
Does hook material affect the final gauge?
Yes. Aluminum hooks have low friction, leading to faster but potentially looser stitches. Bamboo and plastic have higher "drag," which provides more control. Always check your gauge with a ruler when switching between different hook materials.
How do I know if my tension is too tight?
If you struggle to insert the hook into the previous row, your tensile force is too high. This creates a stiff, inflexible fabric. Relax your grip and ensure the yarn slides freely through your guiding fingers.
Can I use a smaller hook than the yarn label suggests?
Using a smaller hook increases stitch density, resulting in a stiff, armored fabric. This is ideal for bags or 3D sculptures. However, for blankets or clothing, stick to the suggested size to maintain a soft drape.

