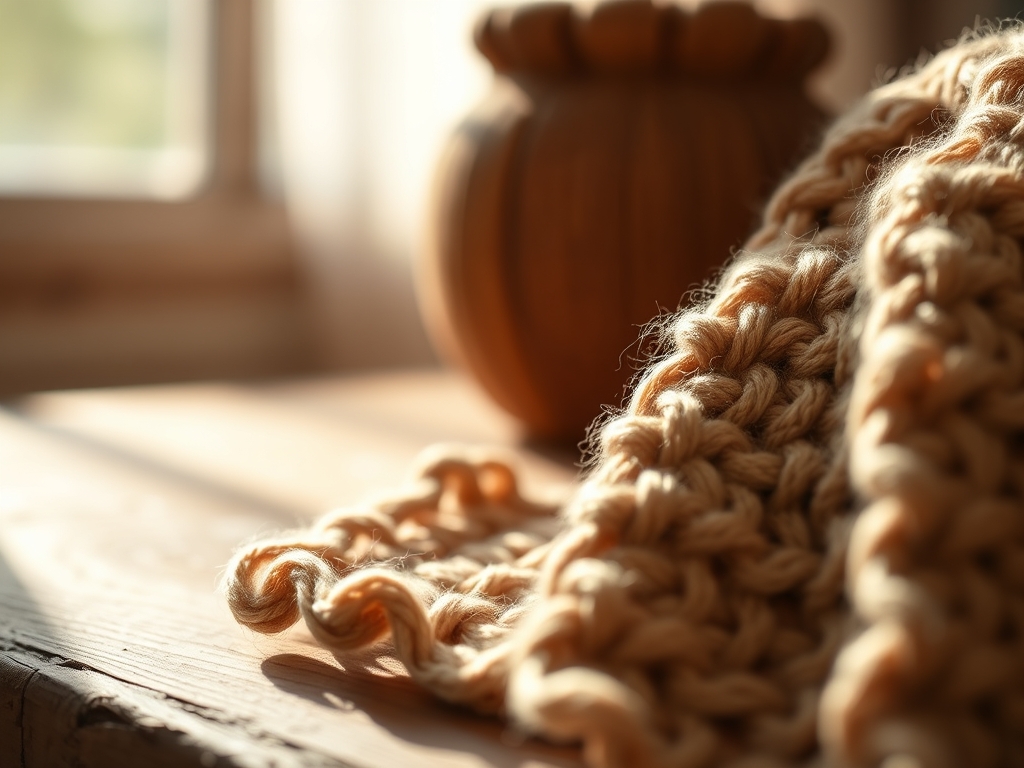
Grab your slotted tool and clear the workbench because we are about to dive into the tactile world of paper physics. There is a specific, crisp scent that fills the studio when you crack open a fresh pack of acid free cardstock; it is the smell of potential and cellulose fibers waiting for a transformation. When you first touch a strip of paper, you are feeling its grain direction. If you run your thumb along the edge, you will notice it resists more in one direction than the other. This is the secret to Beginner Paper Quilling. Understanding that paper is a non woven web of fibers allows you to manipulate its tensile strength without snapping the strip. We are not just rolling paper; we are engineering miniature structural components that use tension and friction to hold their shape. It feels like magic, but it is actually pure geometry. As we prepare to build these six intricate designs, remember that your hands are the primary sensors for pressure and torque. Let us get technical and make something breathtaking.
THE STUDIO KIT

To master Beginner Paper Quilling, your kit needs to be more than just a drawer of scraps. You need a slotted tool with a high grade stainless steel head; this is your primary lever. The gap in the tip must be narrow enough to grip the paper but wide enough to prevent "crimping" the inner core. You will also need precision tweezers with a fine point to handle the coils without transferring oils from your skin, which can degrade the paper over time. For the base of your cards, a bone folder is essential to burnish the folds, ensuring the fibers are compressed for a crisp, professional edge.
Material Substitutions: If you lack a professional slotted tool, a heavy gauge needle or a toothpick with a small slit cut into the top can act as a temporary mandrel. Instead of specialized quilling glue, a high quality PVA glue works perfectly because it has a high solids content and low water volume, which prevents the paper from warping due to excessive moisture absorption. Always keep a caliper or a small ruler nearby to measure the diameter of your coils; consistency is the hallmark of a master maker.
THE TEMPO
The "Maker's Rhythm" is a psychological state where your fine motor skills sync with the material's response time. For a standard intricate card, expect to spend about fifteen minutes on the preparation phase, which involves selecting your color palette and cutting strips if you are not using pre cut packs. The construction phase is the longest, taking approximately sixty to ninety minutes depending on the complexity of the coils. Finally, the setting phase requires at least thirty minutes for the PVA glue to undergo full polymerization. Do not rush the drying process; the structural integrity of the design depends on the glue forming a permanent bond with the porous surface of the paper fibers.
THE CORE METHOD
1. The Tight Coil Foundation
Every complex design starts with the Tight Coil. Insert the end of your paper strip into the slot of the tool and rotate with even tension. The goal is to keep the edges perfectly flush. If the edges spiral upward, your torque is uneven. Use your thumb to guide the strip, ensuring the ply of the paper remains flat against the tool.
Mastery Tip: This technique relies on friction and compression. By winding the paper tightly, you are forcing the fibers into a permanent curve. If you release the tension too quickly, the stored kinetic energy will cause the coil to unspool unevenly.
2. The Teardrop Shift
Create a loose coil by letting the paper expand in a circular template. Once it reaches the desired diameter, pinch one side firmly between your thumb and forefinger. This shifts the center of gravity of the coil and creates a sharp apex.
Mastery Tip: This involves asymmetrical tension. When you pinch the paper, you are creating a focal point of stress that redirects the internal coils. This is the building block for flower petals and organic shapes.
3. The Marquis Symmetry
Similar to the teardrop, start with a loose coil. Instead of pinching one side, pinch two opposite sides simultaneously. This creates an eye shape that is structurally sound and visually balanced.
Mastery Tip: Use your precision tweezers to ensure the internal spirals are centered before you pinch. This utilizes lateral compression to stabilize the design, making it resistant to deforming under its own weight.
4. The Open Heart Scroll
Take a single strip and fold it exactly in half to find the center. Roll each end inward toward the center fold. This creates a symmetrical, airy design that does not require a closed coil base.
Mastery Tip: This relies on elasticity. Because the ends are not glued into a circle, the paper wants to return to its flat state. The "set" in the curve is achieved by exceeding the paper's elastic limit without reaching its fracture point.
5. The V-Scroll Extension
Fold a strip in half, but roll the ends outward away from each other. This creates a "V" shape with elegant curls at the top, perfect for filling negative space in a card design.
Mastery Tip: This technique demonstrates tensile memory. By rolling the paper against its natural grain, you create a more dramatic curve that holds its shape through internal fiber resistance.
6. The Fringed Blossom
Use a pair of fine detail scissors or a specialized fringing tool to cut tiny slits along the length of a wide paper strip, leaving a small margin at the bottom. Roll this fringed strip around a tight coil center.
Mastery Tip: This is an exercise in surface area expansion. The fringe creates a high volume look with very little mass. The glue at the base uses capillary action to seep into the fringe layers, locking the entire blossom into a rigid structure once dry.
THE TECHNICAL LEDGER
Maintenance & Longevity: To prevent your quilled designs from fading, always use lignin free paper. Lignin is the organic polymer that causes paper to yellow and become brittle when exposed to UV light. Store finished cards in a cool, dry environment; humidity is the enemy of paper, as it softens the fibers and can cause coils to sag.
Material Variations: For a sustainable approach, use recycled 80gsm office paper colored with natural pigments. For a premium finish, look for metallic edge strips which have a thin foil layer that increases the structural rigidity and adds a reflective quality to the "walls" of your coils.
The Correction:
- The Mushroom Effect: If the center of your coil pops out, you have used too much tension. Fix this by using a flat object to gently press the center back down while applying a tiny drop of glue to the base.
- Glue Spots: If you see shiny patches of glue, you have exceeded the necessary volume. Use a fine awl to scrape away excess before it fully cures.
- Uneven Edges: If your coils are not flat, your tool was likely tilted. Use a bone folder to gently press the finished coil against a flat surface to realign the layers.
Studio Organization: Store your strips by weight and color in a vertical rack. This prevents the strips from tangling and protects the edges from being crushed. A crushed edge will result in a visible "dent" in your finished quilled design.
THE FINAL REVEAL
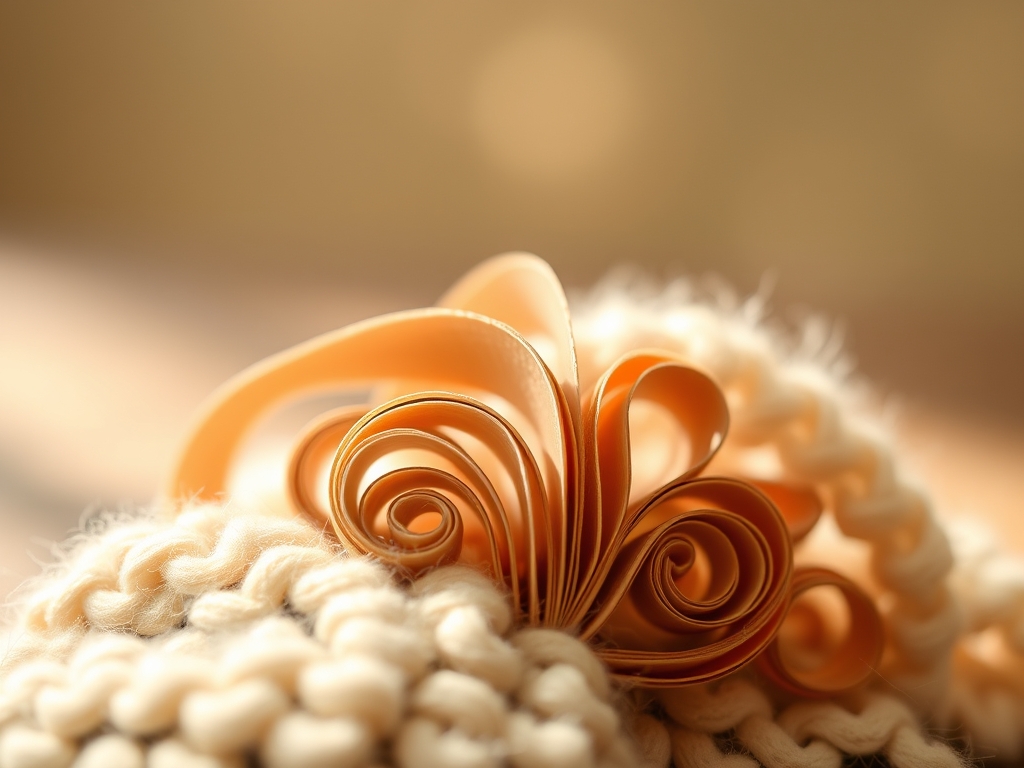
Look at that! You have successfully navigated the physics of Beginner Paper Quilling to create a masterpiece of tension and geometry. The way the light catches the edges of the paper strips creates a three dimensional depth that a flat drawing simply cannot replicate. Your card is no longer just a piece of stationery; it is a structural relief sculpture. The crispness of the Marquis shapes and the delicate fringe of the blossoms show off your mastery of material science. You should feel the weight of your accomplishment; you have turned a simple 2D strip into a 3D work of art.
STUDIO QUESTIONS
What is the best glue for Beginner Paper Quilling?
Use a clear drying PVA glue with a fine tip applicator. Its low water content prevents the paper fibers from over saturating, which maintains the paper's tensile strength and prevents warping during the drying phase.
How do I stop my coils from unravelling?
Hold the coil with precision tweezers and apply a microscopic amount of glue to the end of the strip. Hold it for five seconds to allow the initial bond to form through surface tension before releasing.
Can I use regular construction paper for quilling?
Construction paper is generally too porous and brittle for intricate work. It lacks the long fiber chains found in dedicated quilling paper, which means it will likely crack or tear when subjected to high torque.
How do I ensure my shapes are the same size?
Use a circle template board. By letting your coils expand within a fixed diameter hole, you ensure every shape has the same volume and density, which is critical for symmetrical designs.
What should I do if my paper keeps slipping out of the tool?
Check the gauge of your slotted tool. If the slot is too wide for your paper's thickness, add a small piece of tape to the end of your paper strip to increase the friction and grip.